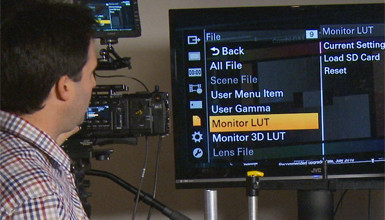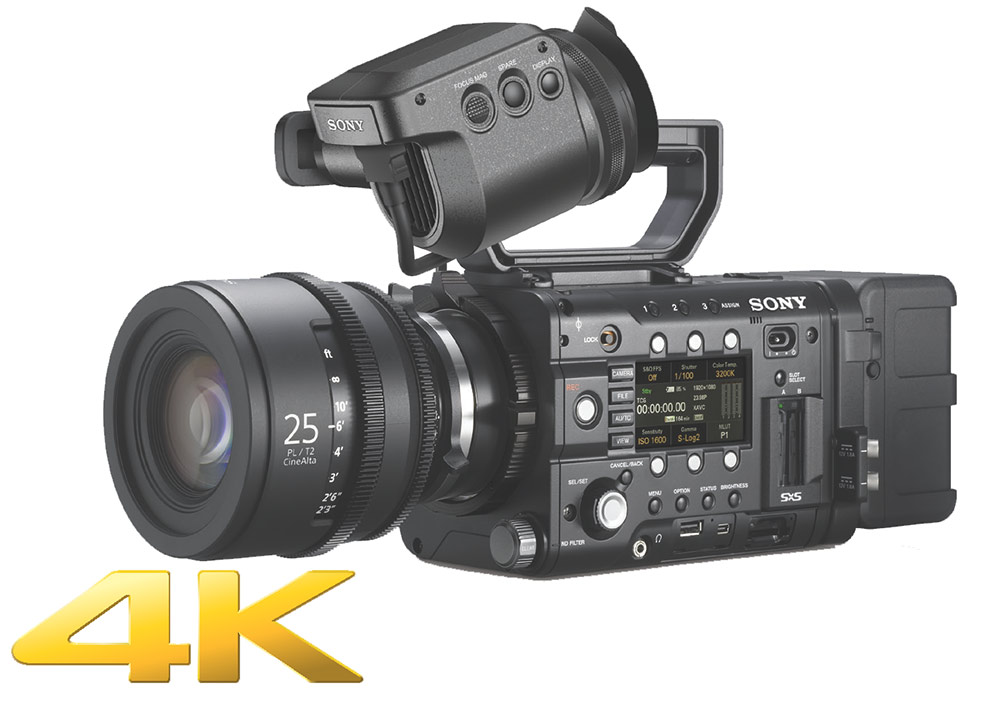
This is an enormously popular update, since it closes the gap between the F5 and its bigger brother the F55. While the F55 still has a global shutter and a wide-gamut color filter array geared toward digital cinema, at a little less than $1000, the license is a compelling option to consider for your F5. Let's take a look at how to install the upgrade, which comes in the form of a software key that loads into the camera (similar to a firmware update).
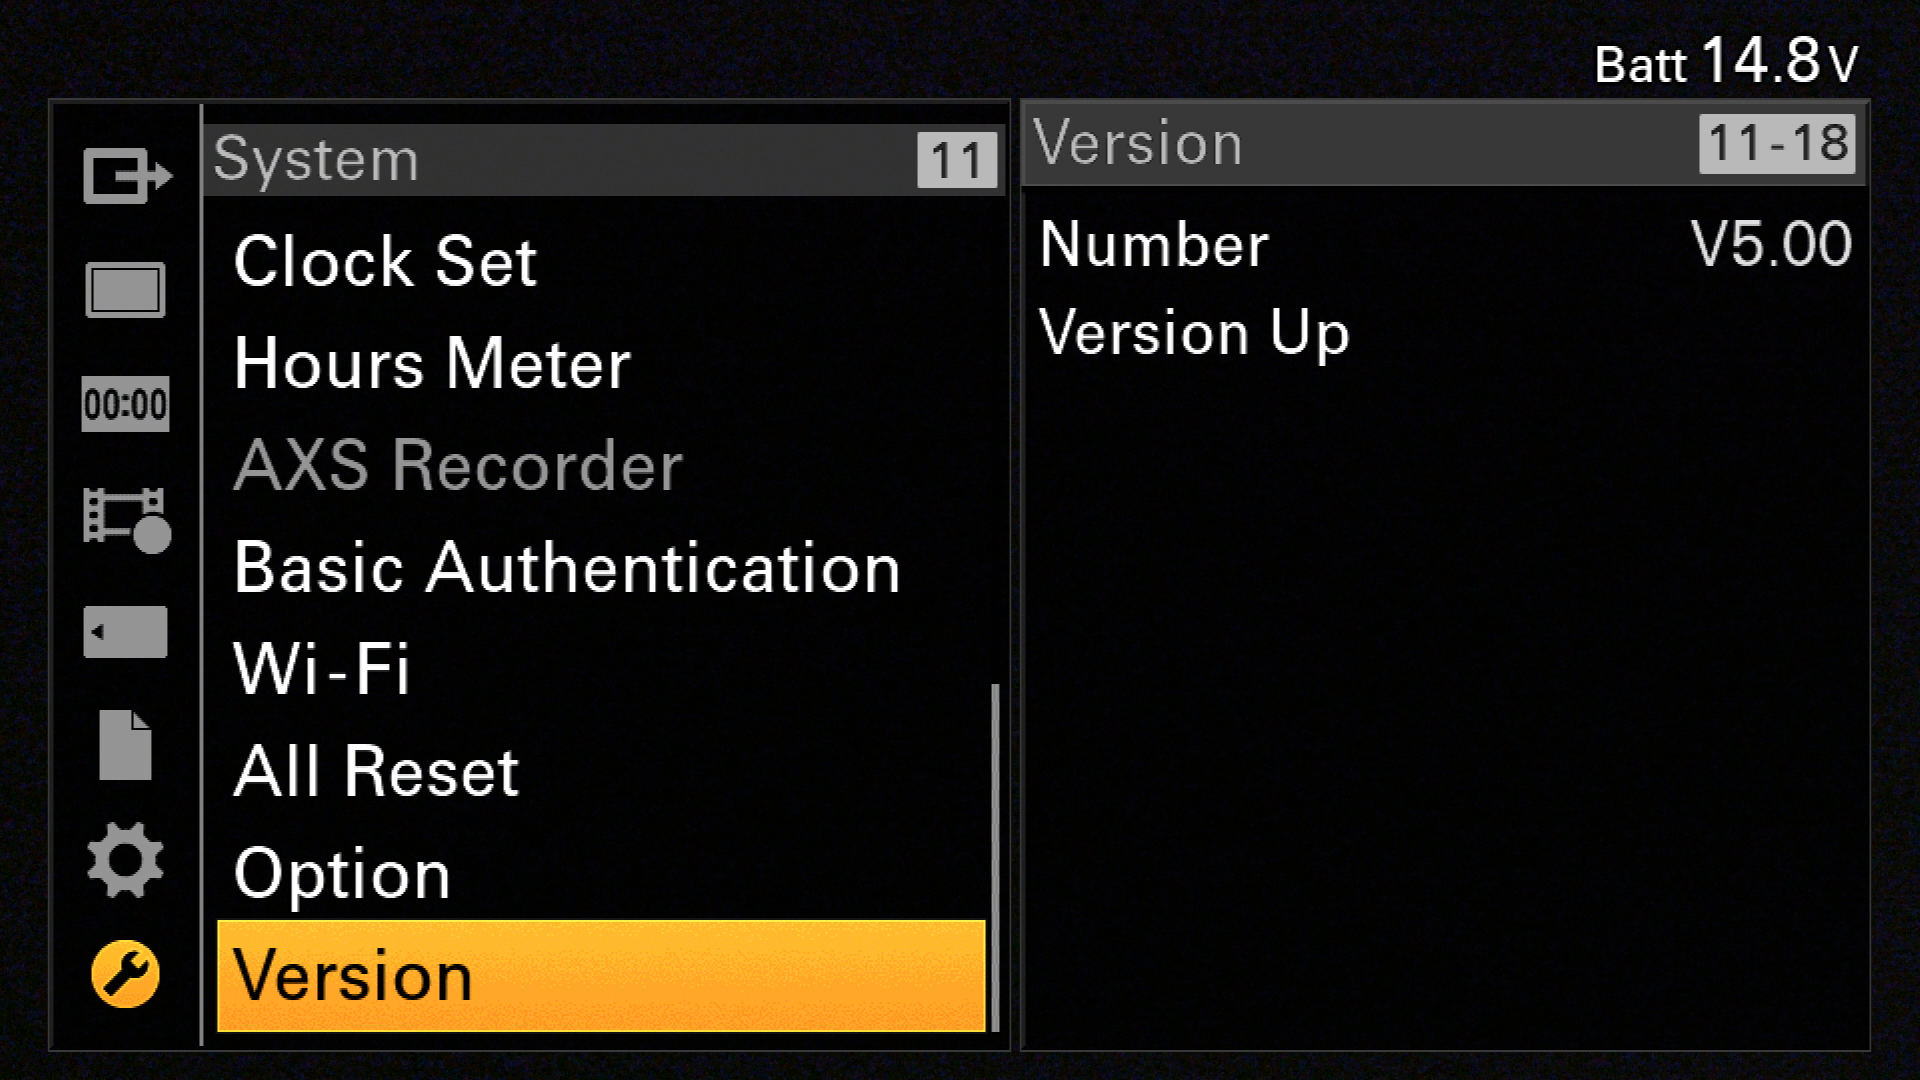
Before you begin, confirm that your F5 is running firmware 5.0 or later. This is required for installing the update. For information on updating the F5's firmware, please see Sony's community site.
Obtaining the Install Key & License File
After purchasing the CBKZ-55FX 4K Upgrade License, you'll receive a packet with information about the upgrade including your upgrade Purchase Key, a 12-digit alphanumeric key composed of a combination of capital letters and numbers. This key, in conjunction with the camera's Unique Device ID, will allow you to receive the associated Install Key and License File. Once you have your Purchase Key, the next step is to register for an account on Sony's eCSite.
| Editor's Note -- (12/15/15) Sony has created a new site to register for an install key. To get started, visit https://web.ecspert.sony.biz/eCSite/, and select English from the drop down menu on the top right of the page. We will update this blog with more information about the registration process once it is available. |
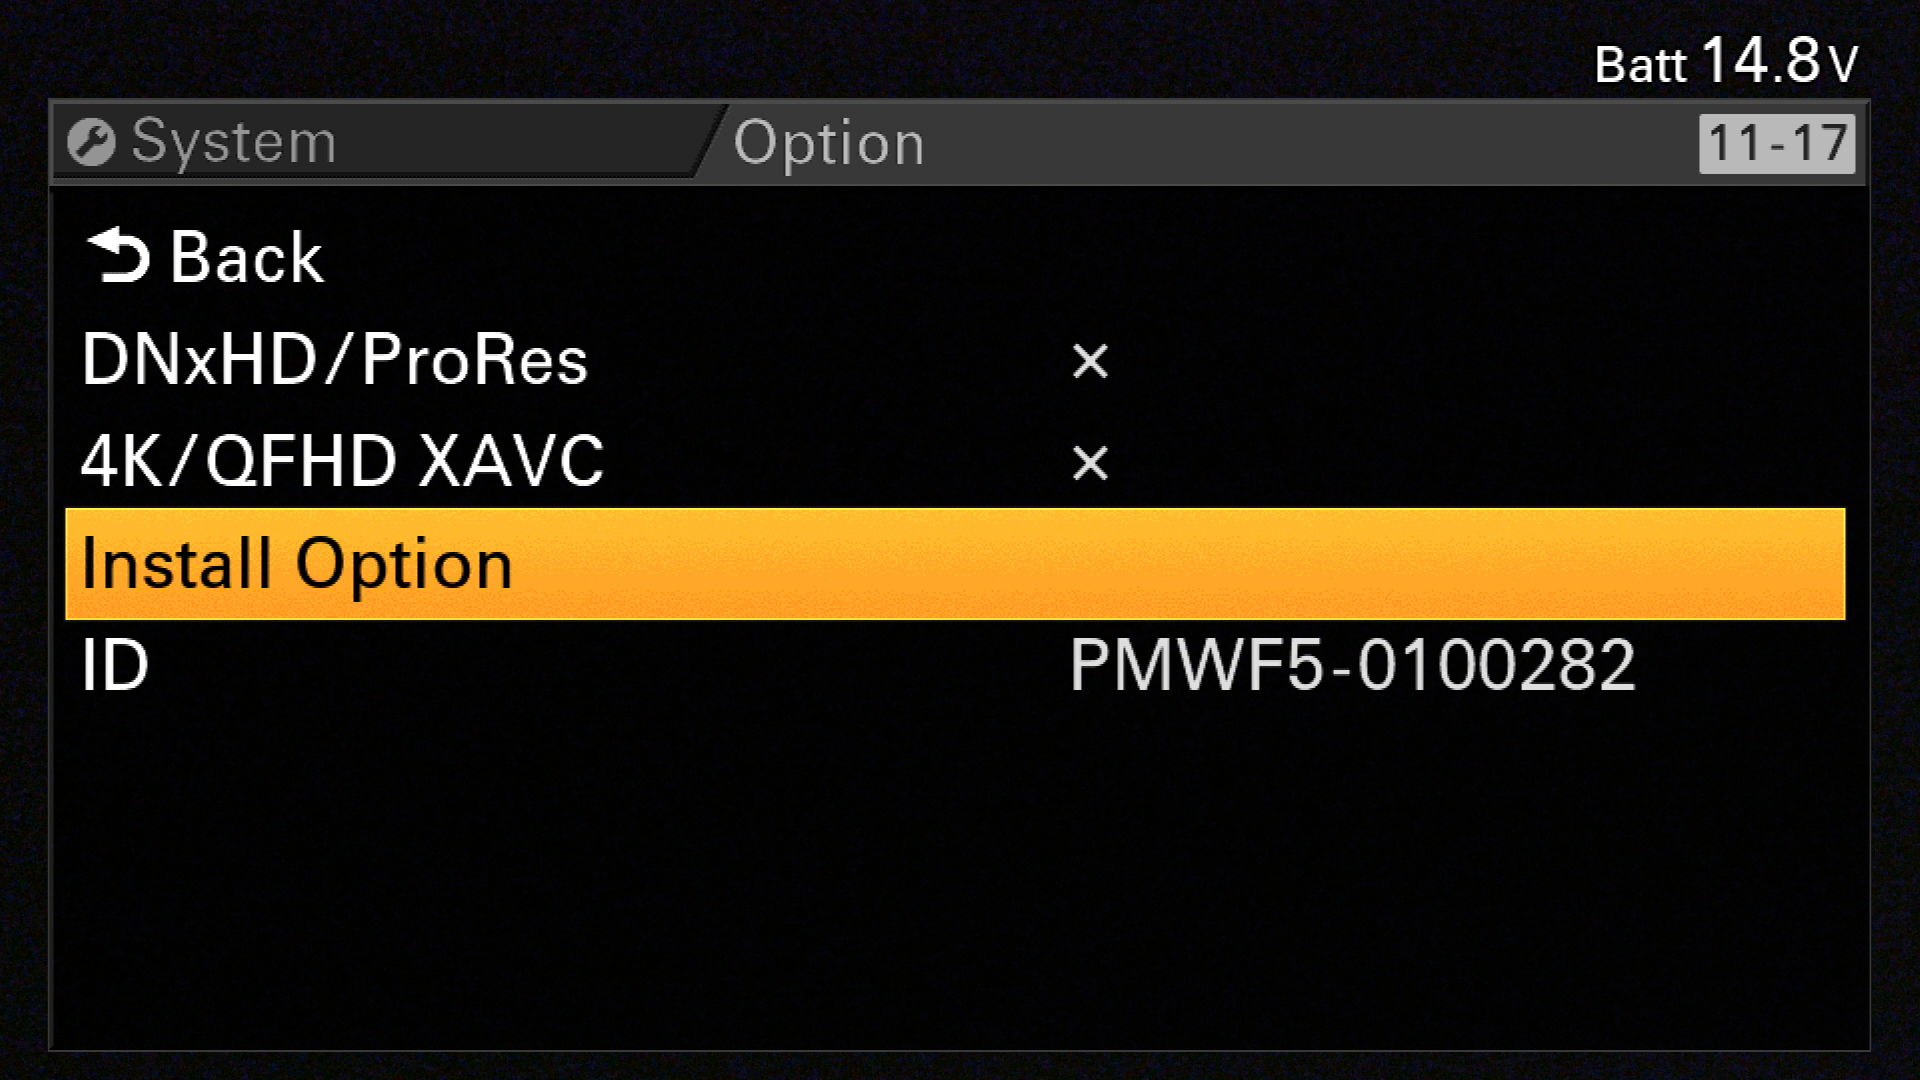
How to Find Your Cameras Unique Device ID
Your camera's Unique Device ID can be found on the Option tab of the SYSTEM menu of the PMW-F5:
Installing & Activating the License Key
Installing and activating the license key works in a similar way to updating firmware on many cameras. To get started, prepare an SD card by formatting it in the camera. This is a good time to double check that your camera is on firmware version 5.0 or later -- this is a requirement in order to perform the upgrade. It is also a good time to save an "All Settings" file (aka "ALL" file) if you've highly customized your camera's settings and "User" menu. This is a good practice in general, and may come in handy if you need to do an "All Reset" following installation of the 4K upgrade key.
 Compatible SD cards for the upgrade would be either an SDHC memory card (speed class 4-10, non-UHS compatible, 2-32GB capacity) or a standard SD card up to 2GB. To format the SD card, insert it into the camera and navigate to the "Media" menu option. Choose "Format Media" and then "SD Card."
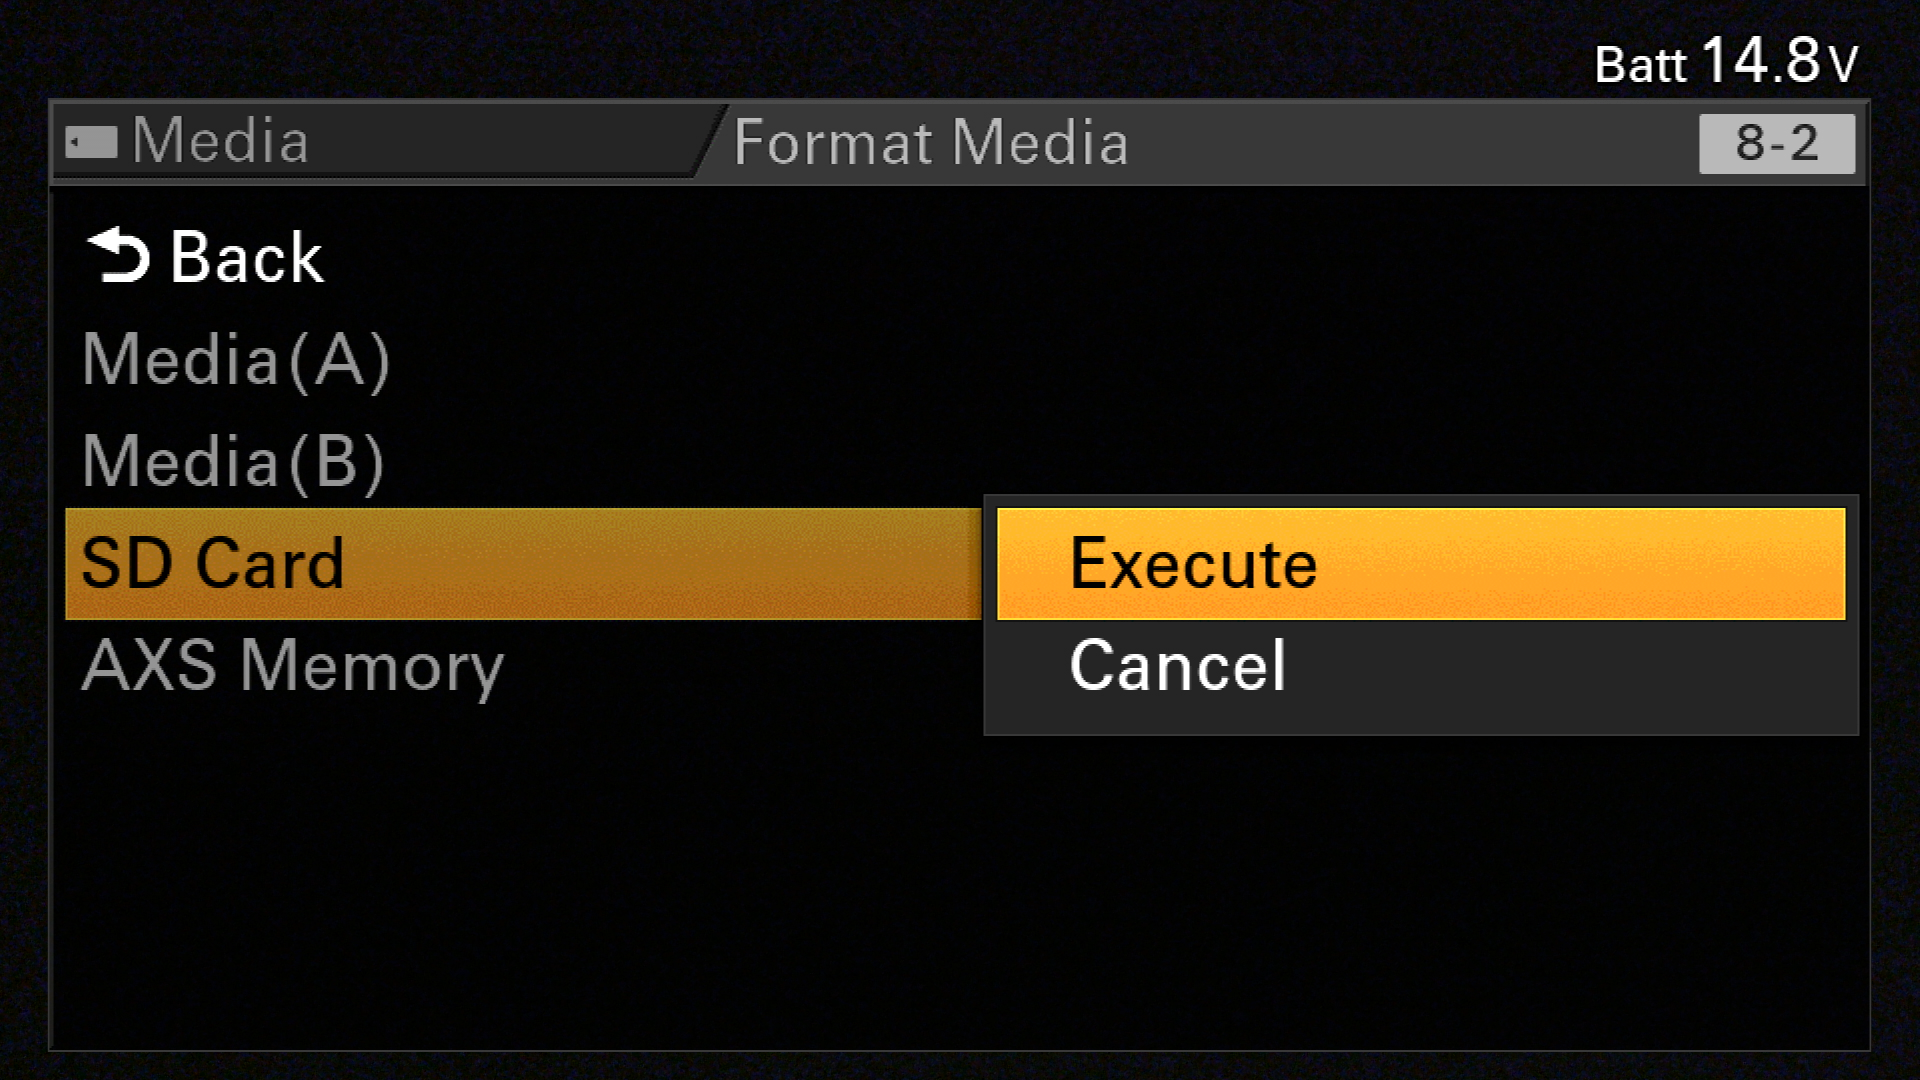 Select "Execute" and then confirm by selecting "Execute" again.
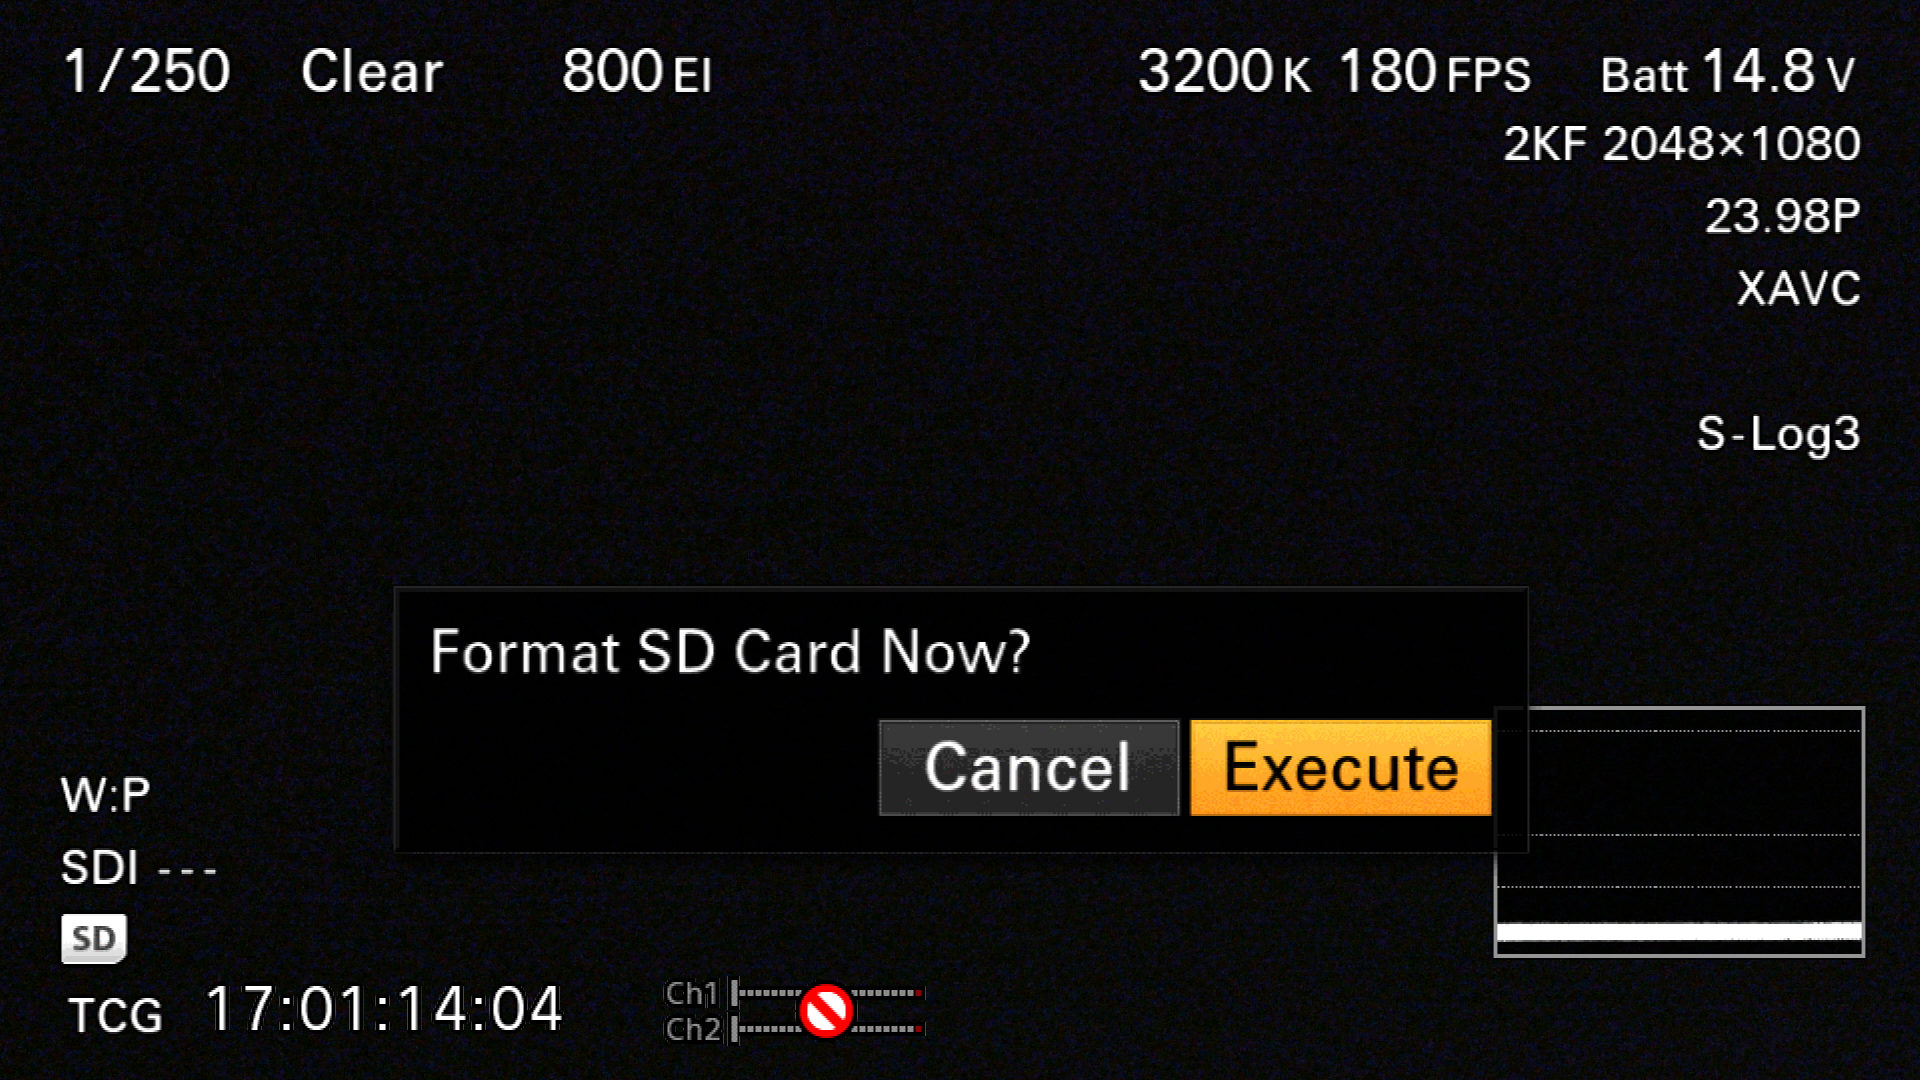 Once the card is formatted, connect it to your computer via a card reader, or insert into the SD Card slot found on many computers. Locate the Install Key you received via email as an attachment, it should be a file with a name beginning with "CBKZ-55FXINSTALLKEY" and without a filename extension. Copy it to the root directory of the SD Card and eject it from your computer.
As with firmware updates, we recommend that the camera be plugged into wall power during the upgrade (if continuous power isn't available then use a fully charged battery). If the SD card is removed or the camera loses power during the upgrade installation, the camera could be left in an inoperative state and may need to go to one of Sony's regional service centers for repair. In the worst case scenario, the camera could be irreparable. Please use all reasonable precautions.
Insert the SD card with the Install Key on it into the camera, and navigate to the "System" menu and choose "Option". From there, choose "Install Option".
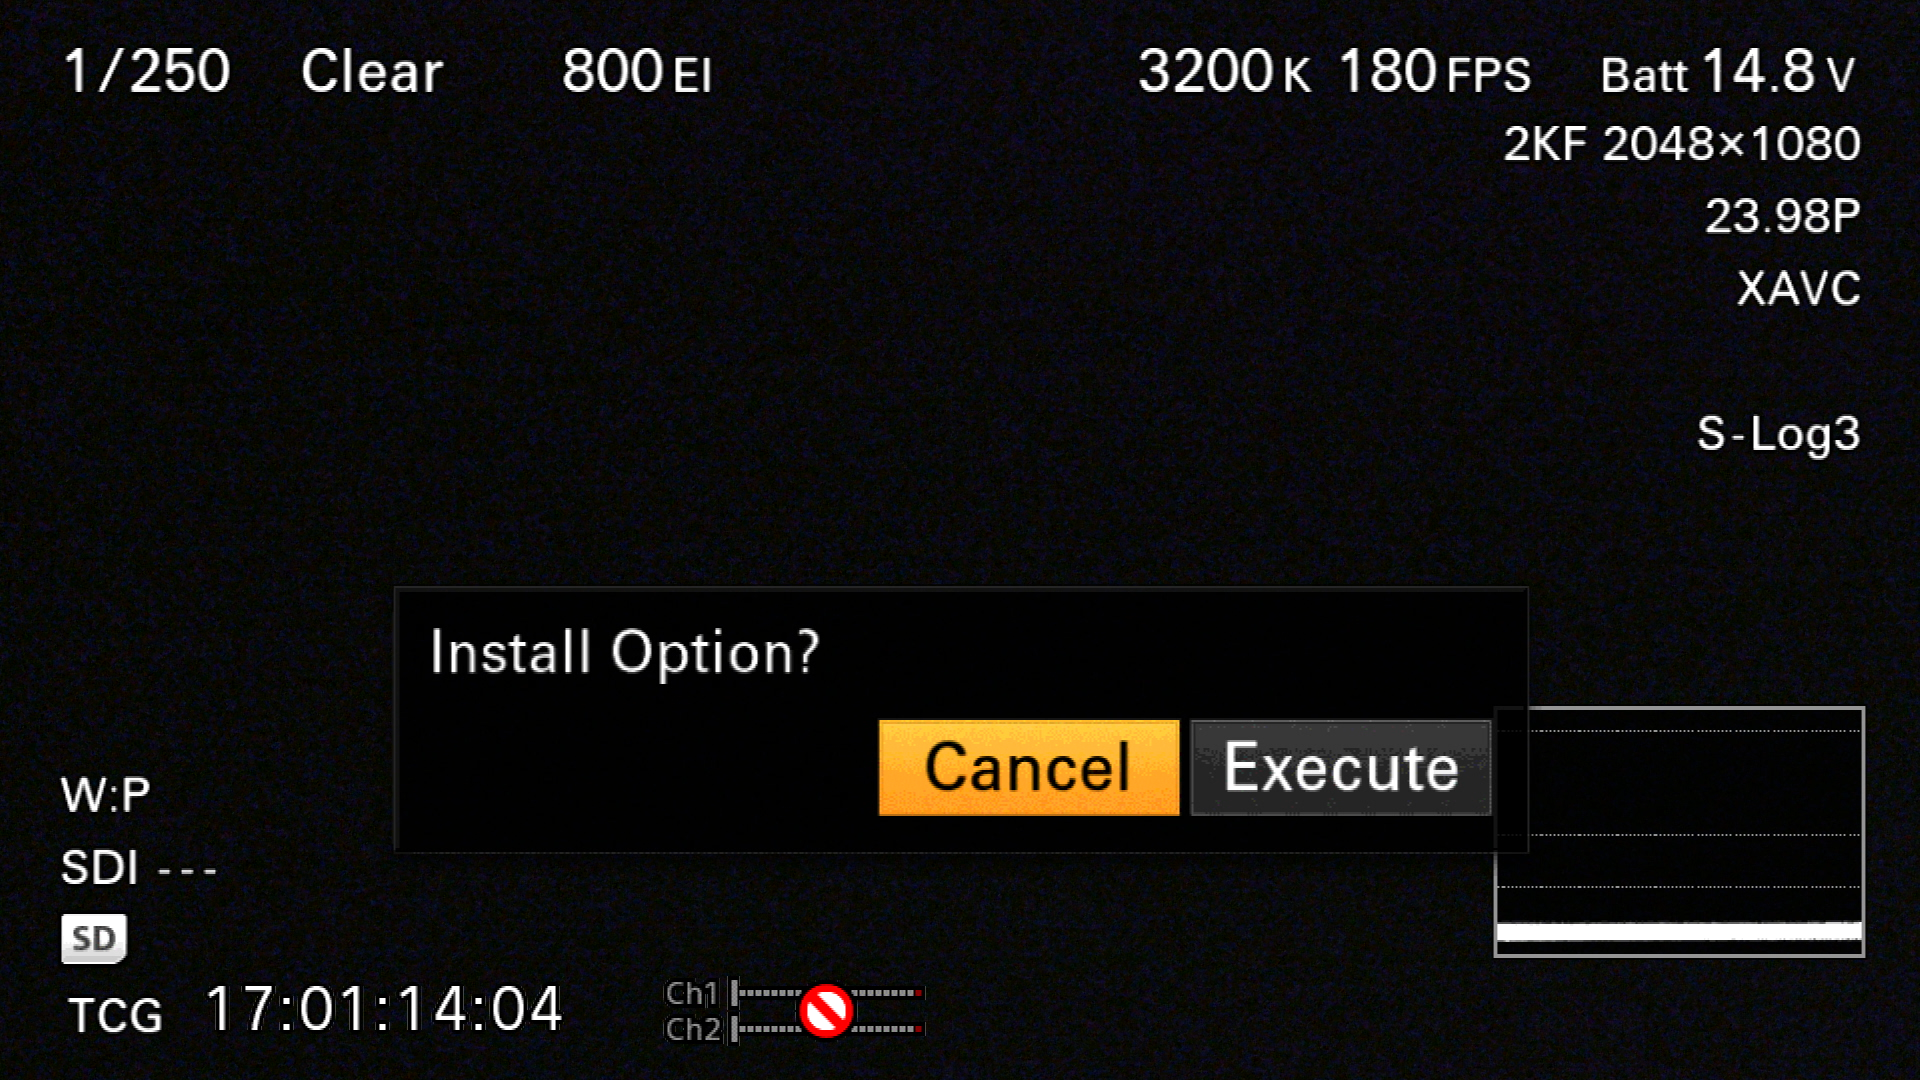 After being sure that the camera is plugged into AC power, or otherwise adequately powered, choose "Execute" in response to "Install Option" to begin the installation process.
You should see a message reading "Install Option Executing" during the installation. Once complete, the message "Install Option OK: Turn Power Off" should appear. Be sure to turn the power off with the F5's power toggle switch located at the top rear of the camera's left side. Simply pulling the power, whether a battery or via the DC plug, will result in an incomplete installation.
Confirm the installation by turning the camera back on and navigating to the "System" menu and choosing "Option". You should see a small open circle (or in some cases a lowercase letter "a") instead of an "x" next to the "4K/QFHD XAVC" item.
Another way to confirm the installation is to make sure "XAVC 4096x2160 P" appears and can be selected from the "Rec Format" submenu within the "System" menu.
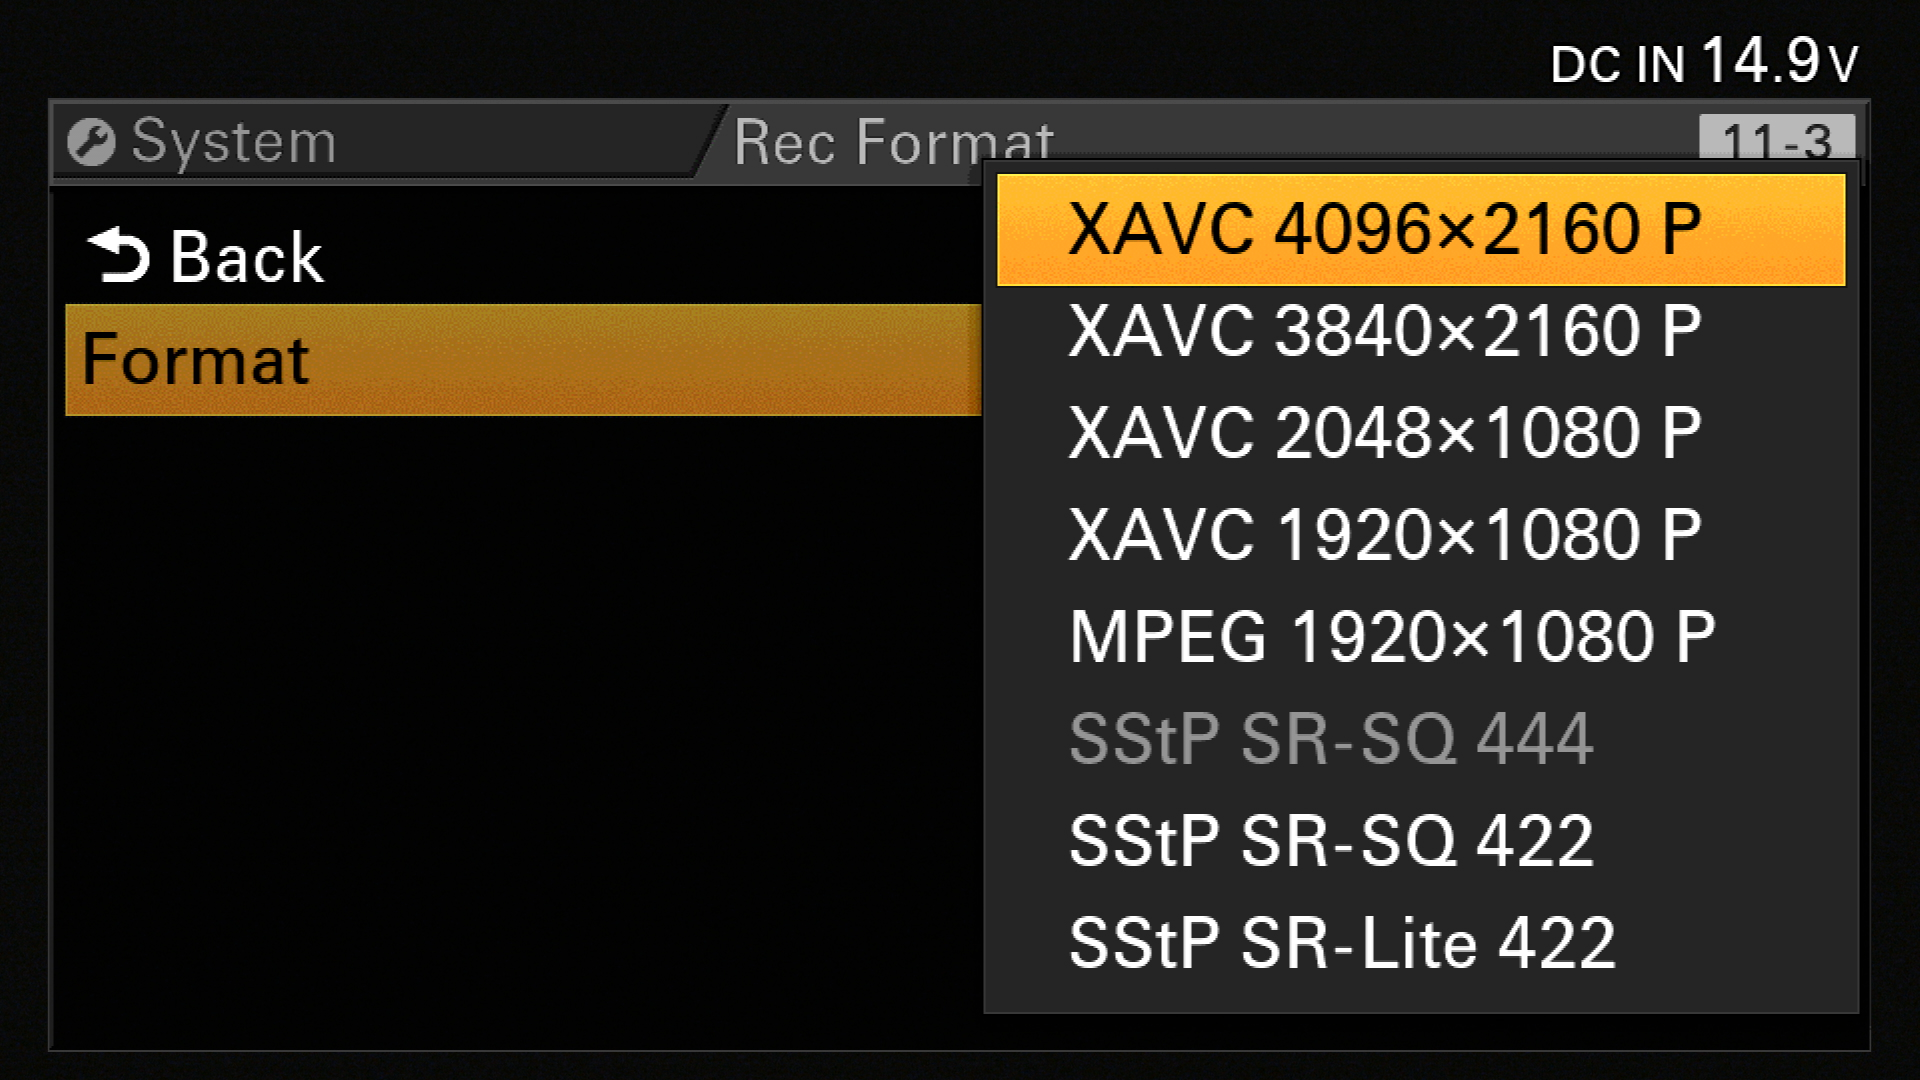 If neither of these are showing up for you following the Install Key installation process, try doing an "All Reset", which will also involve power cycling the camera. (You can later recall any custom settings through the use of an "ALL" file saved onto an SD card.) Then, re-visit the menus above to confirm that the option is installed and the 4K XAVC recording format is available.
Once you've confirmed the installation and the new 4K recording format, you're all set. Get out there and shoot some glorious full 4K footage, and enjoy your "new" camera!


