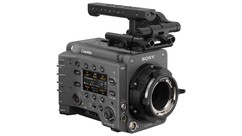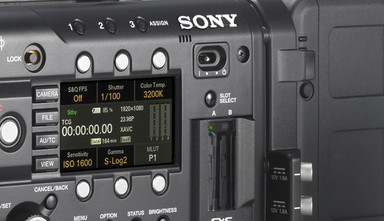
The two menus you'll need to bounce between are the System menu and the Camera menu, but first we need to visit the Recording menu. Here you'll go to the Rec Control setting and choose either SxS & AXS for XAVC and RAW recording, or just AXS.
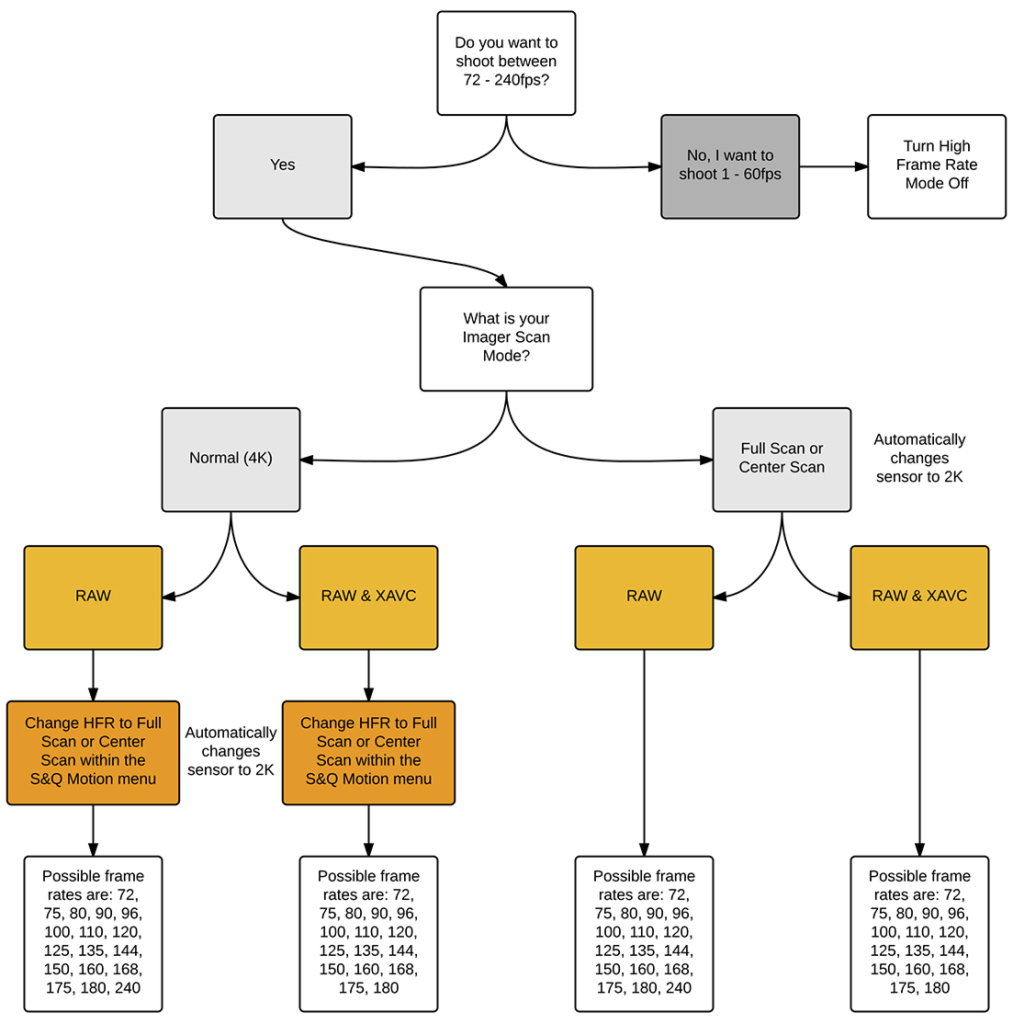
Next we'll head to the System menu; here you'll choose either YPbPr or RAW as your Main Operation in the Base Setting submenu (High Frame Rate recording isn't available when using the RGB Base Setting). After that, you'll select your Imager Scan Mode. High Frame Rate recording works with any of the three choices here, but if you choose Normal, when entering the HFR mode, the camera will record your image as a 2K image, using either full scan (the entire sensor) or center scan (just the center 2048 x 1080).
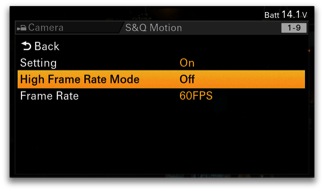
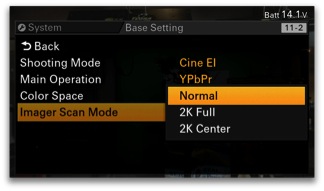 Finally, we'll go to the Camera menu's S&Q Motion submenu. To record between 1 and 60fps, turn S&Q on, but keep High Frame Rate Mode off.
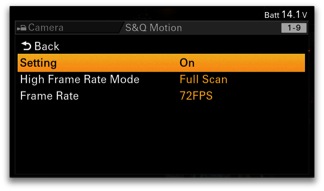
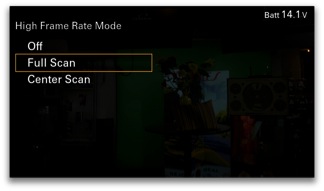
 To Record between 72 and 240fps, we'll need to choose either Full Scan or Center Scan, then move down to Frame Rate and choose the recorded frame rate.
 The following flow chart should help you navigate the menu to get to the frame rate you need (it is also available as a pdf for download).
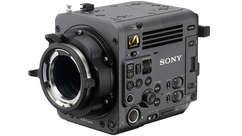
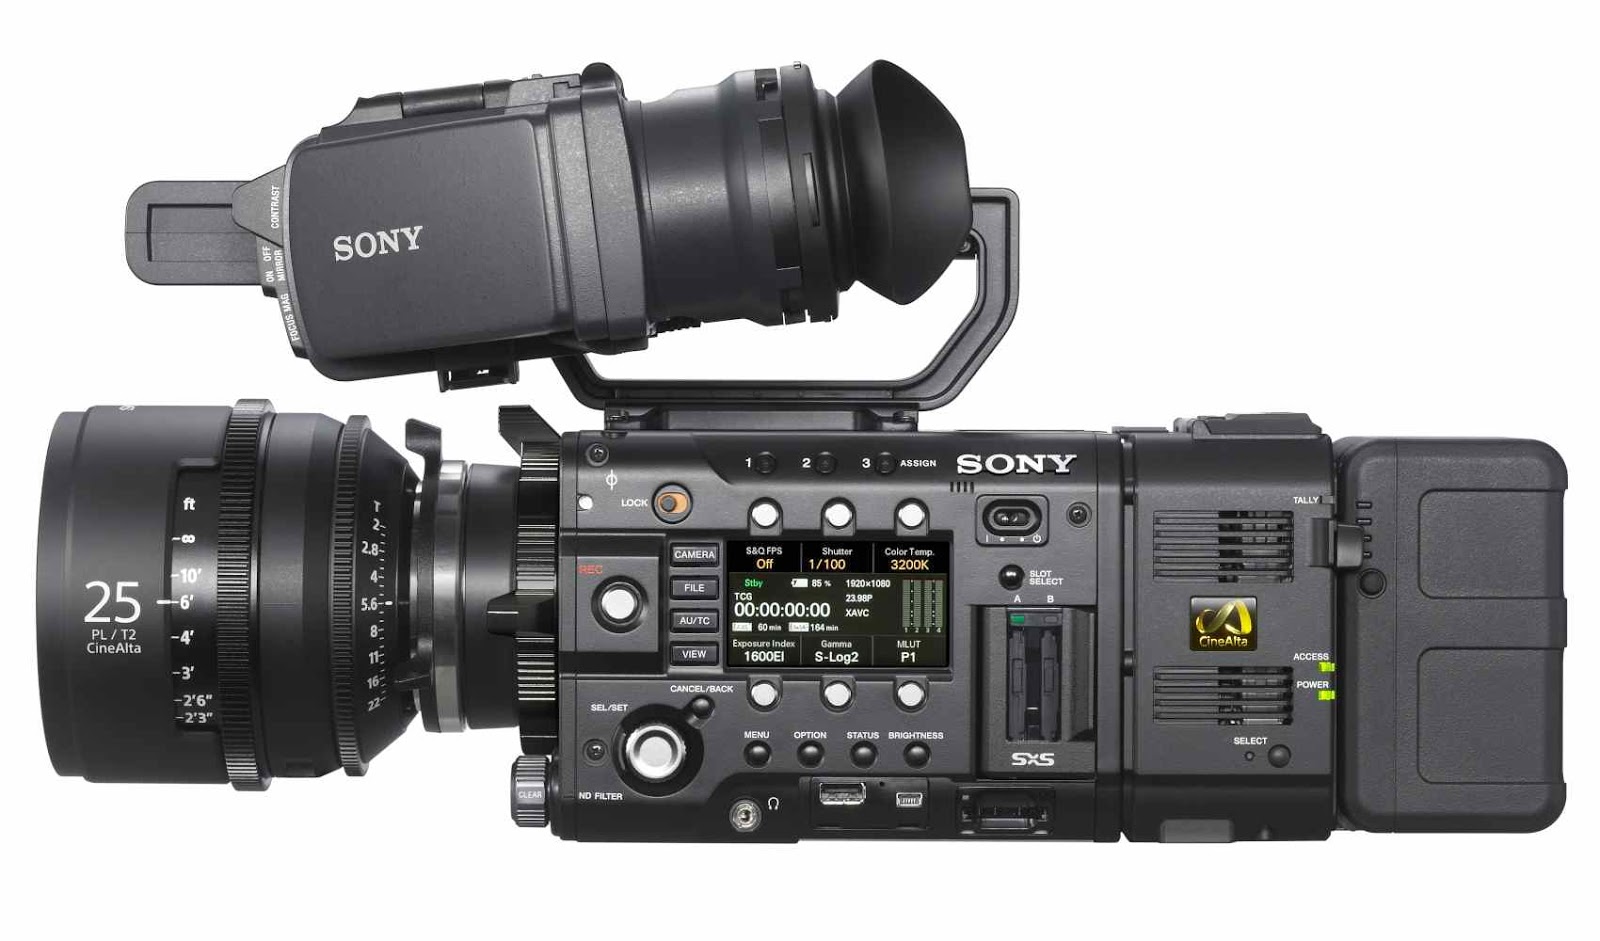
  If you're interested in learning even more about using the F55, make sure to check out our Sony F5 & F55 Intensive workshop.
