DaVinci Resolve 10
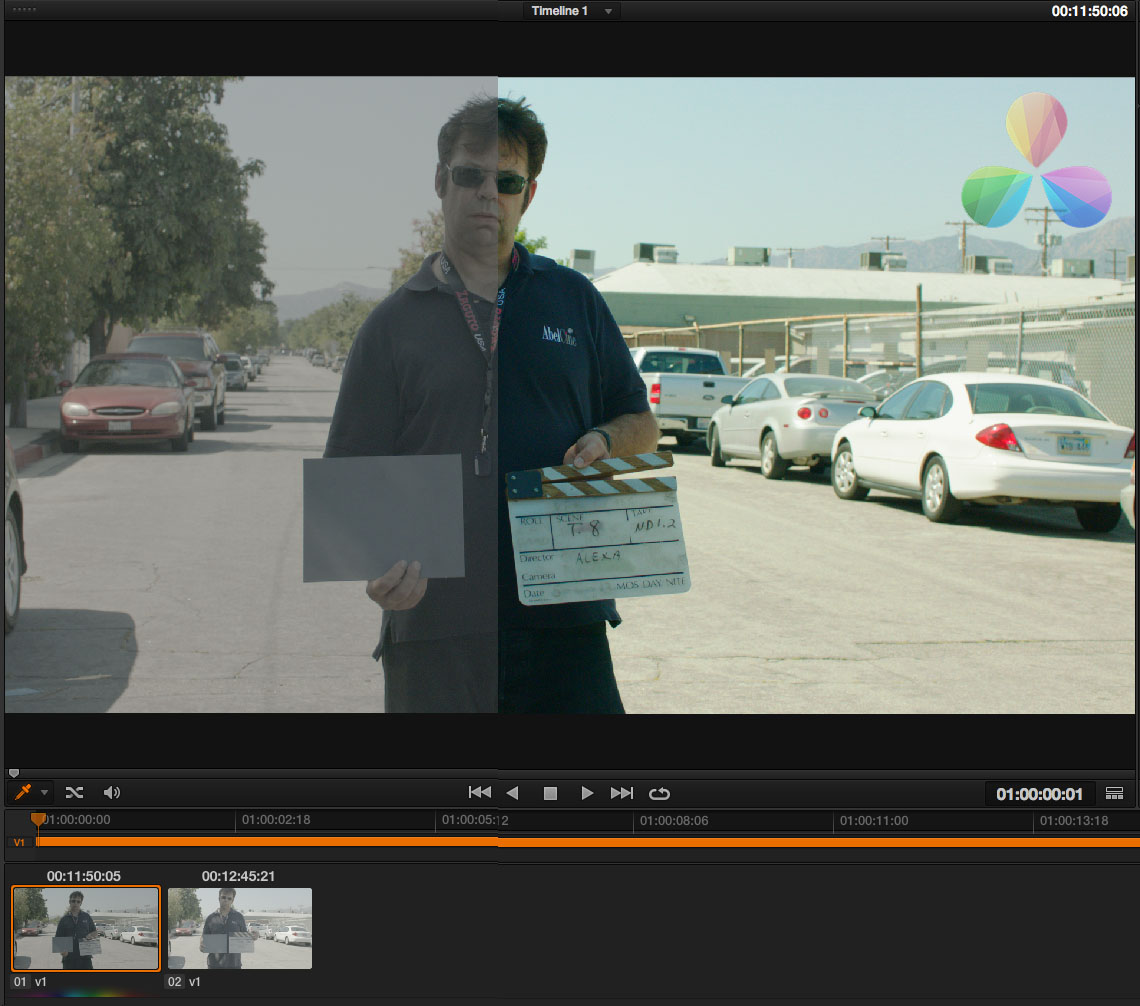 Let's start with Resolve 10 because not only can it apply LUTs, but it also generates them. The LUTs generated by Resolve can be used in all the programs below.
The process for importing LUTs has been simplified a bit with the addition of a button in the preferences panel that jumps you to the LUTs folder. Here are the steps to importing, applying, and exporting LUTs in Resolve 10:
First start a new project and import some Log footage. Now go to your project settings by clicking on the gear icon in the lower left.
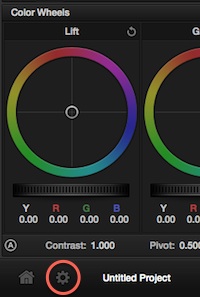 In project settings, click on the "Lookup Tables" tab.
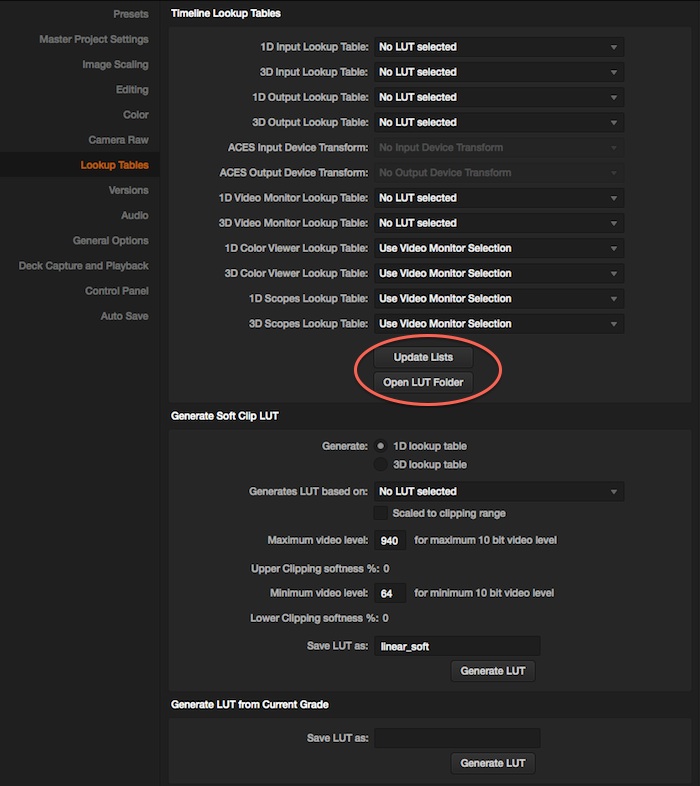 This menu allows you to do a number of things. The top area allows you to apply LUTs to all clips in your project either on input (before the grade), or on output (after the grade). You can also apply a LUT to monitor output or to the built-in scopes. Below that you have two buttons labelled "Update List" and "Install LUT." Clicking "Install LUT" will launch a Finder (or Explorer, in Windows) window where you can copy in LUTs. If you add any here, you'll have to hit the "Update List" button to get the LUT to appear in Resolve.
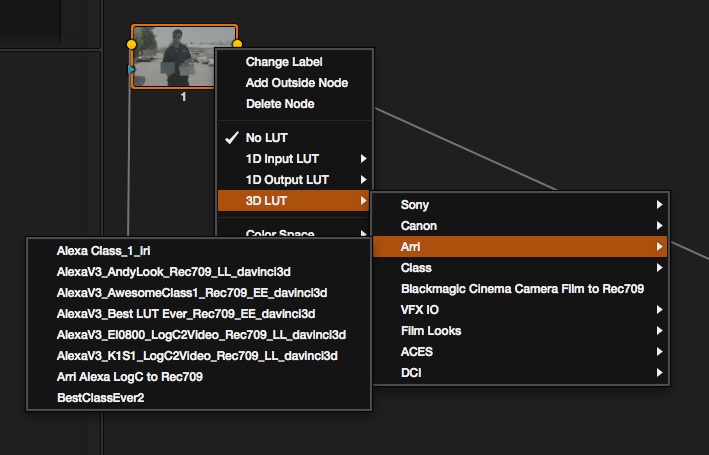
To add a LUT to an individual clip, we have to go to the color grading section of Resolve. Once you have footage imported and on a timeline, you can start adding LUTs individually. To do that you can simply right click on a clip and select a 1D or 3D LUT from the list.
 You can also do this in the node graph, on any node, or even the whole track.
 Finally, you can export LUTs the same basic way. Just right-click on the clip where you've done some grading work and select "Generate LUT." This will open a window where you can name the LUT you're exporting.
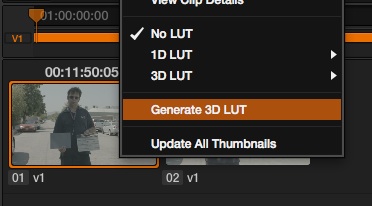 For this example I've applied an Arri LogC to 709 LUT to a clip (in the node graph), added some saturation, and then exported it as Blog LUT. If you want to generate a LUT based on one applied to a clip, make sure you apply the LUT in the node graph, otherwise it won't export. Now that I have the Blog LUT, I'll use it in the examples below.
Final Cut Pro X
I'm only going to cover FCP X this time, not Final Cut Pro 7. I've finally switched myself, and it is worth it. If you are still on FCP 7, then my previous blog still applies; be sure to check out the great plugins from Nick Shaw at Antler Post. He produces plugins to accurately deal with Log footage from all the major cameras.
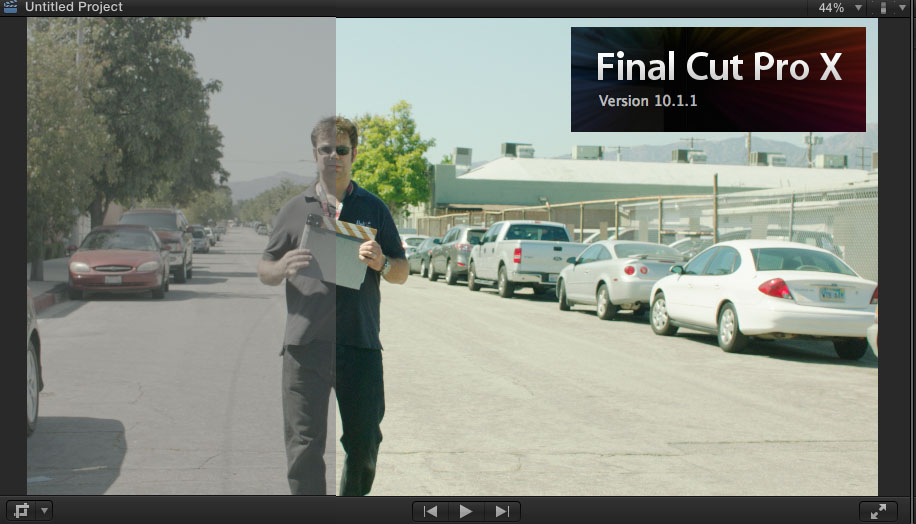 In FCP X there is a new plugin that I really like called LUT Utility, which allows you to import various LUTs into FCP X and apply them as effects. You can get the LUT Utility plugin from the Color Grading Central website. They have a free trial, which is worth checking out, but the full version is only $29. Once installed, here are the steps to using the plugin:
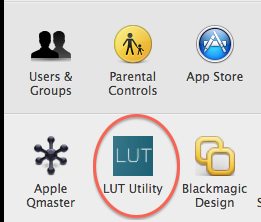
First you have to open the LUT Utility under the Mac System Preferences panel.
 Here you can see a list of available LUTs for you to use within FCP X.
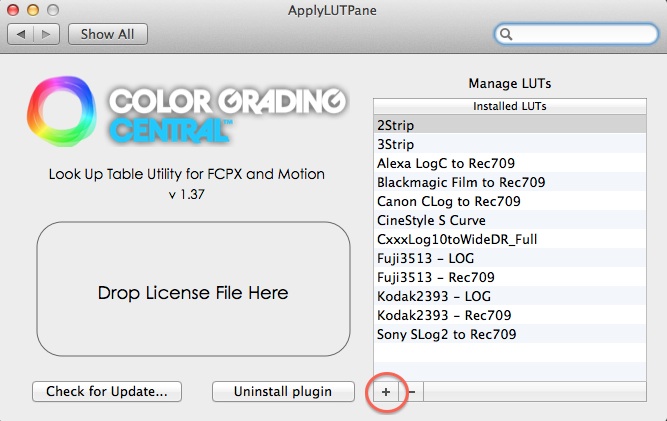 To import a LUT, just click the little plus icon at the bottom.
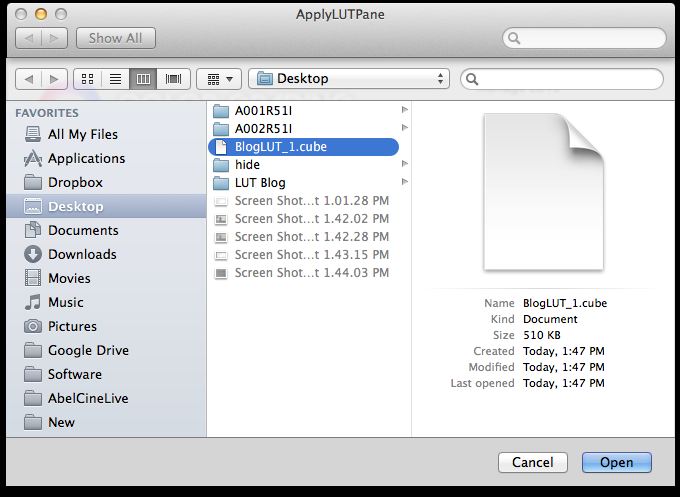 As you can see, now I have imported the Blog LUT we just made in Resolve.
Now launch FCP X and bring in your log content. The LUT Utility plugin is located under Effect->LUT Utility. Drag the effect on to your clip in the timeline to apply it.
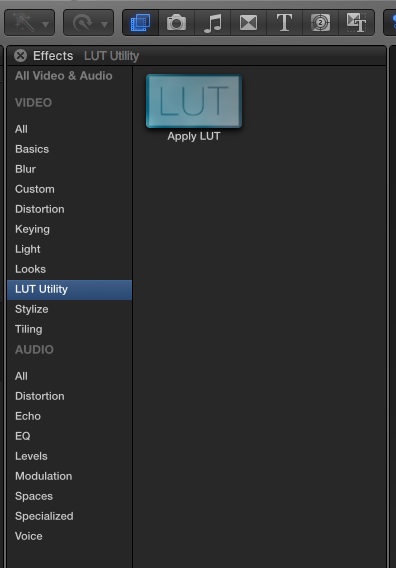 Under the Video tab (on the upper left side) you should see "Apply LUT" listed under Effects.
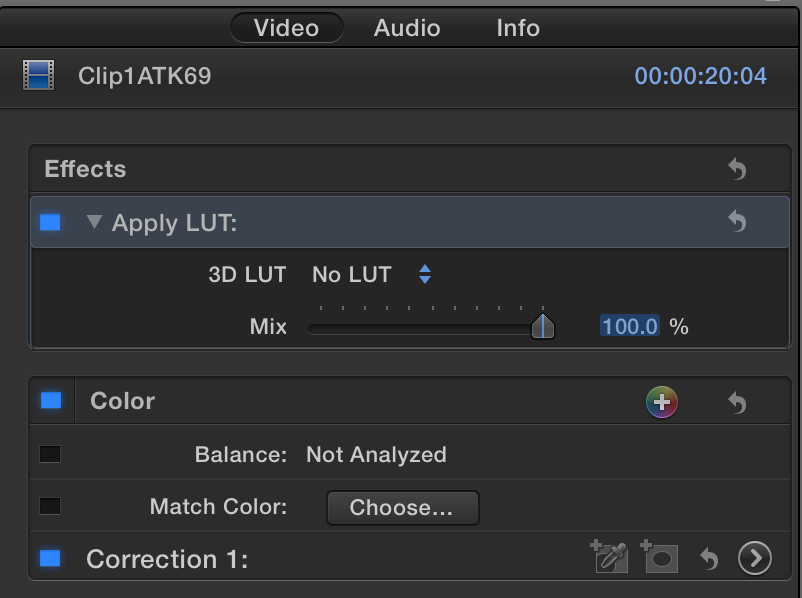 Click on the drop-down arrows next to 3D LUT and select from the list of available LUTs, which we saw in the previous step.
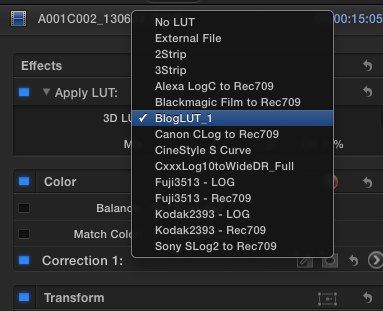 Select the LUT you want to apply and you are good to go. On my MacBook Pro, which is fairly new, I was able to edit with these LUTs applied without a problem.
A Special Note on Arri LogC Footage: FCP X has a great feature that can detect an Arri ALEXA LogC clip and automatically apply a basic Log to Rec709 LUT to it. This is a great built-in option, but you probably don't want to combine it with the other plugin I explained above. Here's how you can enable or disable this option on Arri ALEXA LogC Clips:
Open up an Arri ALEXA LogC clip in the main viewer, and click on the "Info" tab on the upper right side.
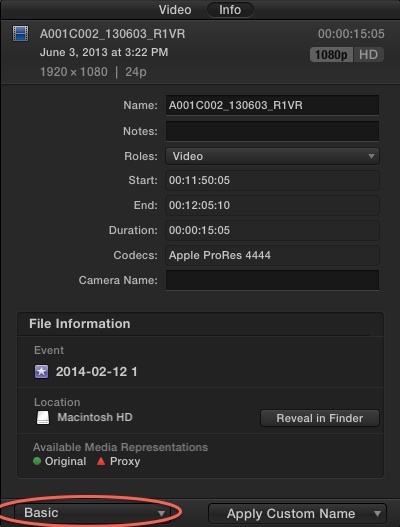 At the bottom of the Info area is a drop-down box to select what info you see about the clip - change this drop down to "Settings." Now you should see various options in the Info area. Look for the "Log Processing" check box.
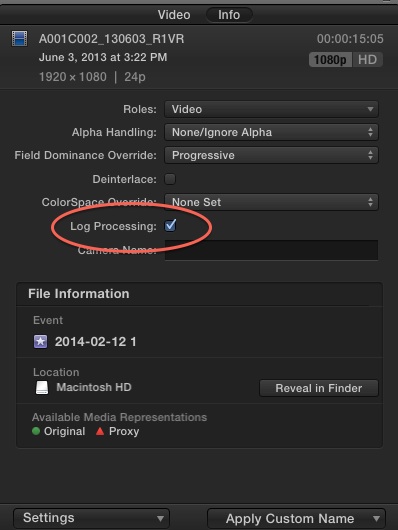 Check the box if you want the default LogC to Rec709 LUT applied, or leave it blank if you want to use the LUT Utility shown above.
Adobe Premiere Pro CC
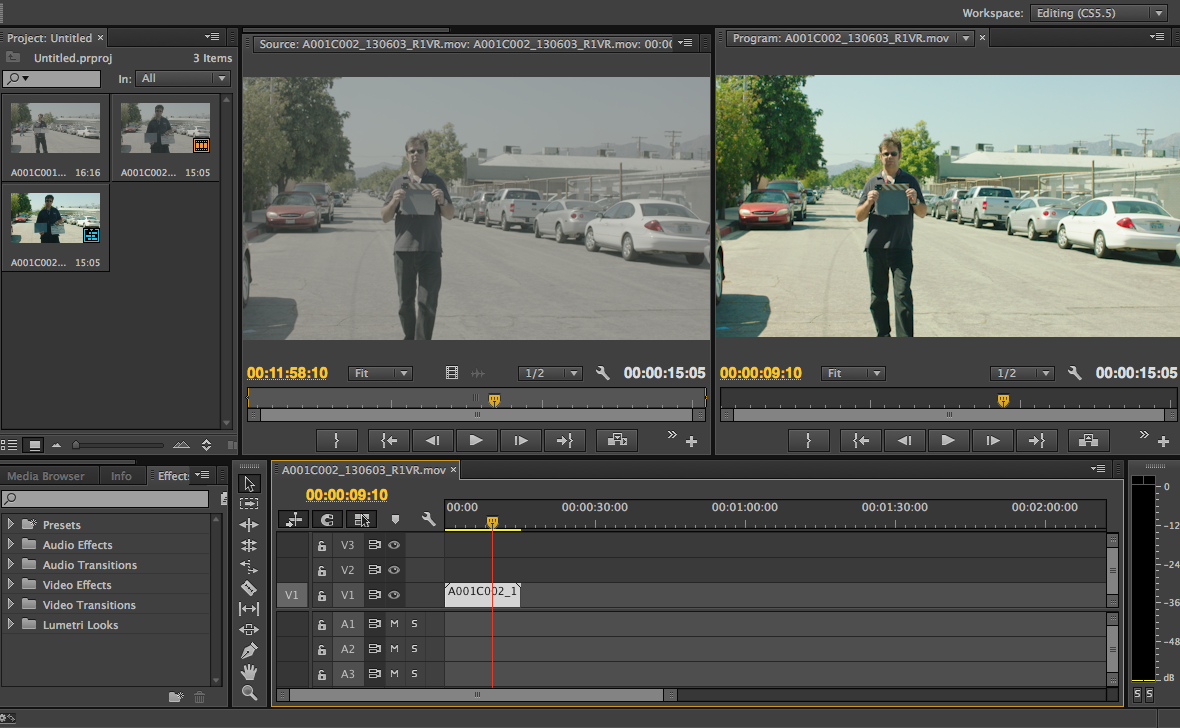
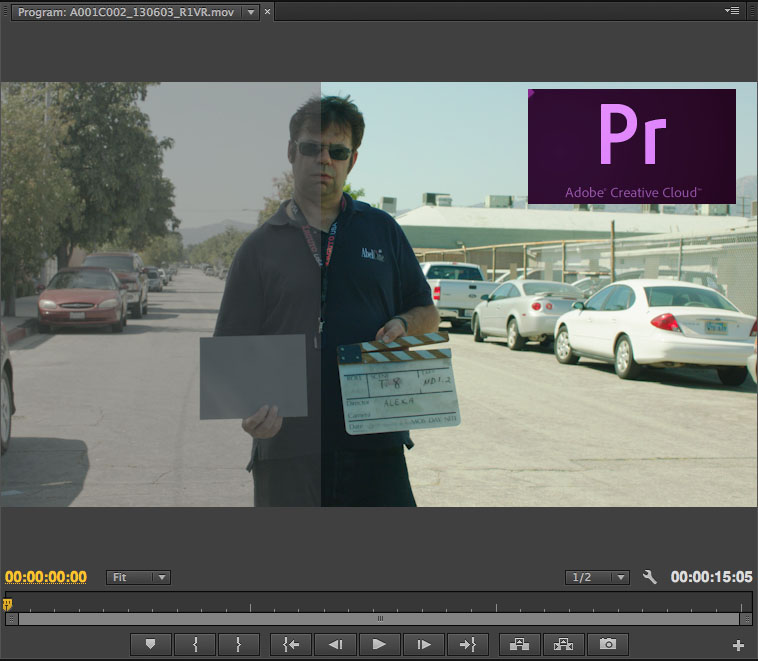 Adobe Premiere Pro CC is quite an impressive program. I really love the simplicity and usability of the system, and applying LUTs is now just as easy. In the latest update of Premiere Pro CC, they have added a built-in effects plugin called Lumetri. This plugin allows you to apply various LUTs and easily send them over to Speedgrade CC for grading. Here are the steps for applying LUTs in Premiere Pro CC:
Find the Lumetri effect under Effect->Video Effects->Color Correction->Lumetri.
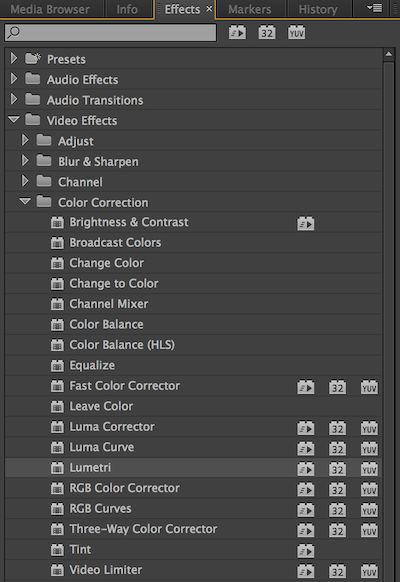 (Quick note: there is a full Lumetri Looks category of effects, which give you cool looks in Premiere, but they do not allow you to load LUTs.) Now, add a Log clip to your timeline, and apply the Lumetri effect to it. This will open up a window asking you to locate your LUT.
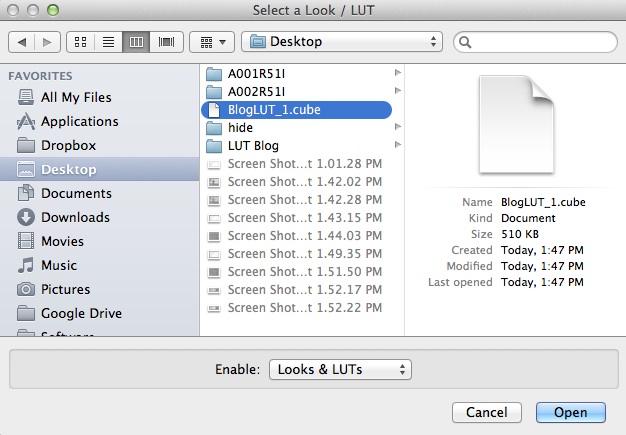 Select an appropriate LUT (again I'll use the Blog LUT created in Resolve) and click open. That's it - now your Log clip should be looking good. I did notice a bit of a slow down and dropped frames when this is applied, but it is very useable overall. Also, if you save your project and open it up in SpeedGrade CC the same LUTs will already be applied and ready for further grading.
Avid Media Composer 7
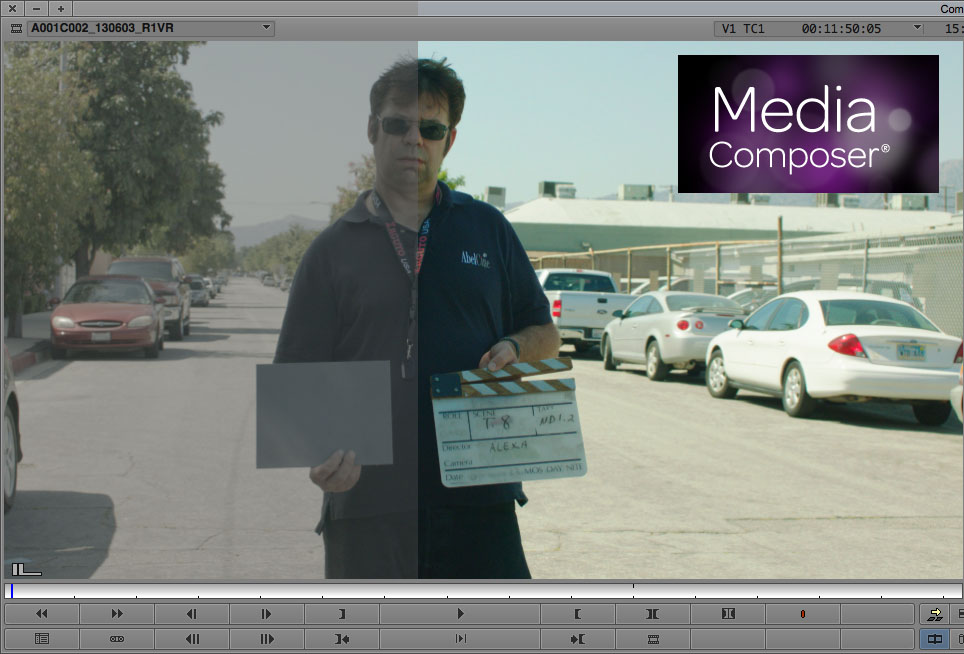 New to Avid Media Composer 7 is the ability to load LUTs right to clips in your Bin. This is a great option and will surely speed/pretty up a lot of workflows. Here are the steps to applying LUTs in MC 7:
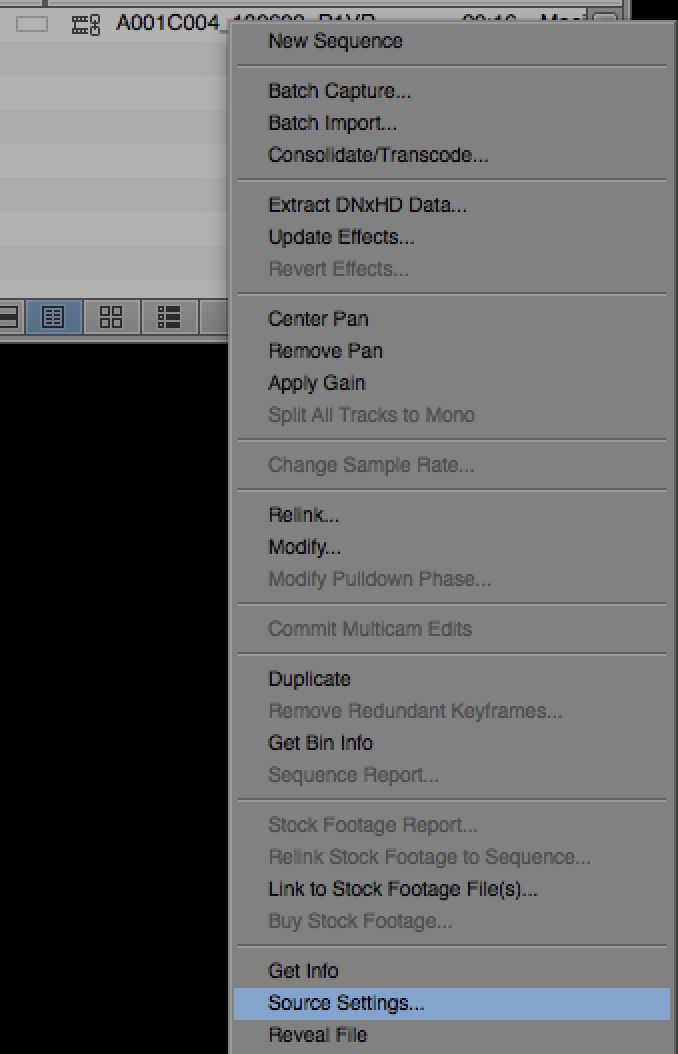
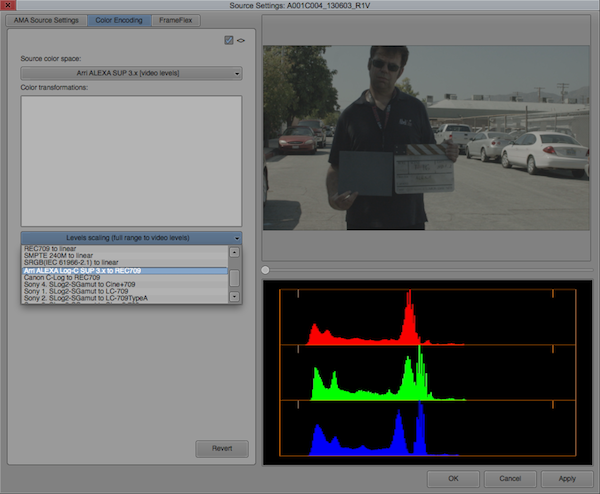
First, import some Log footage into a bin; I'm using Alexa LogC footage. Then right-click on any clip and look for "Source Settings."
 The Source Settings window will appear with a couple options. The first drop-down will have options for the Source color space: Sony, Canon, Arri, etc. These settings are important to make sure your levels (legal vs extended) are correct. If you aren't sure, and are using a fairly common video camera, it's probably Rec709 at video levels.
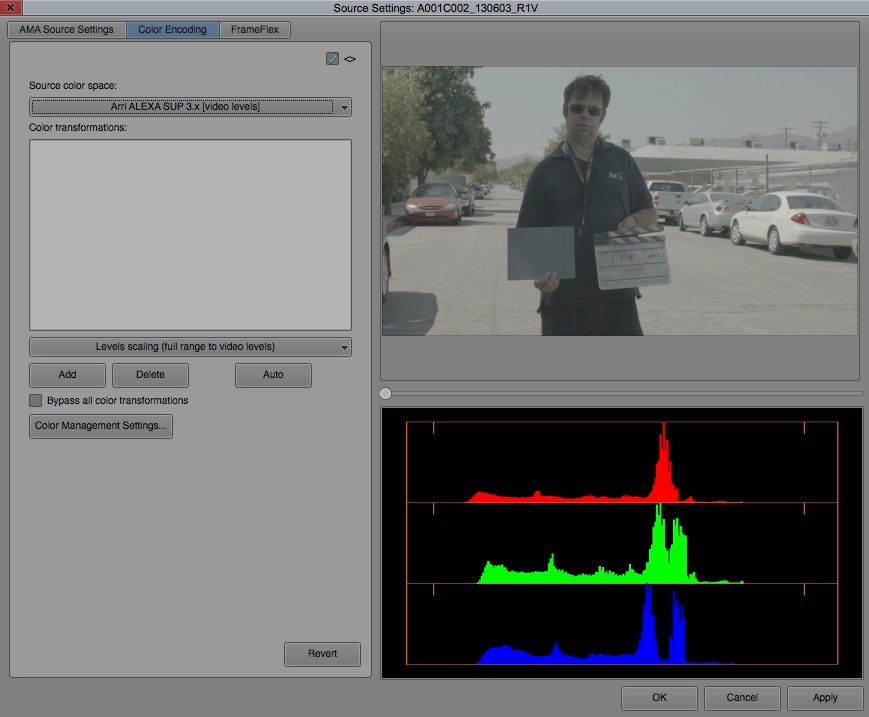 Now select your LUT from the bottom drop-down. There are many different options here, including LogC to 709.
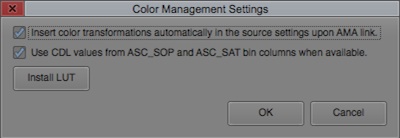
 To add LUTs that are not in the system, you can click the Color Management Settings button, and load LUTs by clicking the "Install LUT" button.
 I loaded in the Blog LUT once again - and now it appears in the list of LUTs.
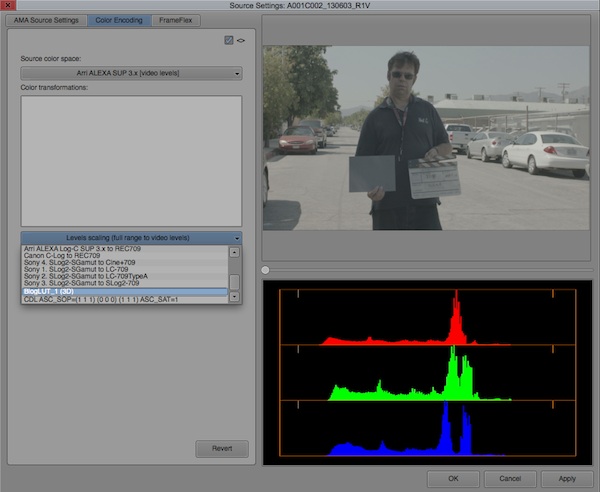 Select your LUT, and click "Add" to apply it to the image. After you've added your LUT, click the "Apply" button in the bottom right corner. This will apply the LUT to the file in the bin, and on any timeline that you put it in.
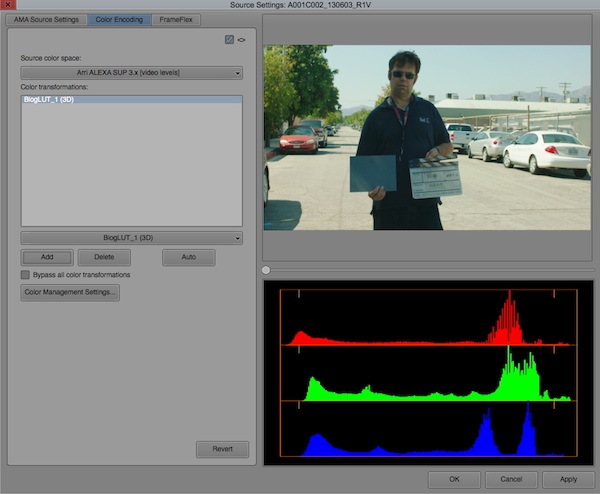 This tool is great because you can apply and stack multiple LUTs together. For instance, it can add a Log conversion LUT as well as an ASC CDL.
Hopefully this guide has made your workflow process a little easier. If you want to learn even more about creating your own LUTs, keep an eye out for our Digital Technician classes: On-Set LUT Creation 101: 1D & 3D LUTs & On-Set LUT Creation 201: Creative Application (also available online).
