Like we've detailed in the dynamic range test, the FS700 offers similar range to the FS100, but the addition of Cine Gammas help the FS700 match more closely to cameras like the PMW-F3.
You can download the compressed scene files here if you'd like to give them a try. After you uncompress the file, you should drag the PRIVATE folder to the root directory of an SDHC card or Memory Stick and load them into the camera via the "Camera Profile" option in the "Others" menu. Unfortunately, there is no way to name the files in the camera, so you should be sure to have a reference nearby when selecting the profile you'd like to use. Below I've included some screen shots and a brief description of what each scene file is designed for, as well as the "recipe" for each scene file if you'd like to add them manually. Let us know what you think in the comments.
FS700 Standard
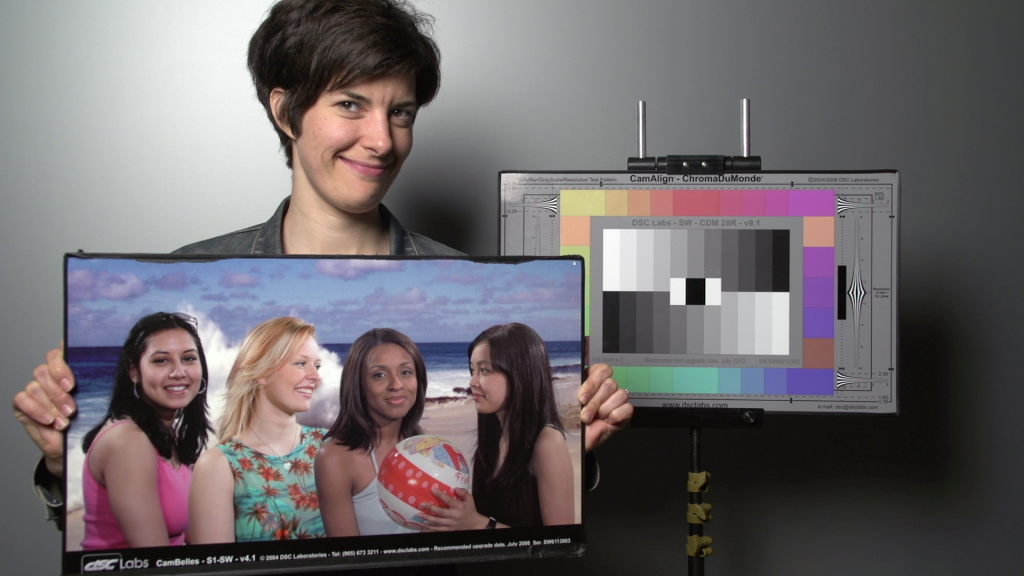 This is the standard look that ships with the camera, similar to the FS100.
1 - AB_Range
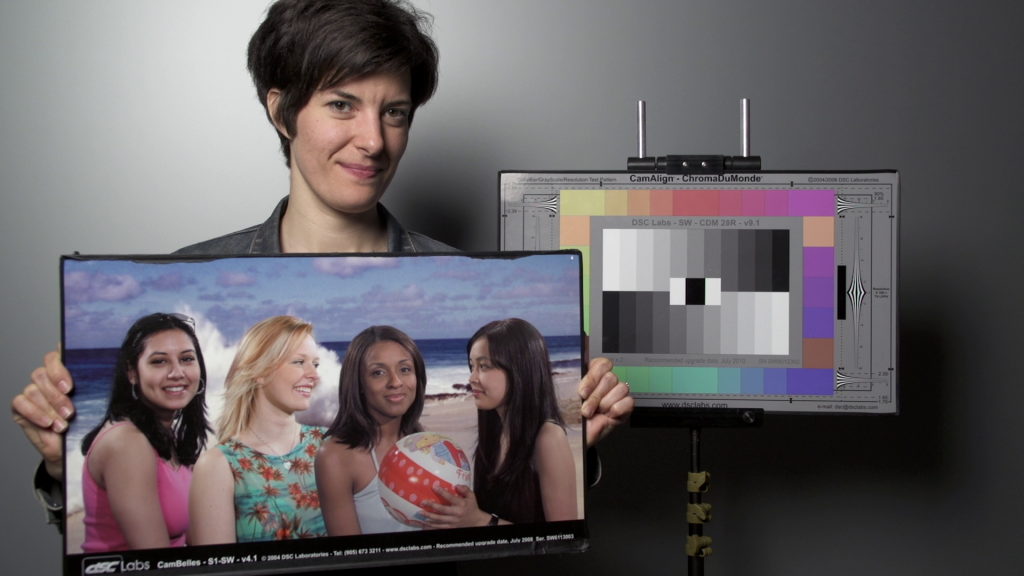 This look builds upon our AB_Norm look but, as the name implies, is designed to give you the maximum amount of latitude possible. We switched from the Standard gamma we used in AB_Norm to Cine1 to help with highlight details.
Black Level: -7
Gamma: Cine1
Black Gamma: Middle, -4
Knee: Manual, Point= 87.5% / Slope= +2
Color Mode: Pro, Level 8
Color Level: +1
Color Phase: 0
Color Depth: R= -1, G= -1, B= 0, C= +4, M= 0, Y= 0
Detail: -4 / Manual Set = Off
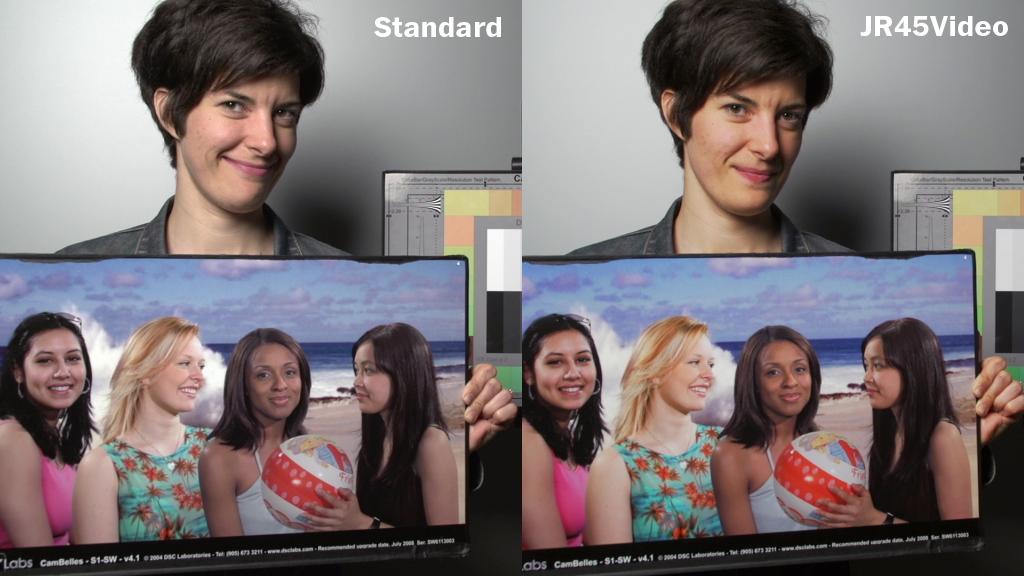
2 - JR45Video
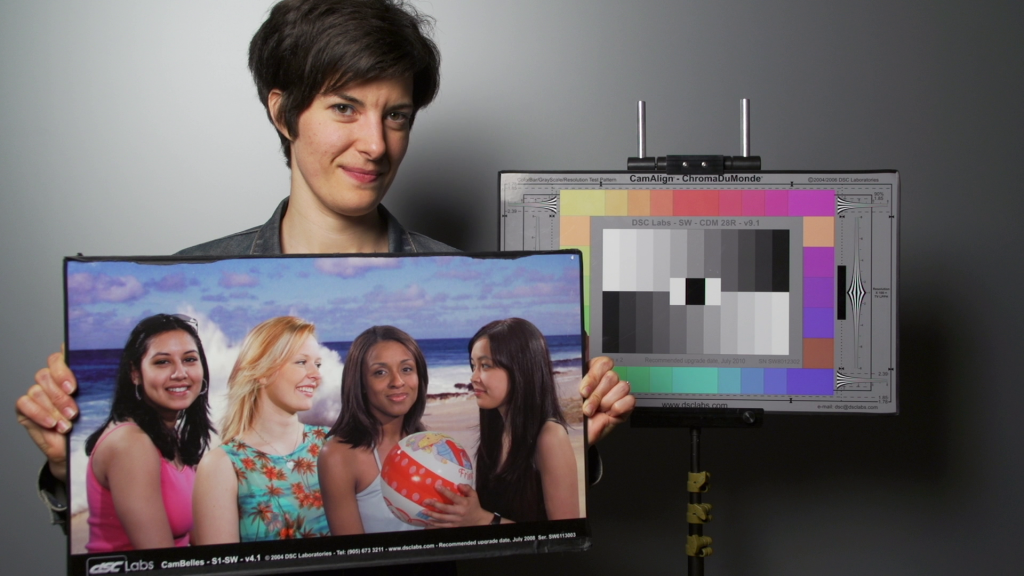 We've been creating scene files for the Panasonic VariCam for years, and JR45Video is designed to match the look first created by Jesse Rosen. For this popular look, we used the Cine3 gamma, since it's best suited for evenly exposed scenes, along with some color adjustments and a good amount of saturation.
Black Level: 0
Gamma: Cine3
Black Gamma: High, +3
Knee: Manual, Point= 95% / Slope= 5
Color Mode: Still, Level 8
Color Level: +5
Color Phase: -1
Color Depth: R= -3, G= +5, B= -2, C= 0, M= +1, Y= -2
Detail: -3 / Manual Set = Off
3 - JR45Cine
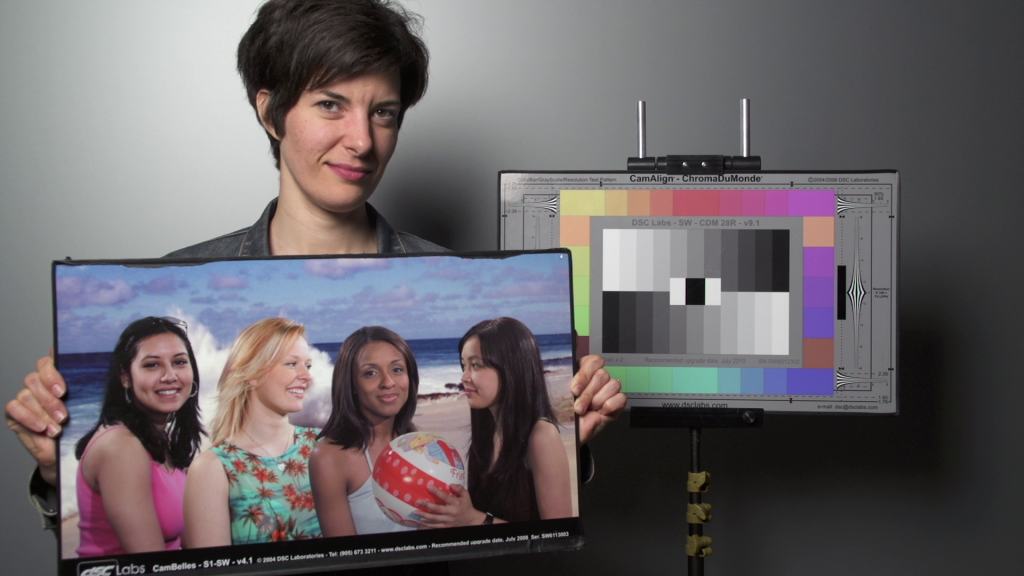 This is a flat variant of the JR45Video look, where we used Cine1 gamma to protect the highlights. Since we were aiming for as much range as possible, there is minimal color adjustment.
Black Level: 0
Gamma: Cine1
Black Gamma: High, -7
Knee: Manual, Point= 95% / Slope= +5
Color Mode: Pro, Level 8
Color Level: +4
Color Phase: +2
Color Depth: R= +4, G= -7, B= -1, C= -3, M= +7, Y= 0
Detail: -4 / Manual Set = Off
4 - AB_NEXLOG
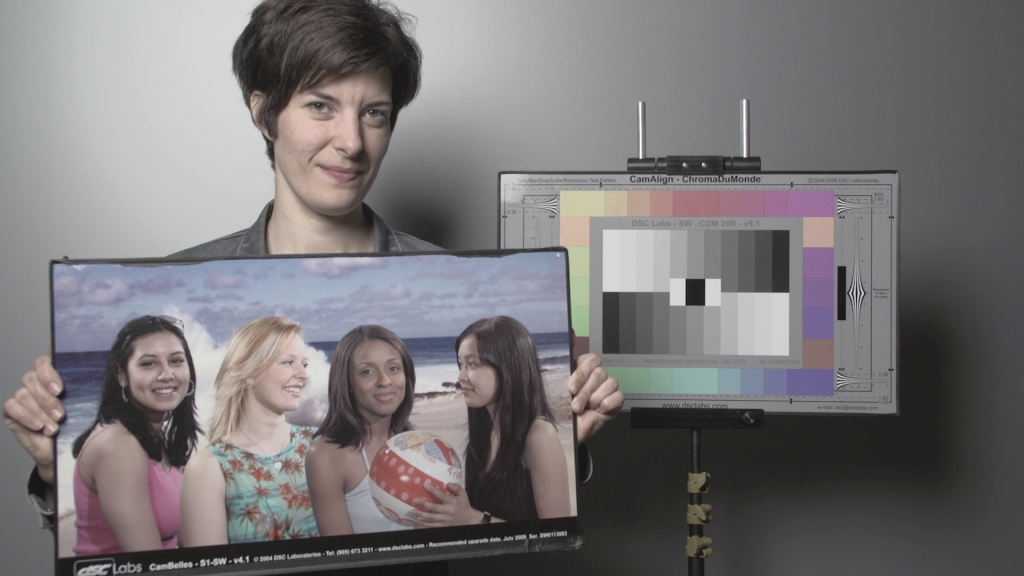 Once you load this profile you'll see why we called this one the NEX LOG. While this won't replicate LOG shooting exactly, you'll notice that we've raised the black level and reduced saturation. Because we're using the Standard gamma, you'll be able to adjust your knee point as necessary to help control some of the highlights. You can download a short clip if you'd like to try grading this yourself, as well as a DeLog LUT that Andy created.
Black Level: +15
Gamma: Standard
Black Gamma: High, +7
Knee: Manual, Point= 75% / Slope= -1
Color Mode: Pro, Level 8
Color Level: -7
Color Phase: 0
Color Depth: R= 0, G= 0, B= 0, C= 0, M= 0, Y= 0
Detail: -7 / Manual Set = Off
5 - AB_Norm2
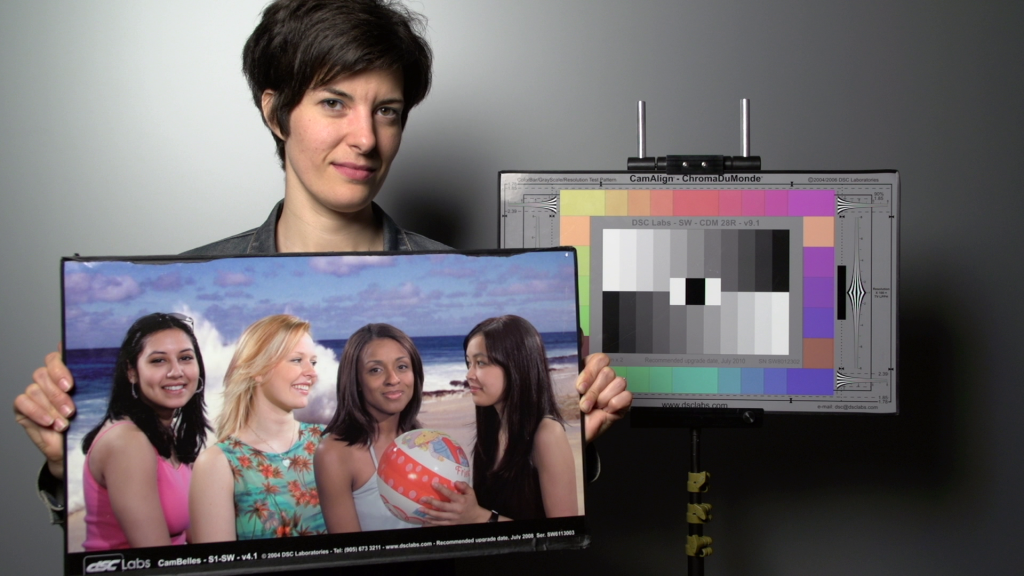 Here we tried to match Andy's AB_Norm, which is intended for controlled lighting scenarios and studio work.
Black Level: -7
Gamma: Standard
Black Gamma: Middle, -4
Knee: Manual, Point= 87.5% / Slope= 0
Color Mode: Pro, Level 8
Color Level: +1
Color Phase: 0
Color Depth: R= -1, G= -1, B= 0, C= +4, M= 0, Y= 0
Detail: -4 / Manual Set = Off
6 - AB_EOS5D
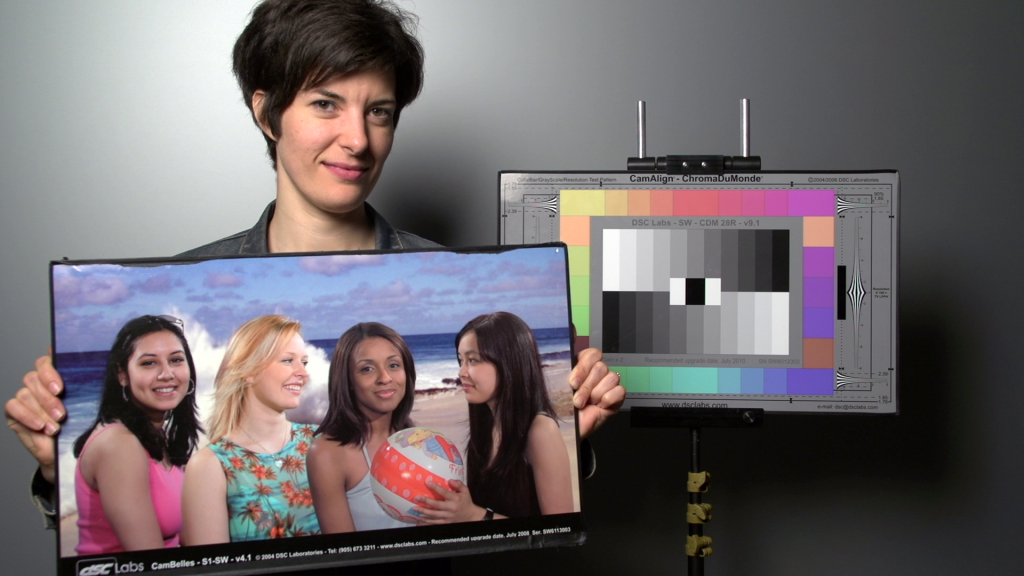 Like the name suggests, here we tried to match the popular Canon 5D look. We used the 709 gamma with the Still matrix and some color depth changes to get as close as possible. Auto knee is on by default, but feel free to switch it to manual if you'd like some more control.
Black Level: -6
Gamma: ITU709
Black Gamma: High, -1
Knee: Auto, Max Point= 100% / Sensitivity= Middle
Color Mode: Still, Level 8
Color Level: +3
Color Phase: 0
Color Depth: R= -5, G= -4, B= -3, C= -5, M= -2, Y= -6
Detail: +1 / Manual Set = Off
Remember, there's no perfect setting for every situation, but hopefully you'll find these files helpful.
