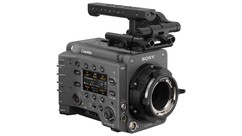
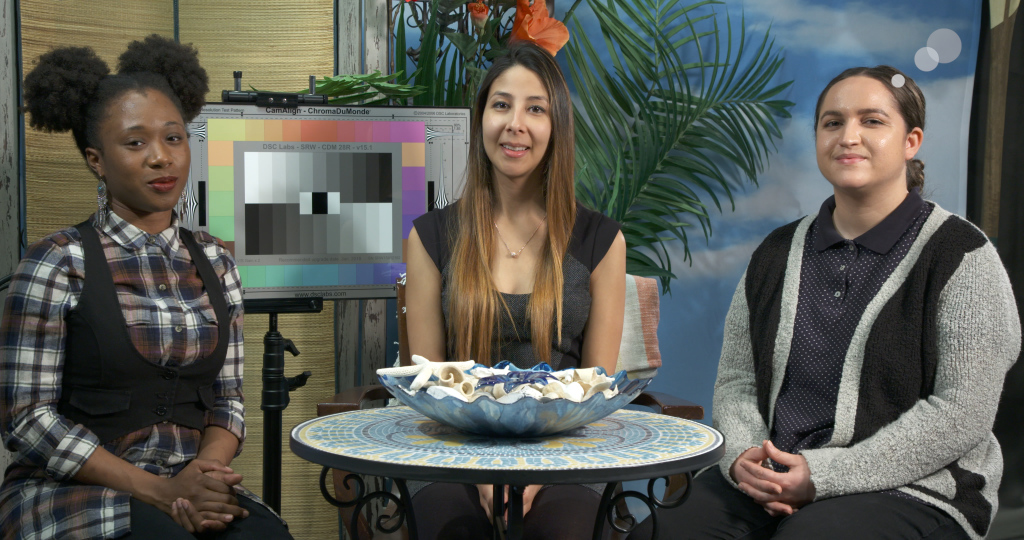
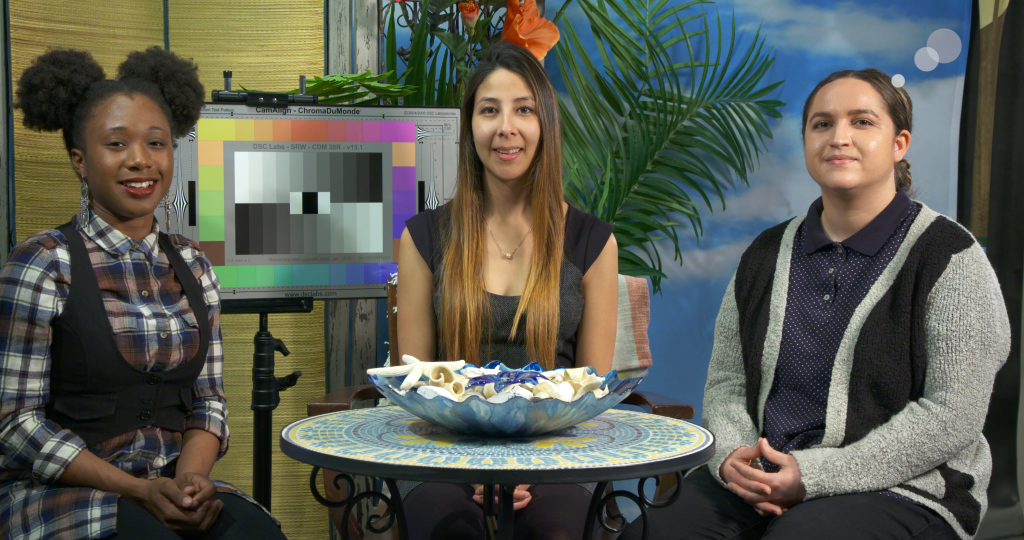
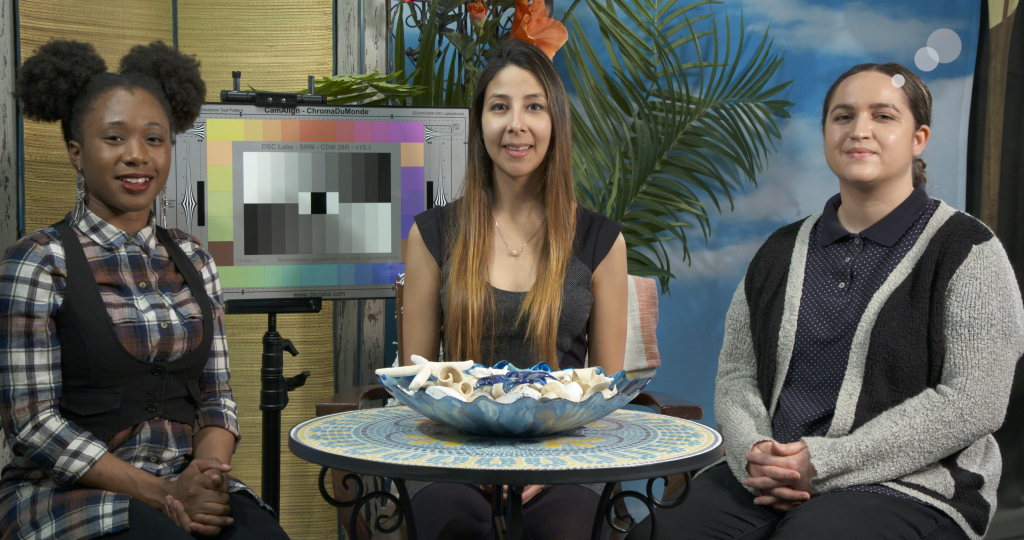
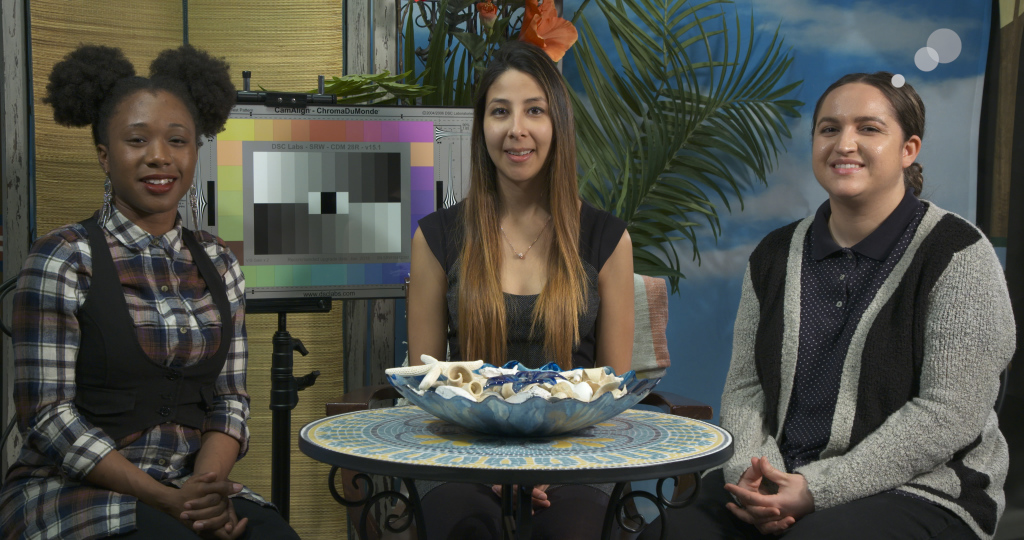
You can download the scene files individually below or, for convenience, you can download them all at once. Instructions for loading the scene files are at the bottom of this post.
AB-NORM
AB-NORM is a very universal look that can be used for interiors and exteriors. It is a popular look as it can fit multiple scenarios and lighting ratios, as well as provides nice skin tone reproduction and contrast. Download »
AB-HIGHLIGHT
The AB_HILIT scene file is intended for use in scenes with high contrast ranges, such as a bright day or other scenes where your environment has more highlights than shadows. Download »
AB-HIGHSAT
The AB_HIGHSAT scene file has more saturation and contrast, allowing the colors to be more vibrant and stand out more than the previous looks described above. Notice the vibrant colors in the chart and background as well as skin tone. Download »
JR45CINE
JR45CINE has less contrast and saturation, and more neutral colors and skin tones. This is designed to give you pleasing colors and dynamic range. It leaves a little room for post color correction if desired since the colors are flatter, but color correction is not necessary. Download »
JR45VIDEO
The JR45 Video scene file is a broadcast style look with saturated colors but not as saturated as Hi Sat. Download »
Scene File Loading Instructions
If you download the full set of scene files for the FS7II, follow these installation instructions.
1) Insert & format an SD Card in the Sony FS7II. Find this under the camera’s media menu: Menu ➔ Media ➔ Format Media ➔ SD Card
2) Unzip the AbelCine FS7II scene files on your computer. This should create a folder called ‘private’.
3) Connect the SD Card that you just formatted in the camera to your computer.
4) Copy the ‘private’ folder onto the root directory of the SD Card, replacing the private folder that the camera created.
5) Load the SD Card Back into the camera.
6) Load the scene files under the camera’s file menu: Menu ➔ File ➔ Scene File ➔ Load SD Card
If you downloaded an individual scene file from the list above then things are a bit more complicated. Here are the basic instructions:
1) Insert & Format an SD Card in the Sony FS7II. Find this under the camera’s media menu: Menu ➔ Media ➔ Format Media ➔ SD Card
2) Write a blank scene file to your card to create the correct folder structure on the card. Do this in the camera’s file menu: Menu ➔ File ➔ Scene File ➔ Save SD Card. Just write any file to the SD card, we can delete it later.
3) Unzip the AbelCine FS7II scene file on your computer. This should create a .SCENE file.
4) Connect the SD Card that you just formatted in the camera to your computer.
5) Copy the .SCENE file to the following folder on the SD card: private ➔ Sony ➔ PRO ➔ CAMERA ➔ PXWFS7II. If you see another file in there, go ahead and delete it, this is what we just created in Step 2.
6) Load the SD Card Back into the camera.
7) Load the scene files under the camera’s file menu: Menu ➔ File ➔ Scene File ➔ Load SD Card
Make sure to download our scene files and give them a try? Let us know what you think in the comments!
