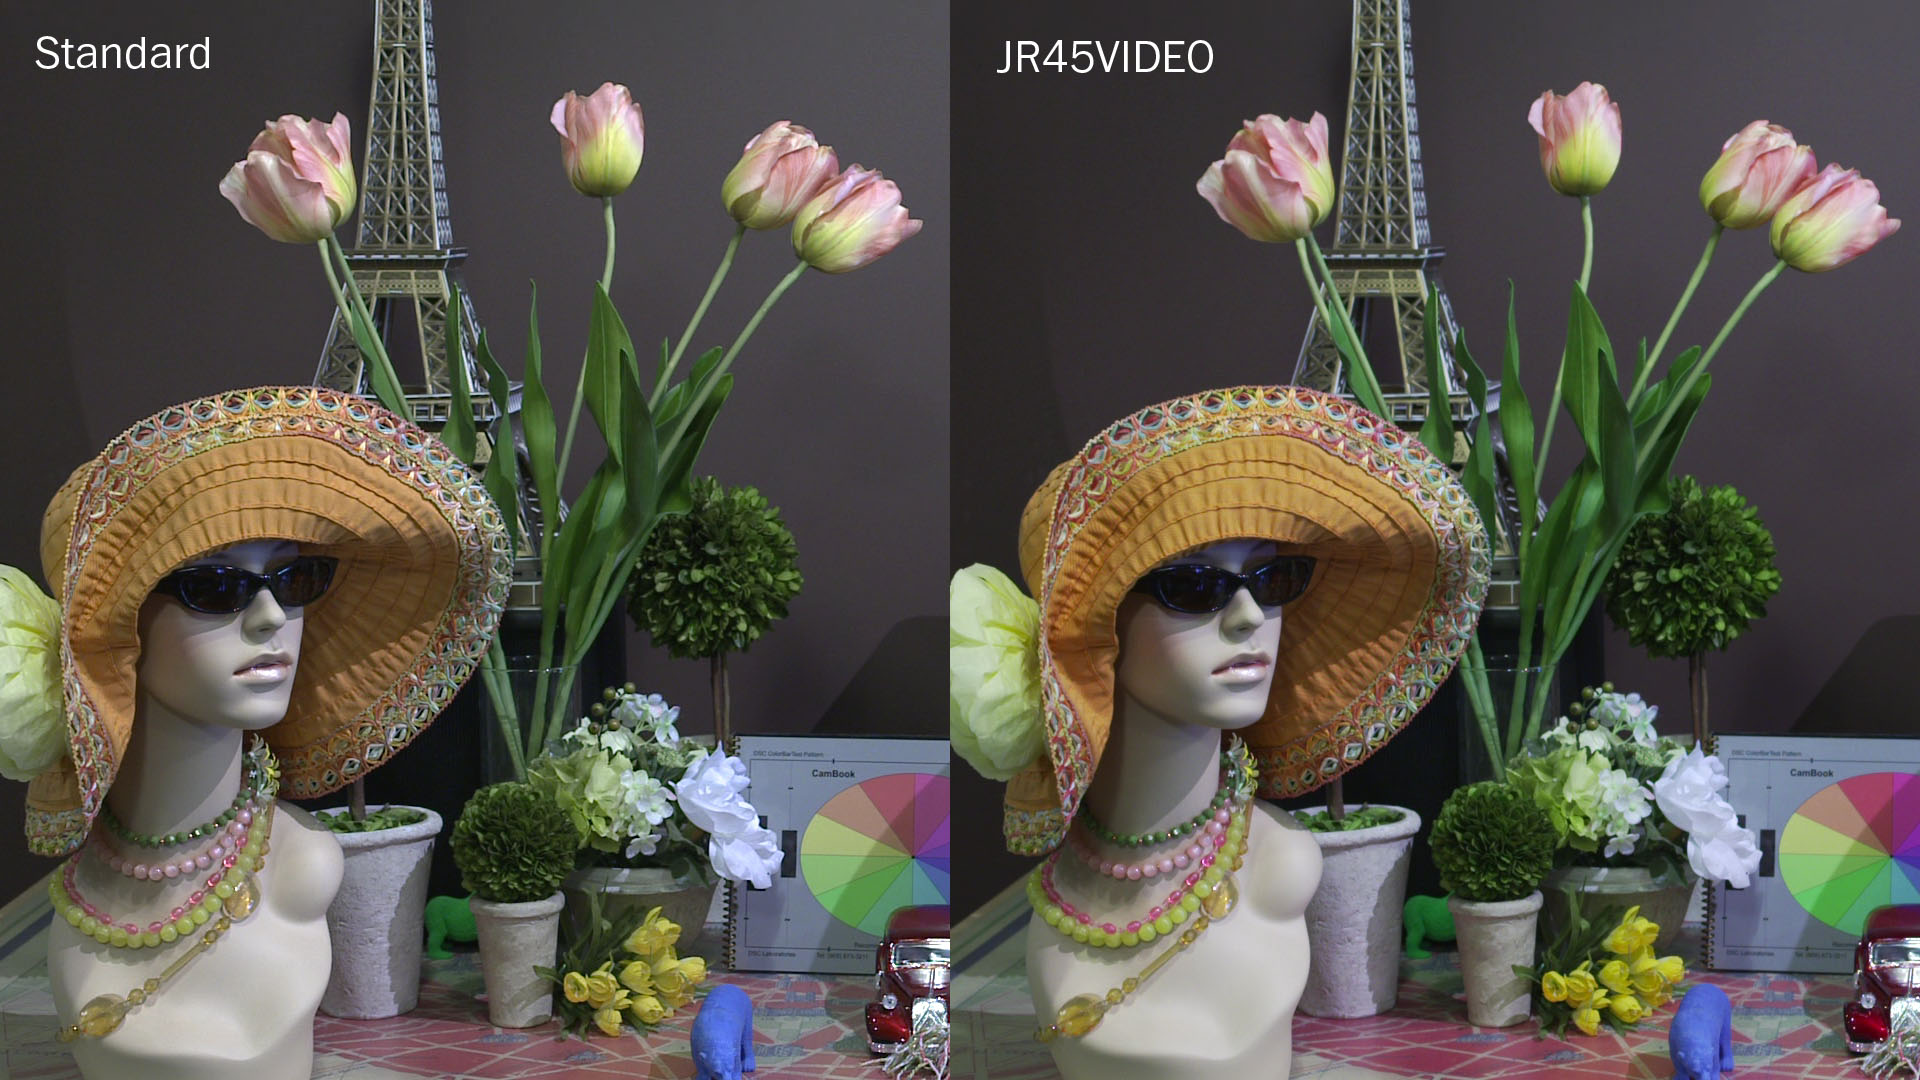
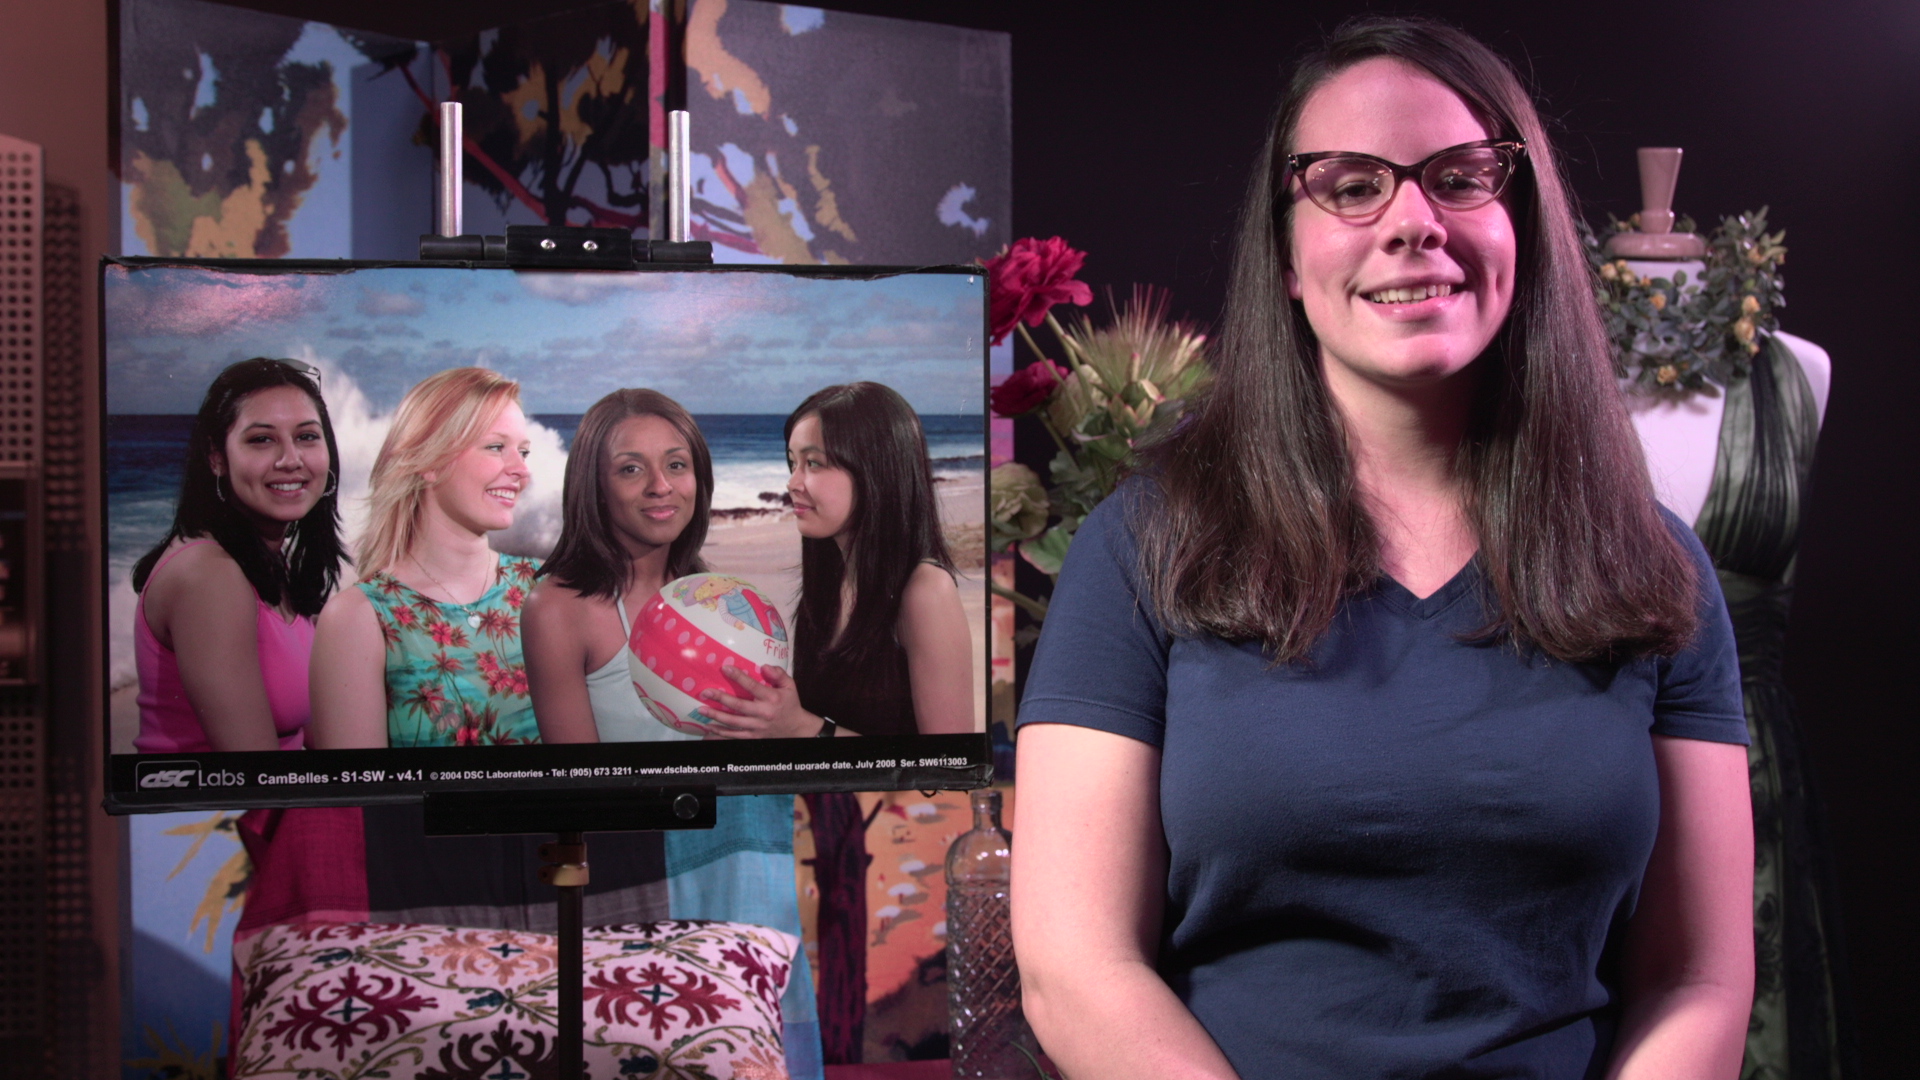
You can download all of the scene files, and easily upload them to your camera through an SxS card but this will change all of your other camera settings. You can instead download the files individually from links below each profile. Here is a brief description of each and what you can expect. Learn how these files were made and how to make your own in our F3 class, which is going on this week in NYC & LA.
Note: All of the stills were grabbed at +6db of gain, so you might notice a little noise in the stills. I changed exposure in each still to adjust for the different gamma modes.
Sony Standard
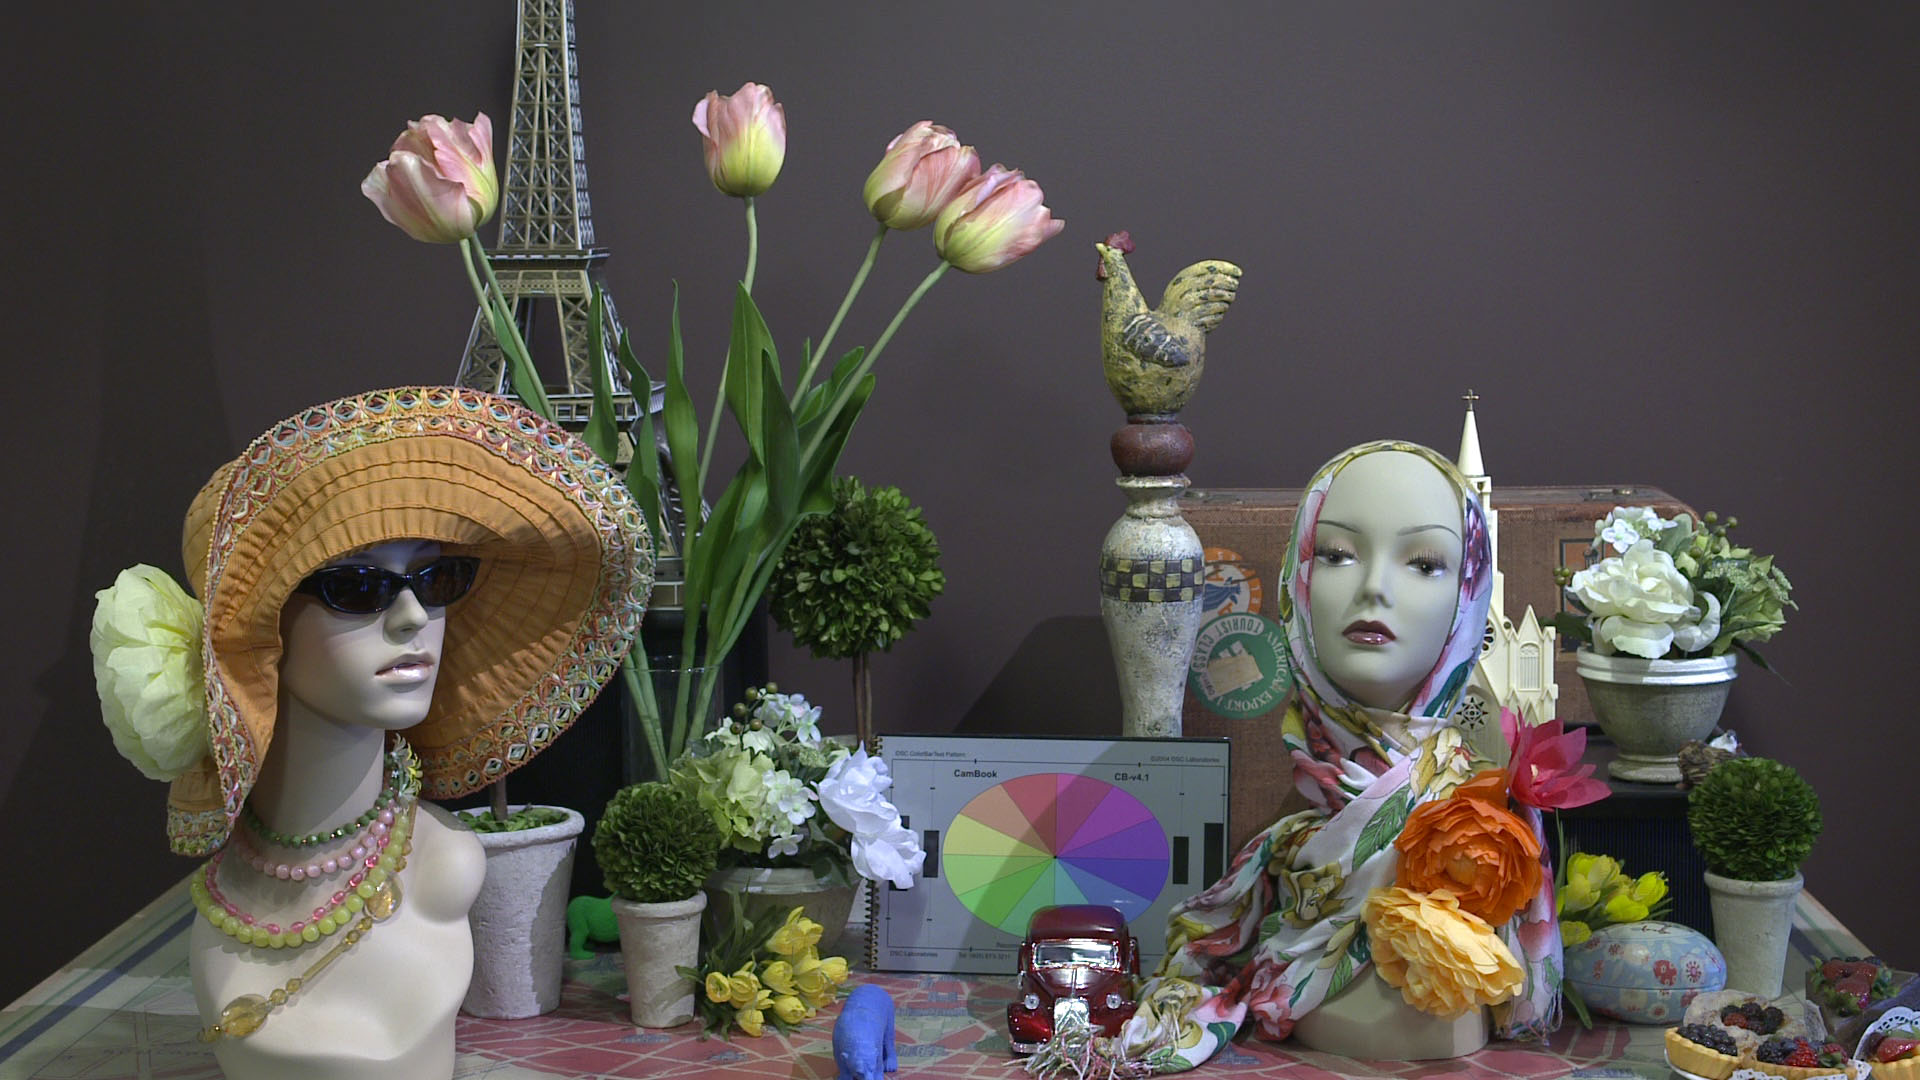 As a quick reference, here is the standard Sony look which uses the Rec709 gamma curve.
AB_Norm
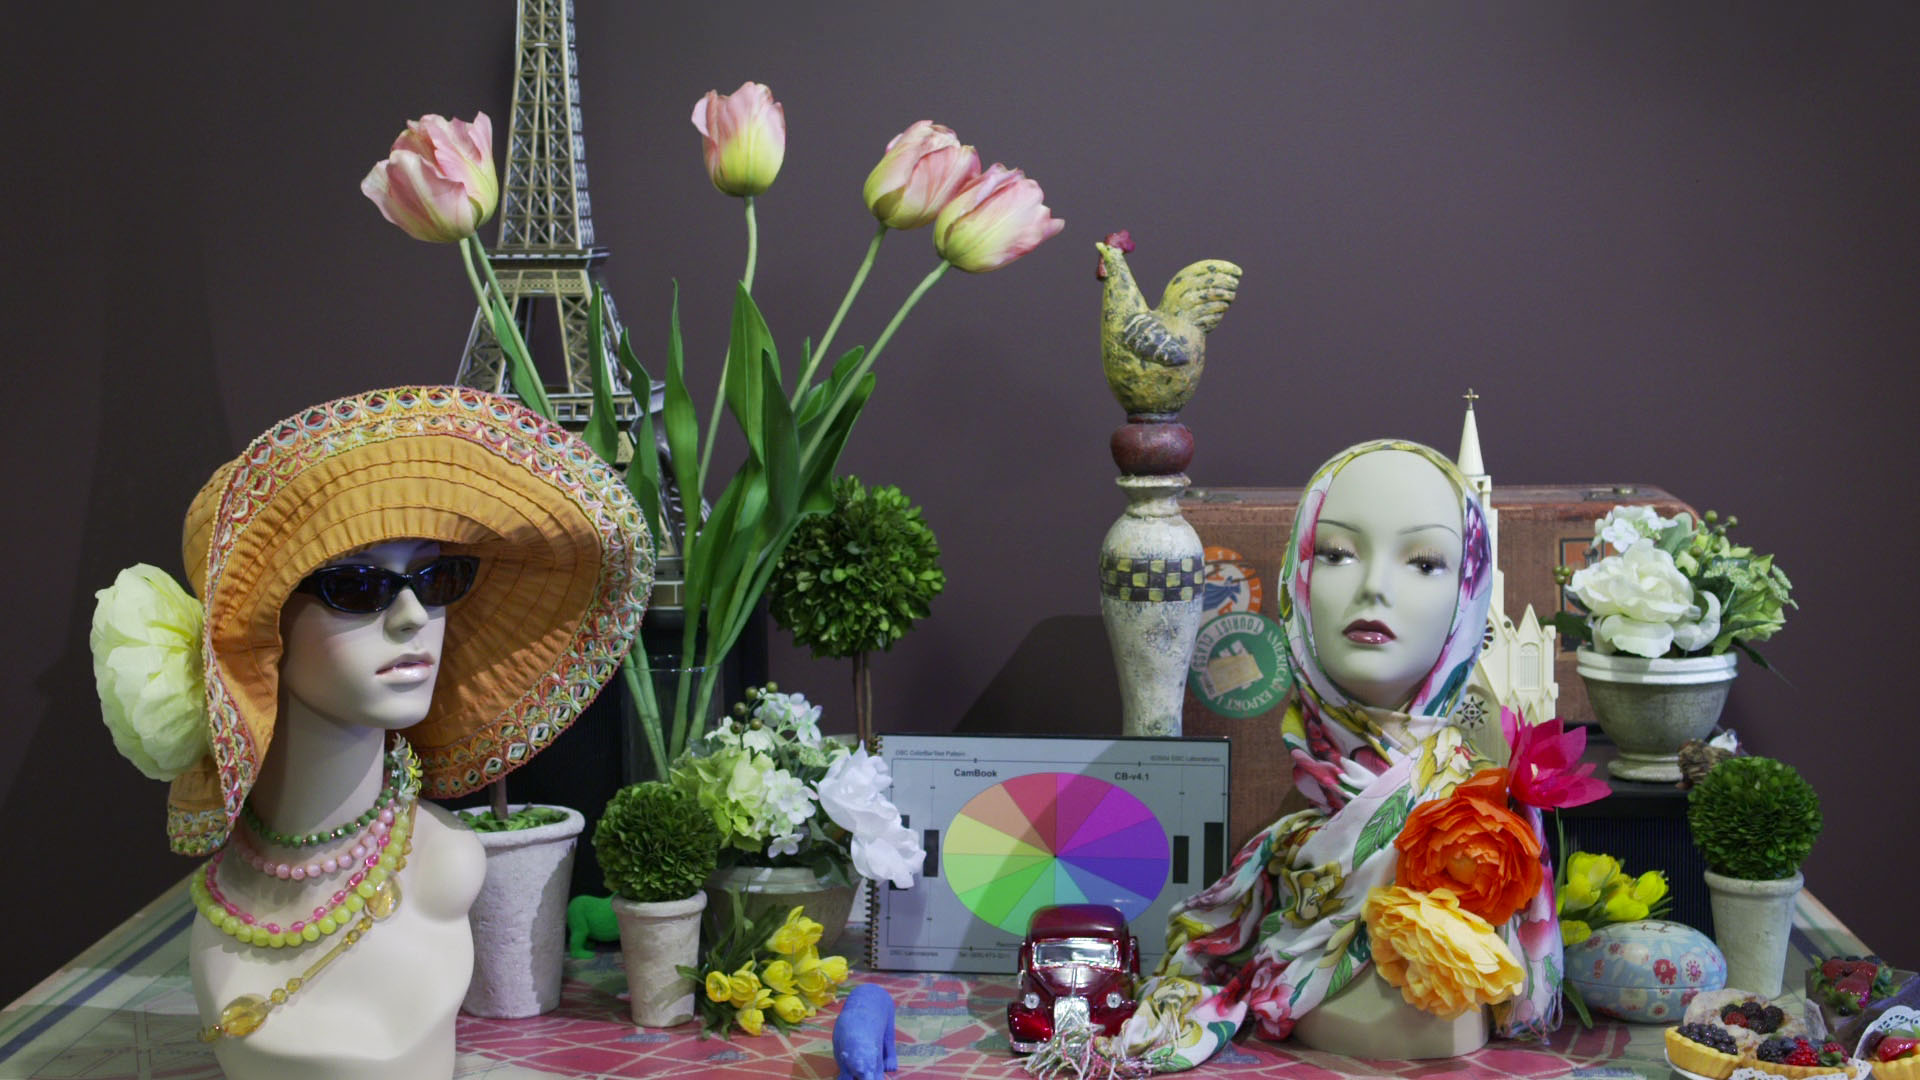 This is what I'm calling the Abel Normal look, which has minimal adjustment and is intended for controlled lighting scenarios and studio work. I used the Cine3 gamma curve which is great for mid-tone values - just a bit of warming up through the matrix, no detail enhancement -and I reduced the black level a bit for better contrast.
AB_HILIT
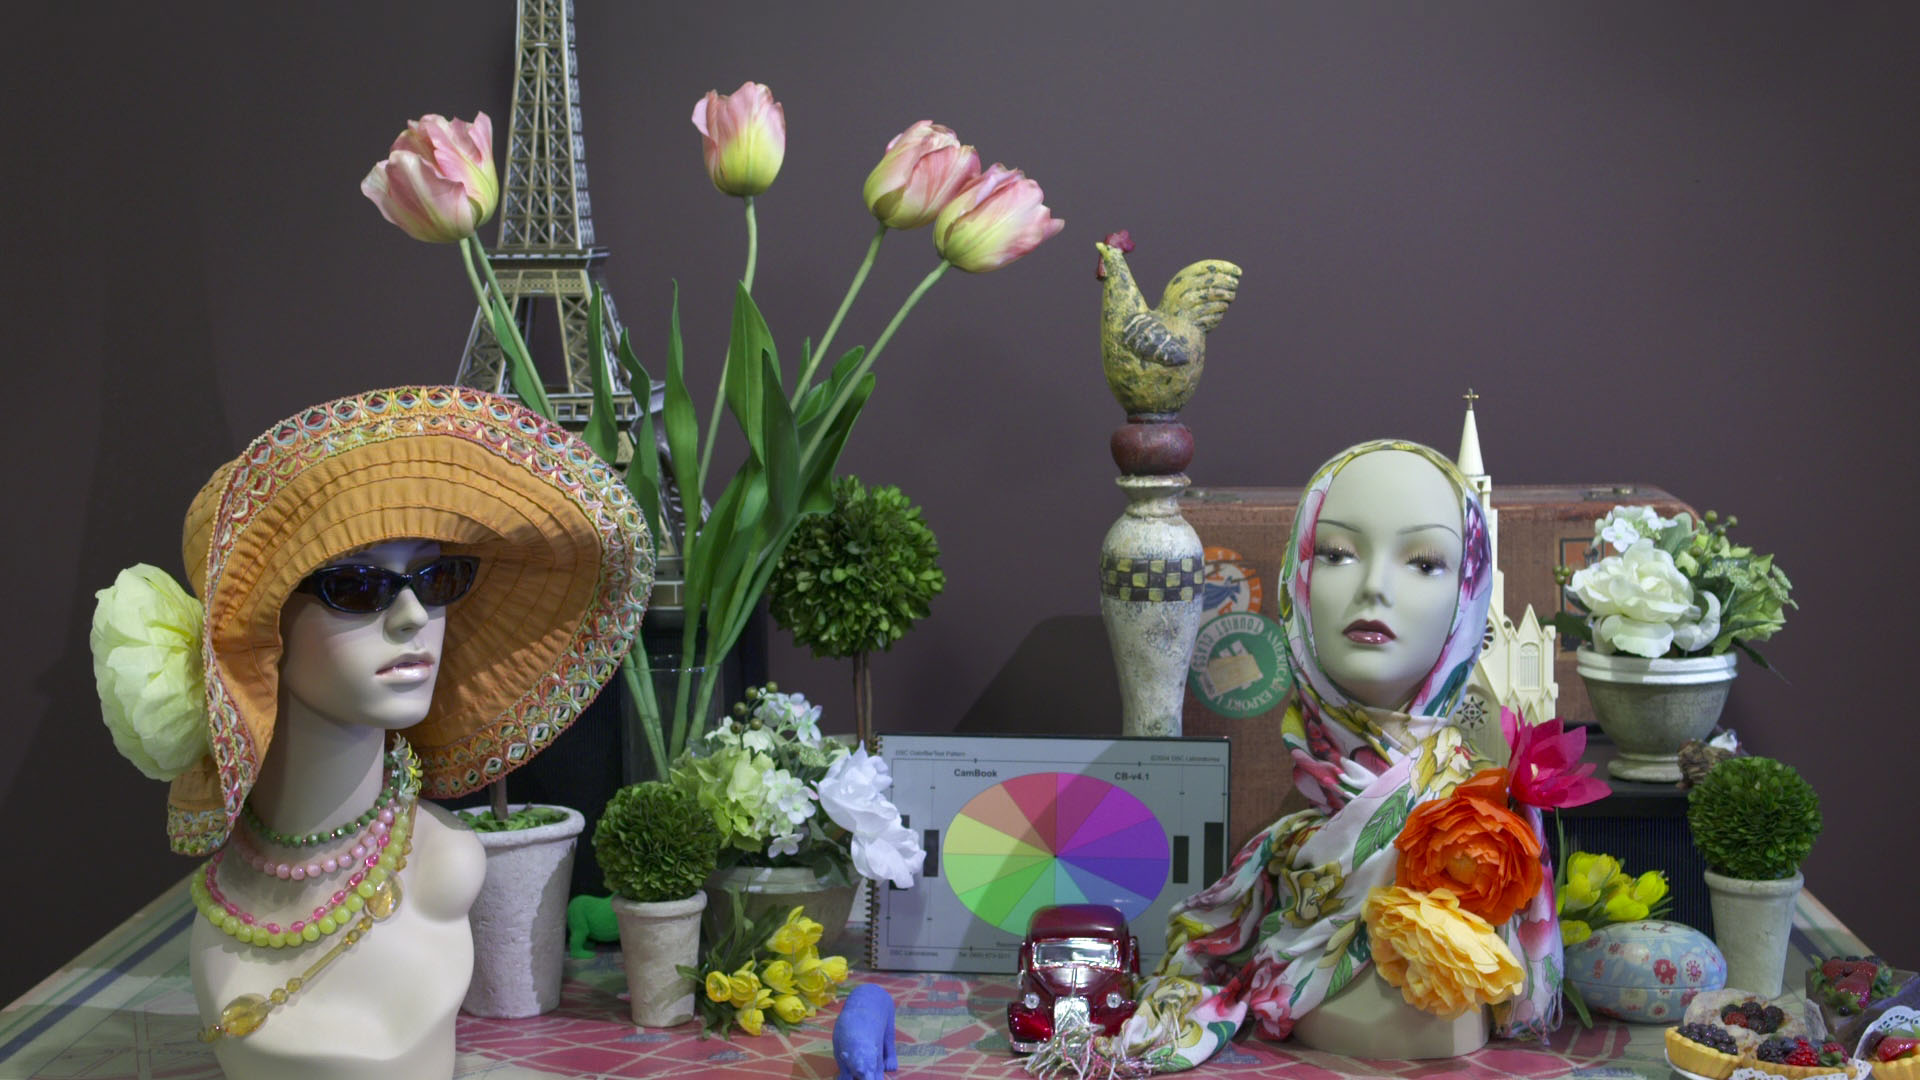 This is what I'm calling the Abel Highlight look, which has the same minimal adjustment found in AB_Norm but using the Cine1 gamma curve. It is intended for use in scenes with bright highlight ranges, such as a bright day. Cine 1 helps preserve the highlight information better than any other gamma curve in the camera.
You can download AB_HILIT here.
AB_RANGE
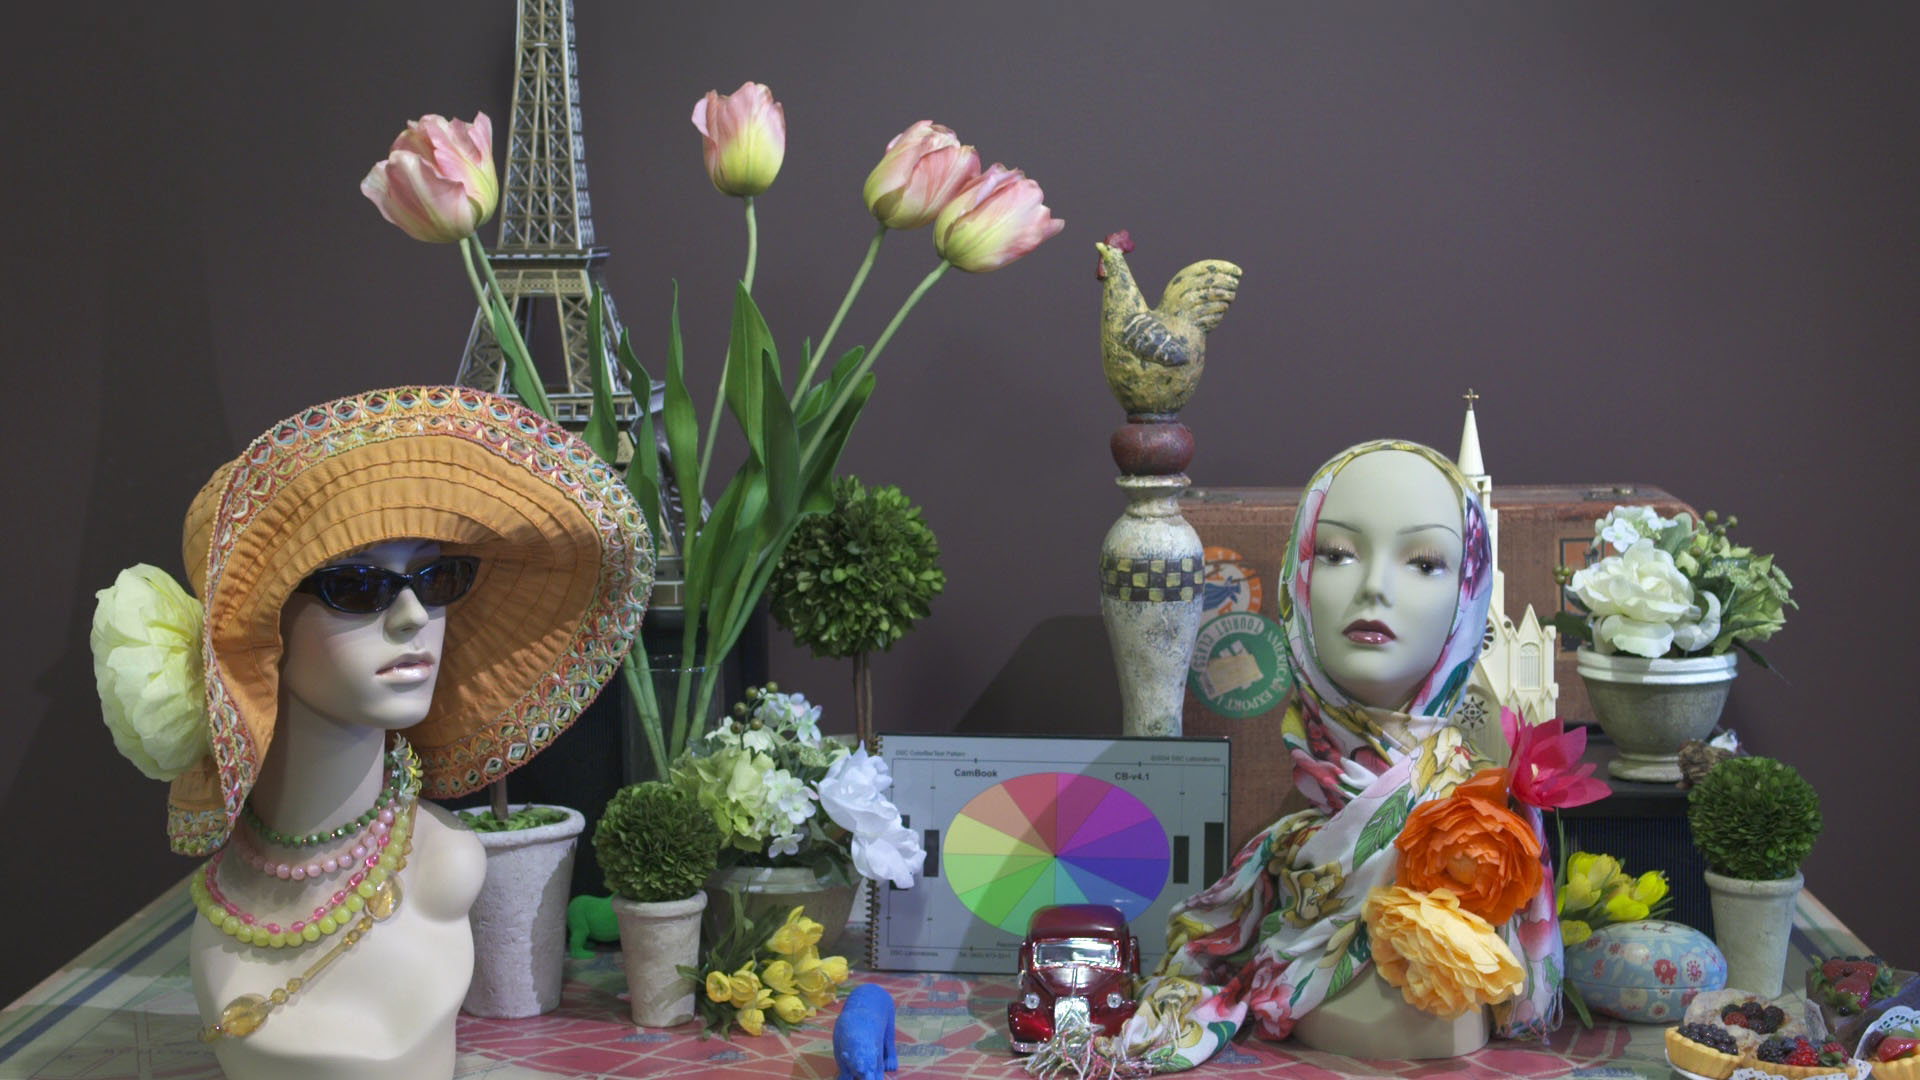 Still building on the AB_Norm look, this file is called Abel Range because it maximizes the full range of the camera. I've taken the same slight matrix adjustment and reduced the saturation overall, which helps in post. Also I've increased the black levels to push up any details that might be lost. The Cine1 gamma curve is used for the most highlight range possible.
You can download AB_RANGE here.
AB_HISAT
 This file is called Abel High Saturation for obvious reasons. I've taken our custom Matrix and pushed it to the extremes. I use the Rec709 gamma mode with a defined knee point and slope and combined that with a black level adjustment to get a contrasty image. This is a fun file to experiment with but I don't suggest using it for any project going through a post color correction.
You can download AB_HISAT here.
JR45VIDE
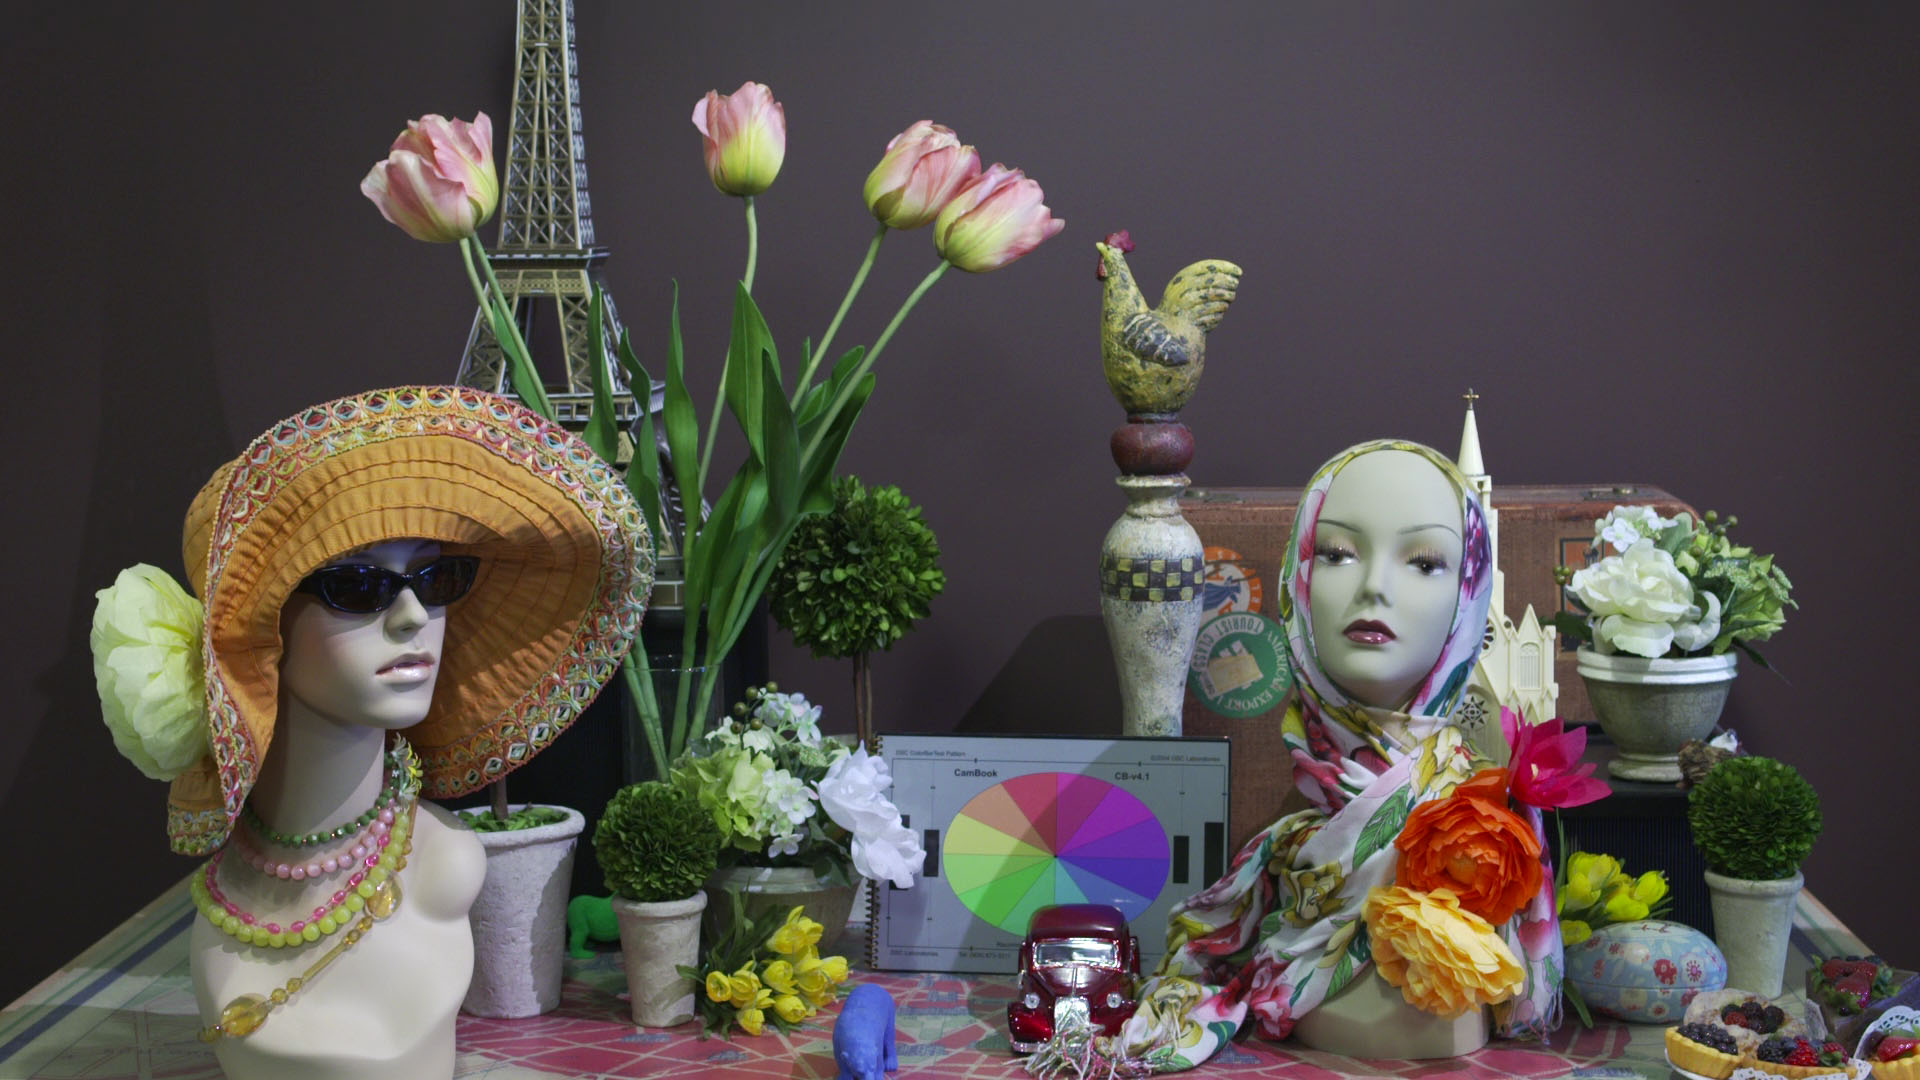 We've been creating scene files for the Panasonic VariCam for years with the same name. First created by our lead tech, Jesse Rosen, the JR45VIDE file is still very popular in VariCams all over the world. This file is designed to match that look as closely as possible. I've combined a custom matrix adjustment with a gamma change to get as close to the VariCam in Video Rec mode. I think the results look quite nice.
You can download JR45VIDE here.
JR45CINE
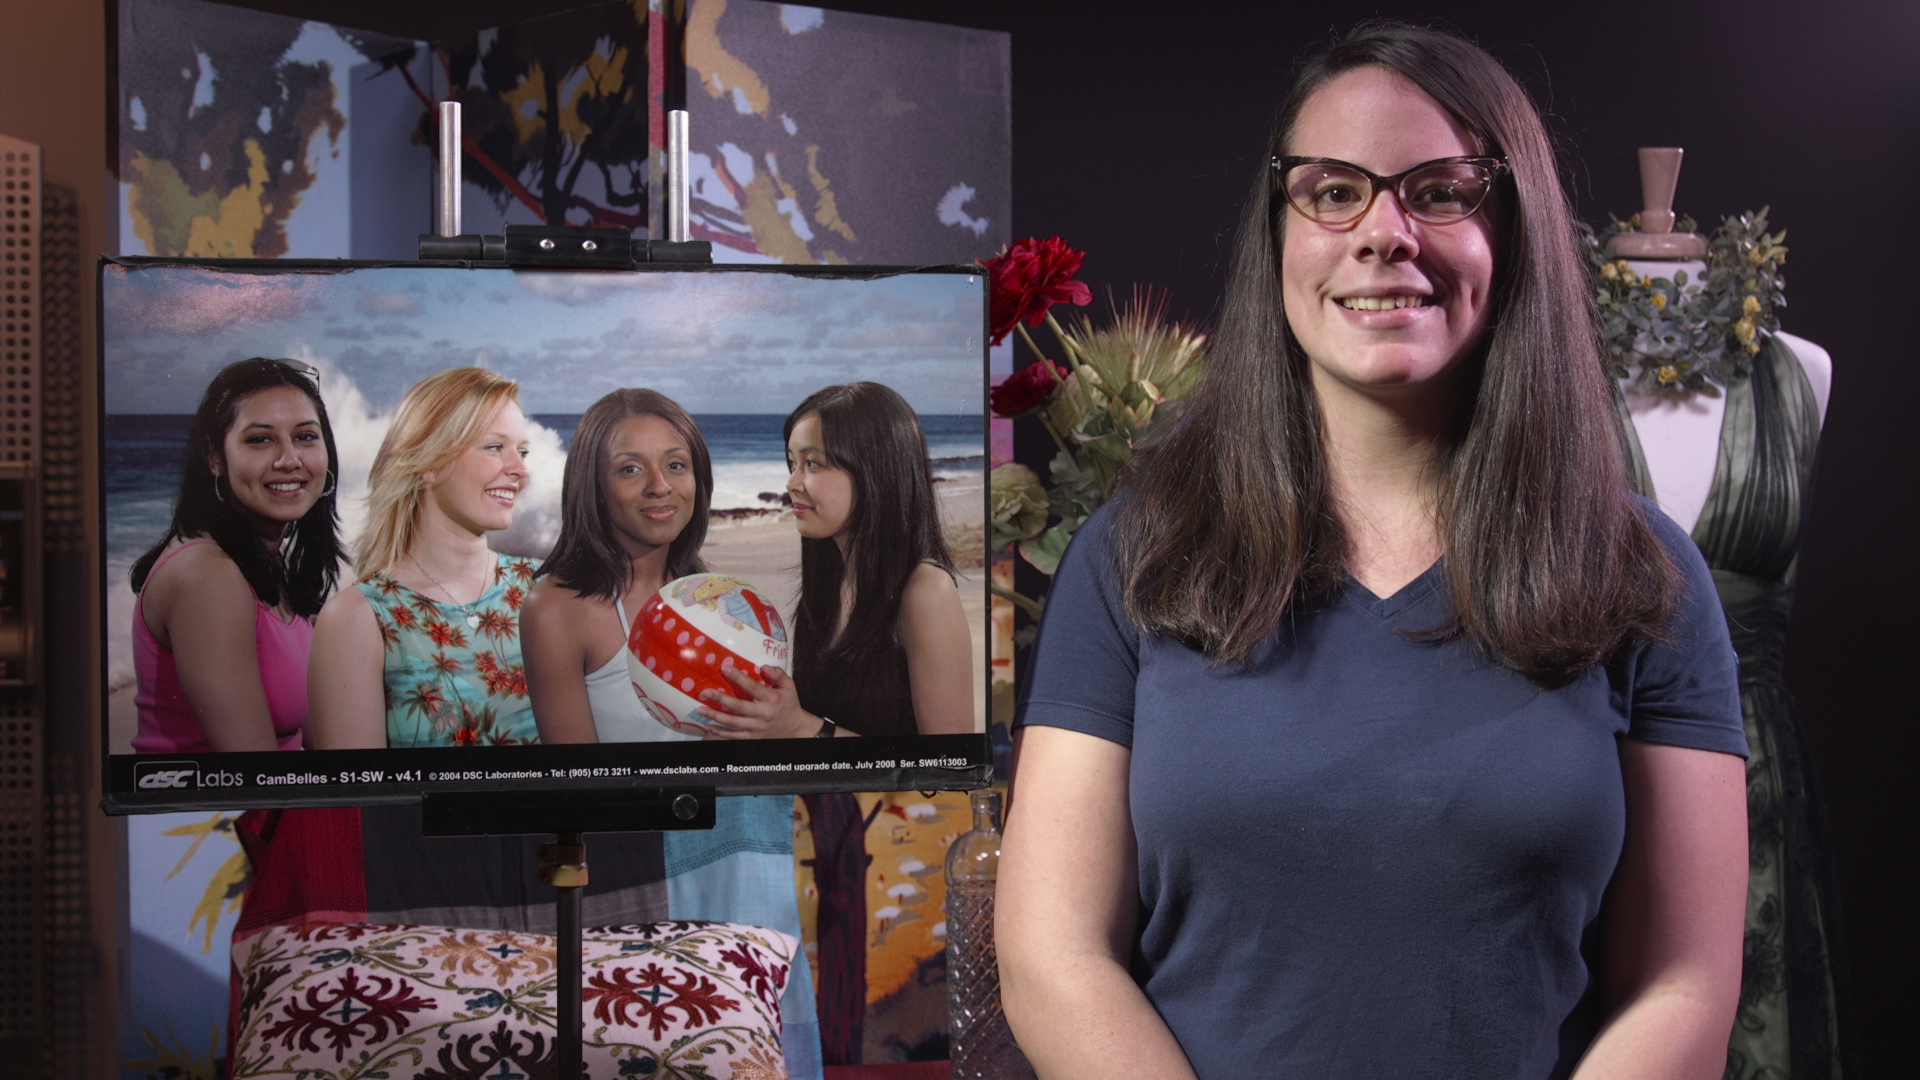 This is another file that was designed to match our popular VariCam looks. The JR45CINE file tries to match the FilmRec mode of the VariCam, which is not really possible, but it gets pretty close. This is a flat look, using Cine1 gamma, with minimal color adjustment designed to give the camera a lot of range when needed.
You can download JR45CINE here.
JR45CIN2
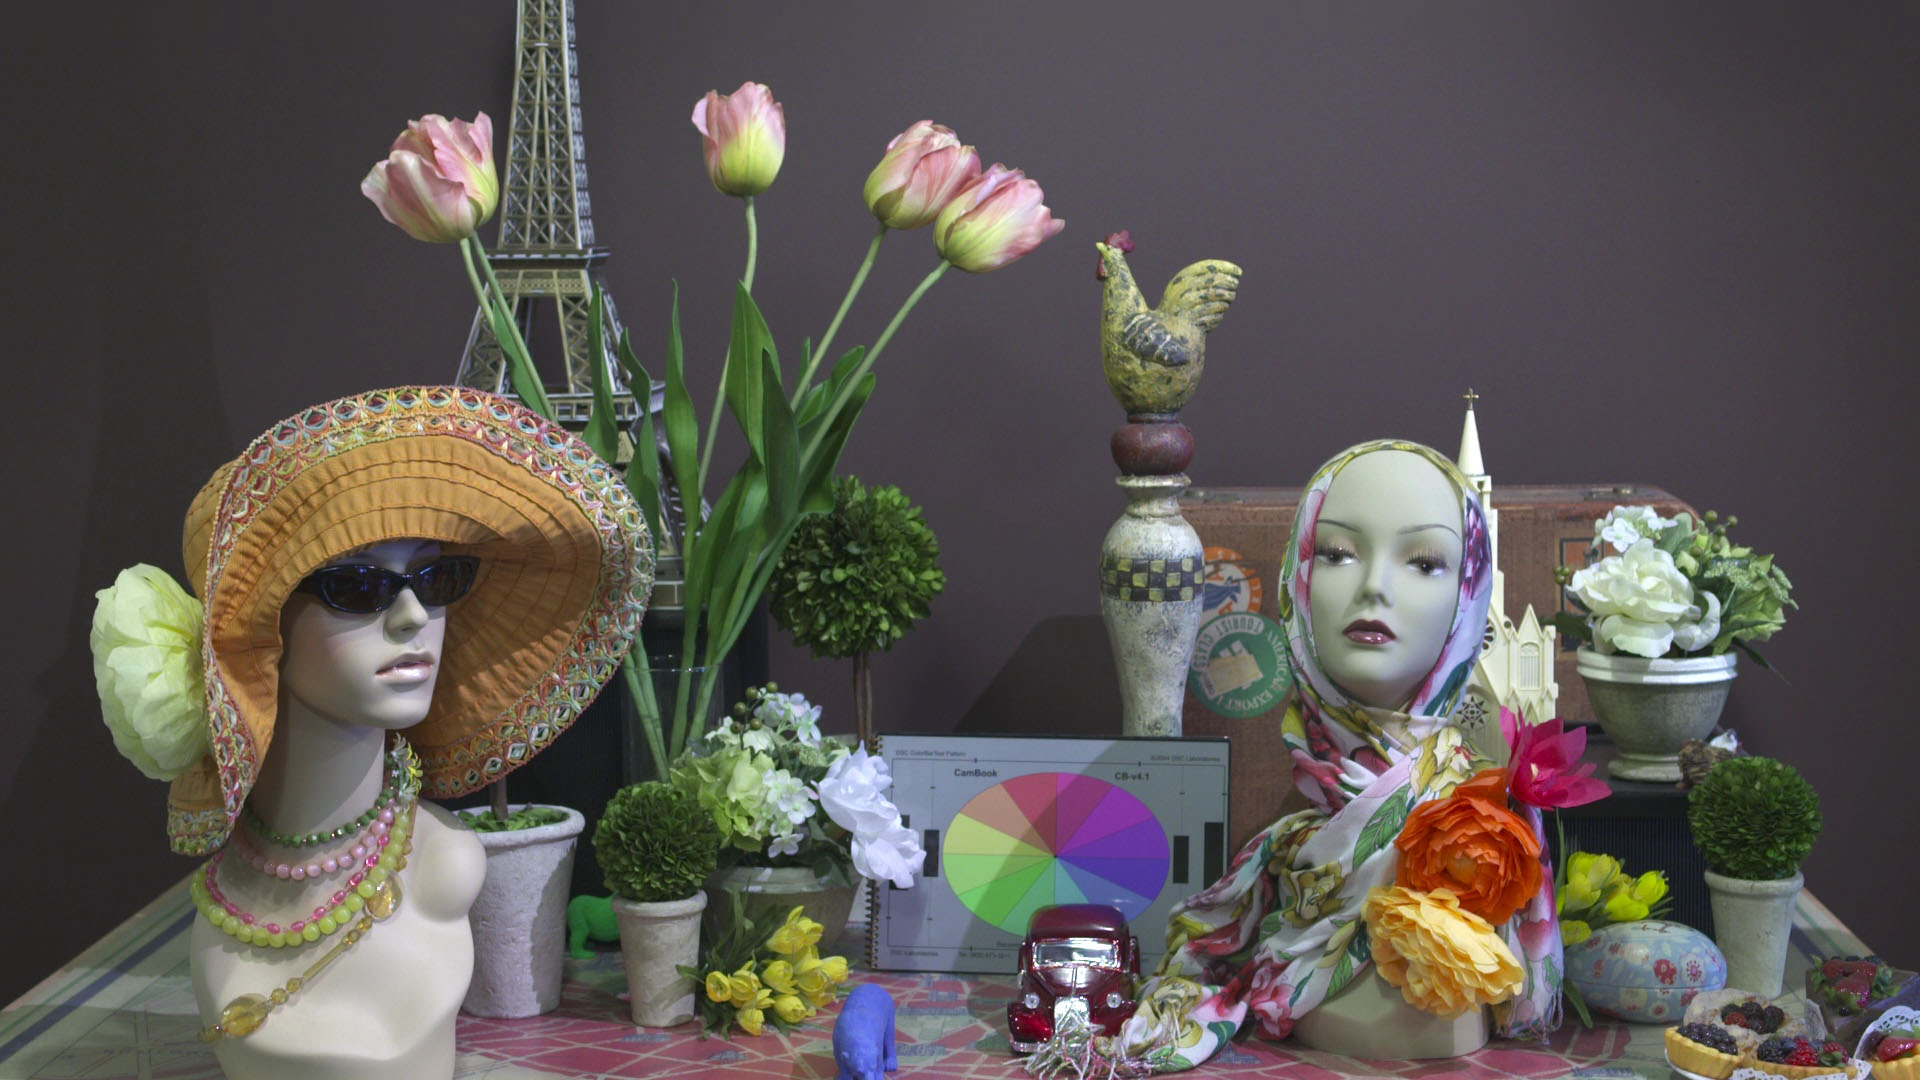 Building on JR45CINE, I wanted to decrease the saturation and push the blacks up more for an even flatter image.
You can download the JR45CIN2 file by itself here.
5DM2_STD
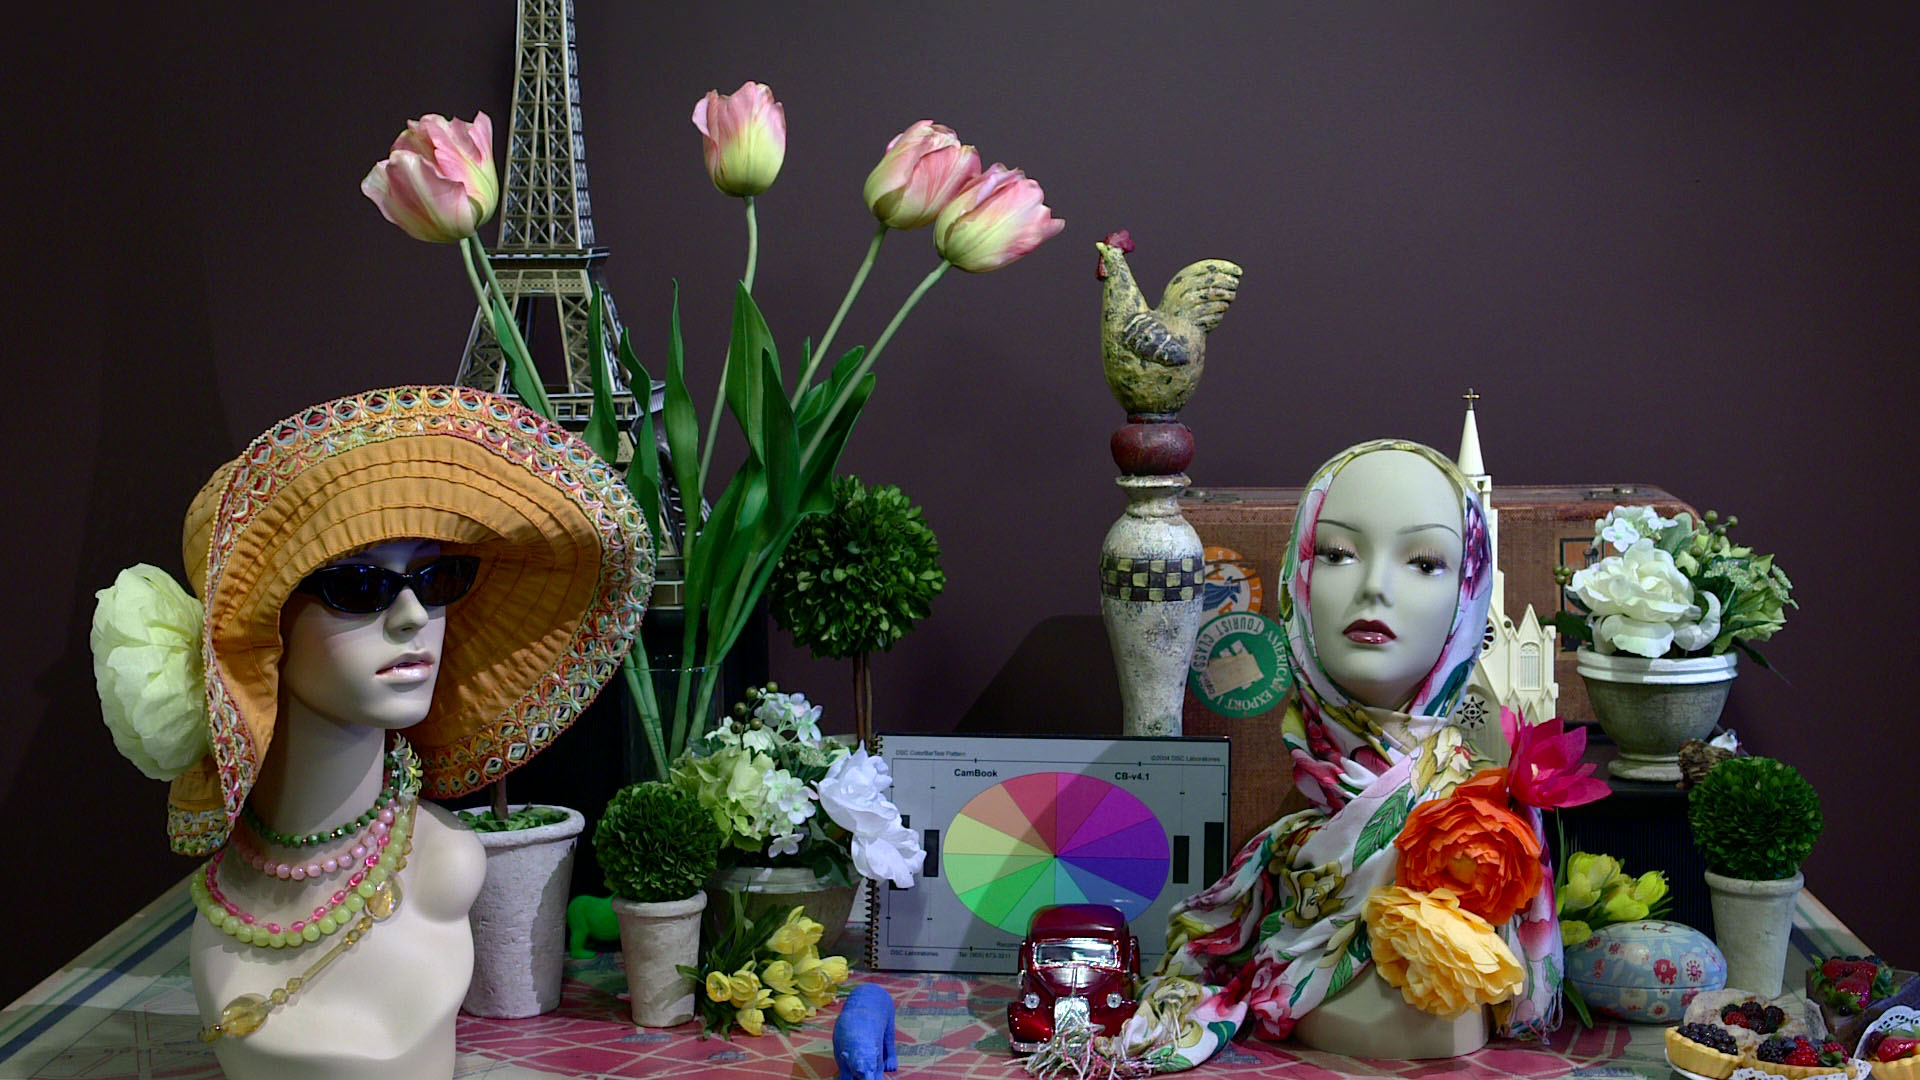 The 5D Mark II is often applauded for it's look, so I wanted to make a file that closely matched the colors that it produces. I mapped the matrix of the F3 to match the colors of the 5D, I also did several Mult-Matrix (secondary color changes) to match particular color ranges. Detail is on for this setting to match the standard sharpness effect found in the 5D. The resulting image is very saturated and the blacks are fairly crushed, so use at your own caution.
You can download 5DM2_STD here.
5DM2_TEC
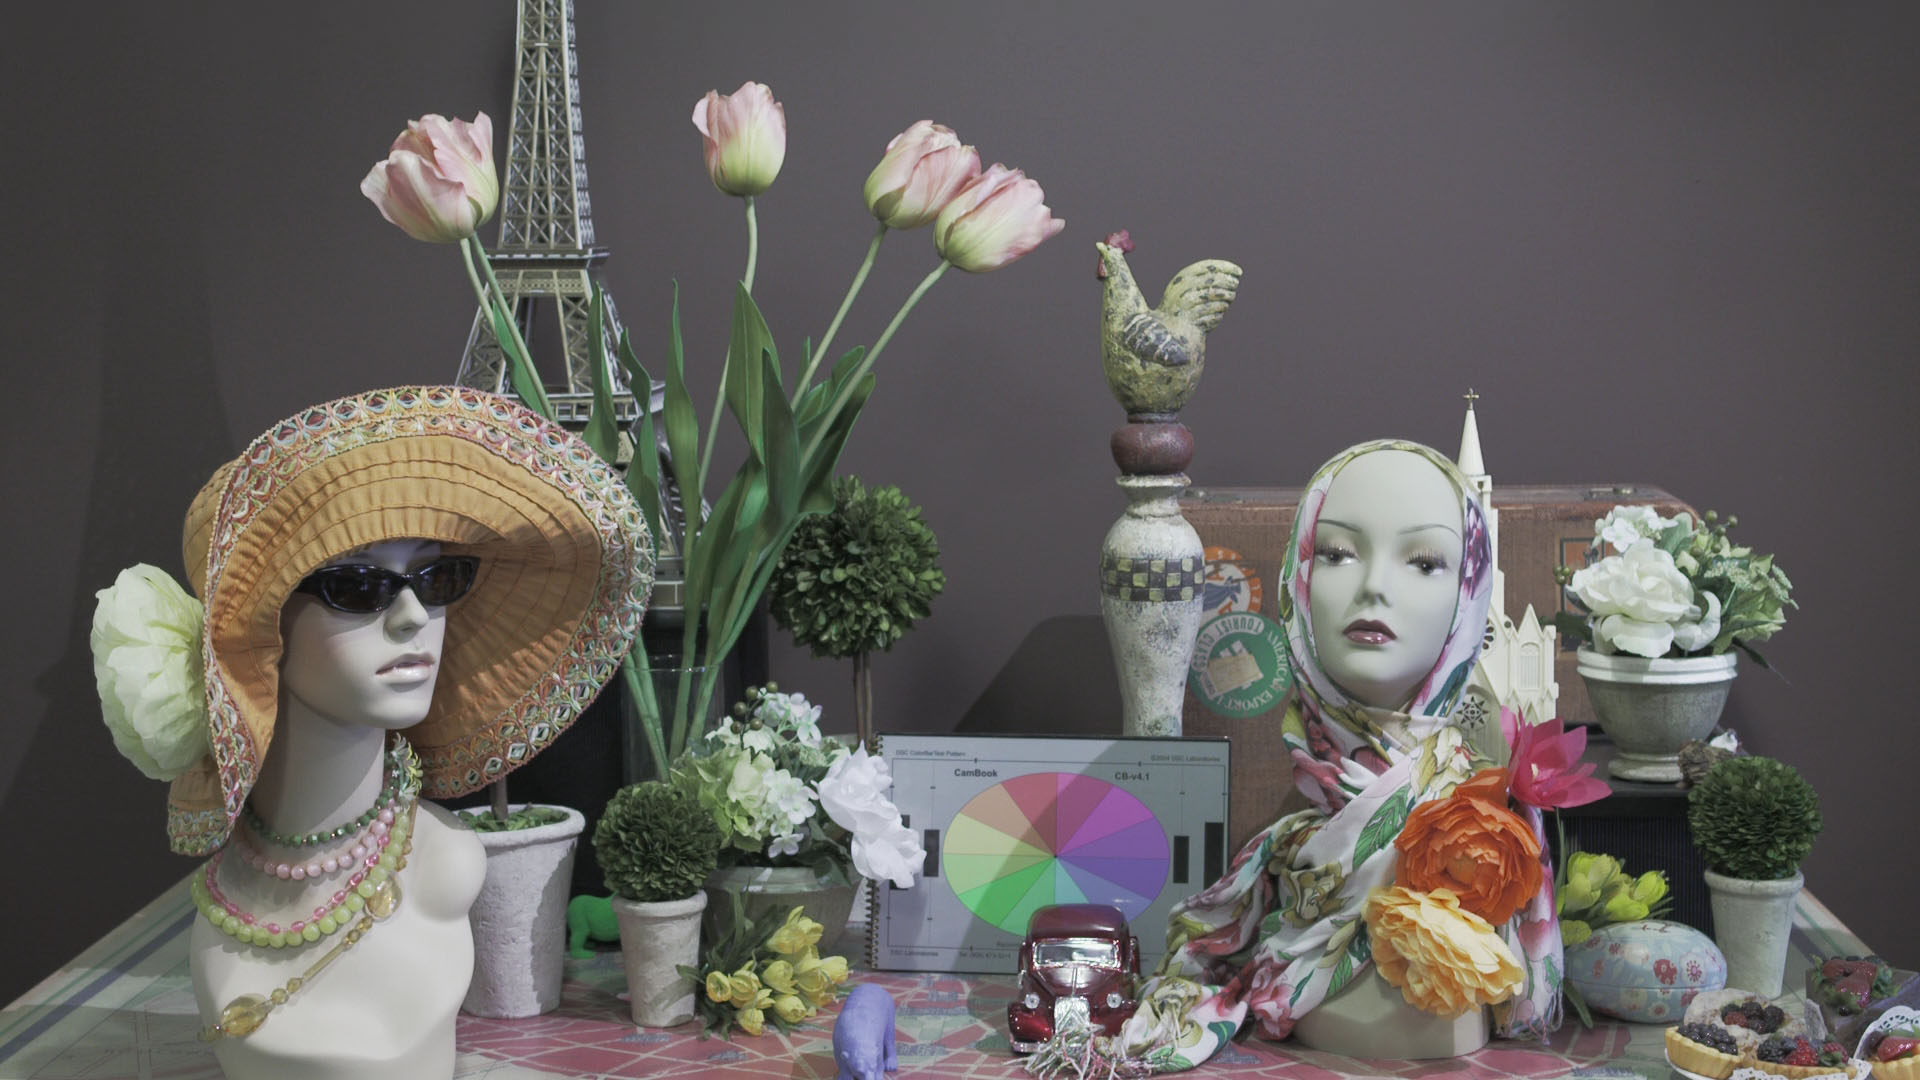 Technicolor recently released their CineStyle image profile for the 5D Mark II which I decided to match here as well. I matched the two looks as closely as possible with particular attention to the gamma range and matrix. The result is a very desaturated image with very high black levels. I tested this with the Technicolor CineStyle LUT for correction in post and had good results.
You can download 5DM2_TEC here.
AB_STARK
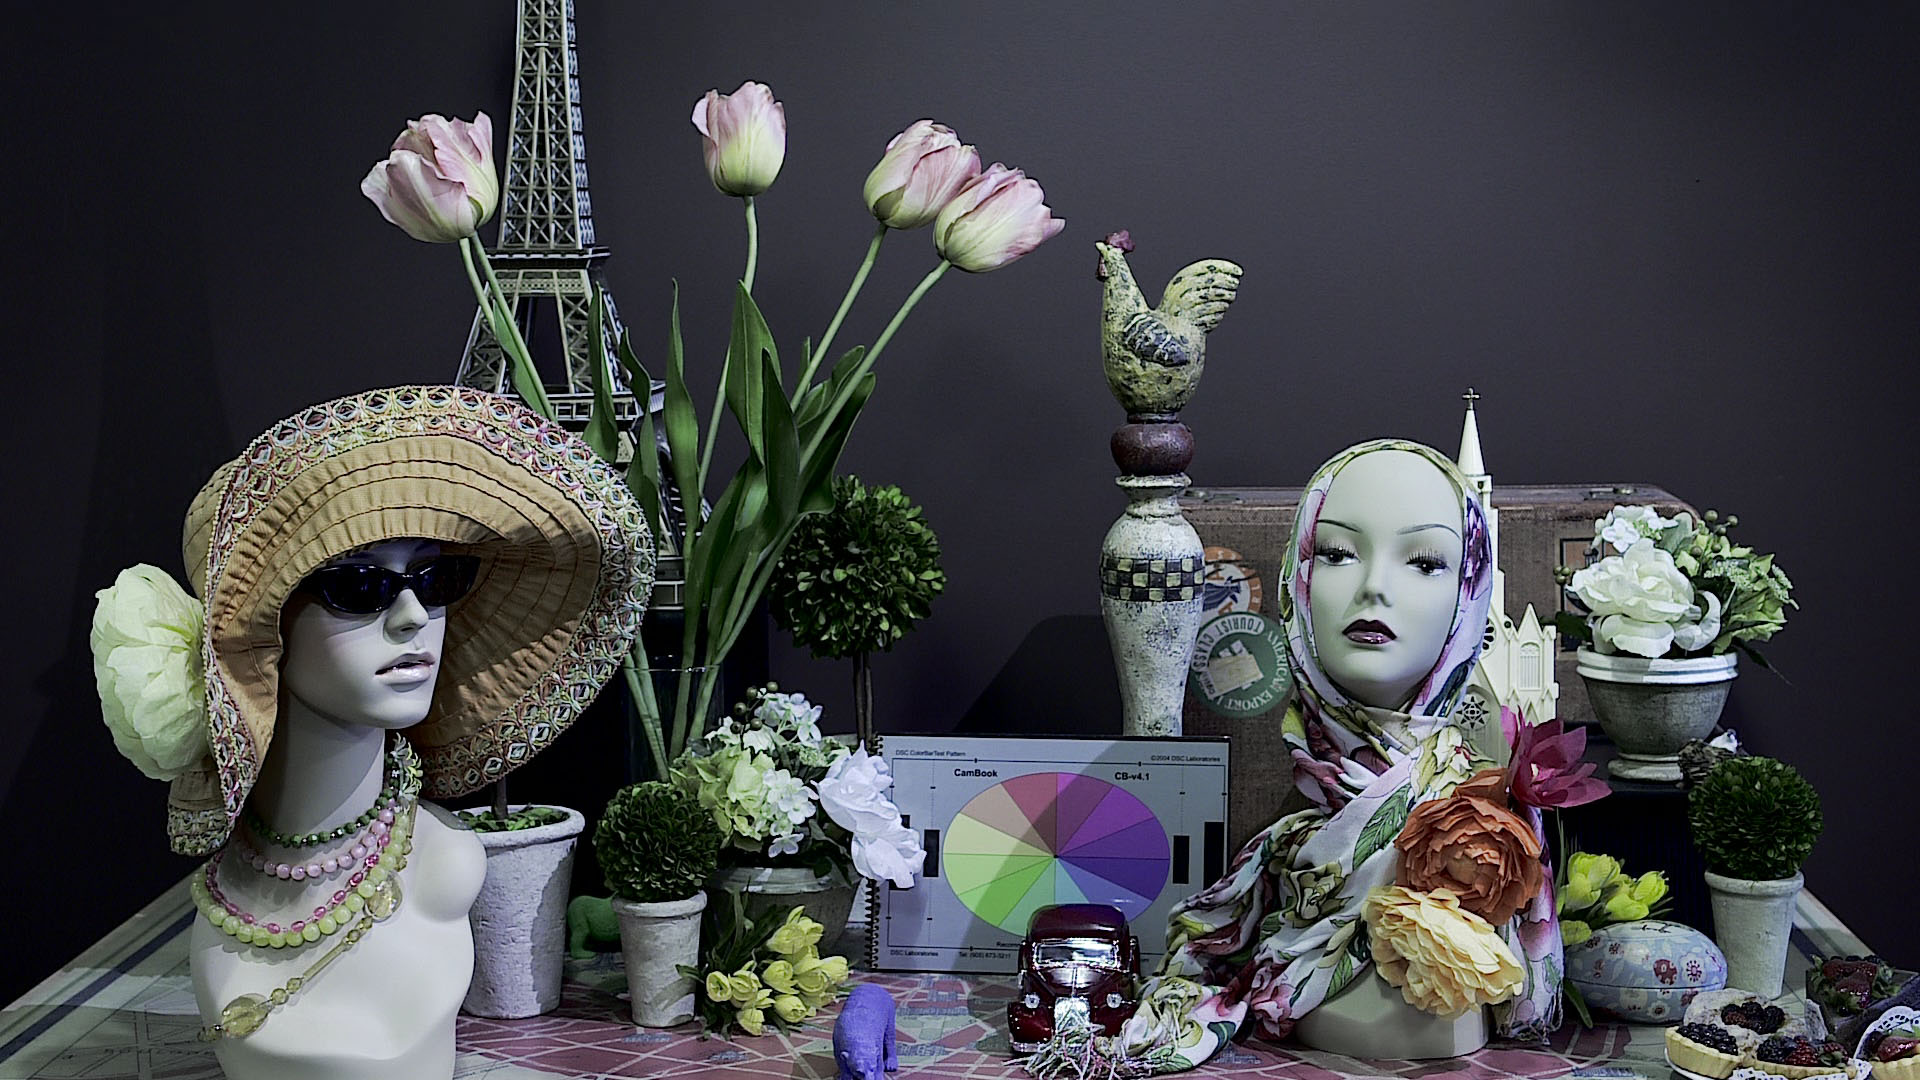 This last file is called Abel Stark, because it gives a low saturation, high contrast look that you might have seen in some films. This effect is completely achievable in post, so I can't really recommend shooting in it. However it does give an interesting look.
You can download AB_STARK here.
You can download all of the scene files, which are contained in a zip file with the images above. To load them up, just put the 'SONY' folder onto an SxS card and put the SxS card into your camera. Then go to the Others Menu -> Camera Data -> Recall in a settings menu. This will load all of the files above into your camera, but it will change all of your settings so make sure to backup anything you have loaded already. Or if you downloaded the files individually put the 'SONY' folder onto an SxS card. Then go to the Picture Profile menu, select a picture profile, and choose PP DATA -> Recall. This will load the one picture profile into your camera. Repeat that step for all the files you wish to load.
-- Thanks to Andrew Stone for separating the files for us.
