icon account icon cash icon cart icon cart icon search main arrow arrow check icon camera icon light icon audio icon computer icon storage icon discount icon facebook icon twitter icon linkedin icon vimeo icon youtube icon instagram icon google plus icon share icon email icon print icon time icon phone icon email-m icon marker-m icon pdf icon remove icon comment icon out icon-status icon-star icon-switch pie-chart line-chart icon-user icon-user-1 icon-warning expand-arrow-1 expand-arrow-2 icon-upload icon-download icon-none icon-date-scheduled icon-date-available icon-is-hazardous
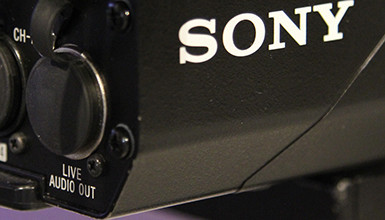
Header image for article Sony PMW-F3: Adjusting White Balance in S-Log

Sony PMW-F3: Adjusting White Balance in S-Log

Sony recently released firmware v1.4 for the PMW-F3. If you have not updated your camera yet, you can download the firmware from Sony's XDCAM site. Noteworthy in this firmware is the inclusion of S-Log in Picture Profiles.

However, with this addition comes two distinct ways of setting your white balance. It is especially important to mind your white balance when shooting in S-Log, because the setting is baked in to the recorded image - just like when shooting in HD.

Let's take a look at both methods of using White Balance with S-Log on the F3.

Traditional

The original way of enabling S-Log on the F3 was by purchasing the CBK-RGB01 option card. In this mode, there are only two White Balance presets: 3200K for tungsten, which is the default setting, and 5600K for shooting in daylight-balanced conditions.

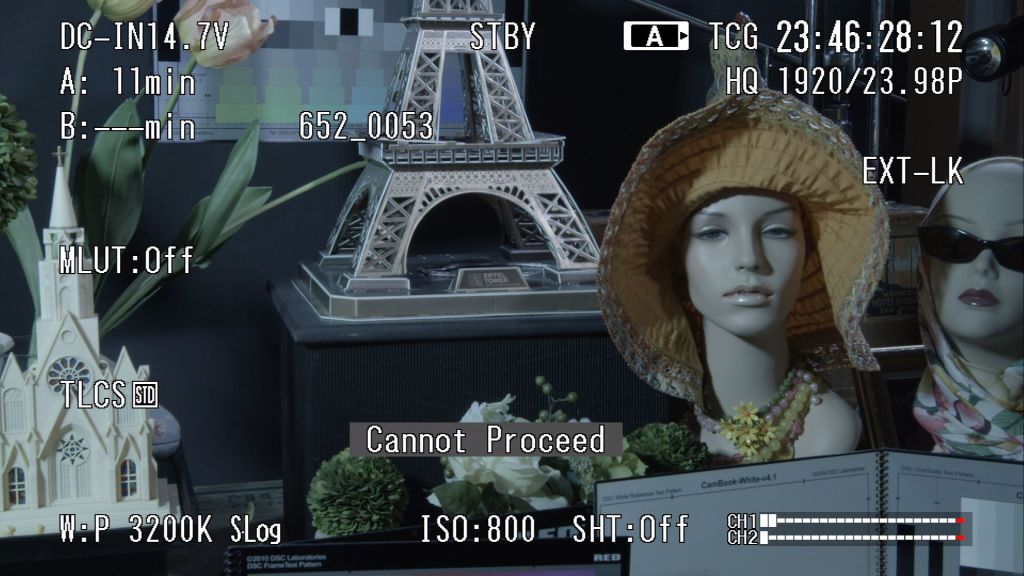
What if you want the white balance to be something other than these presets? If you try to manually white balance the camera, a "Cannot Proceed" warning is displayed.

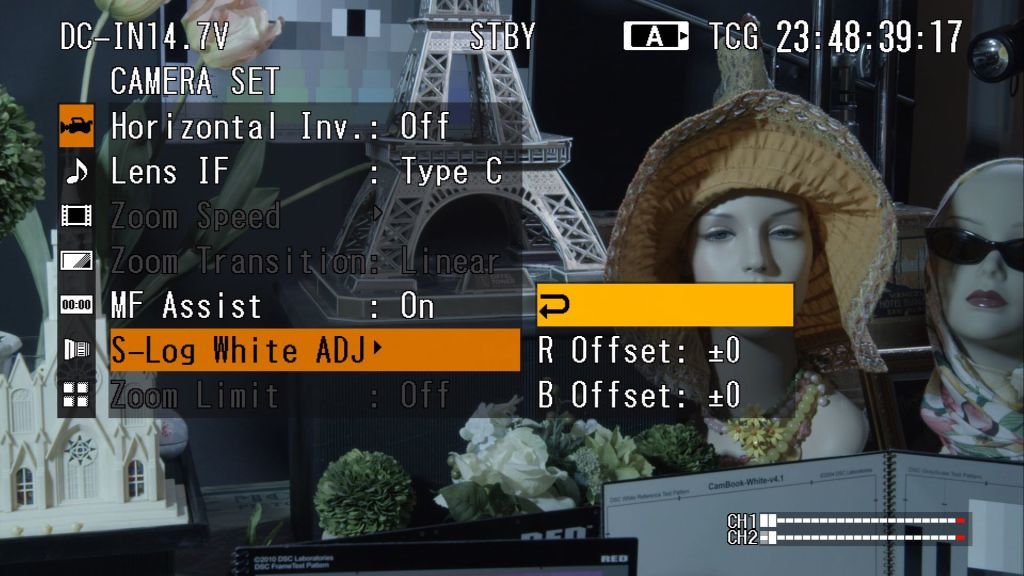
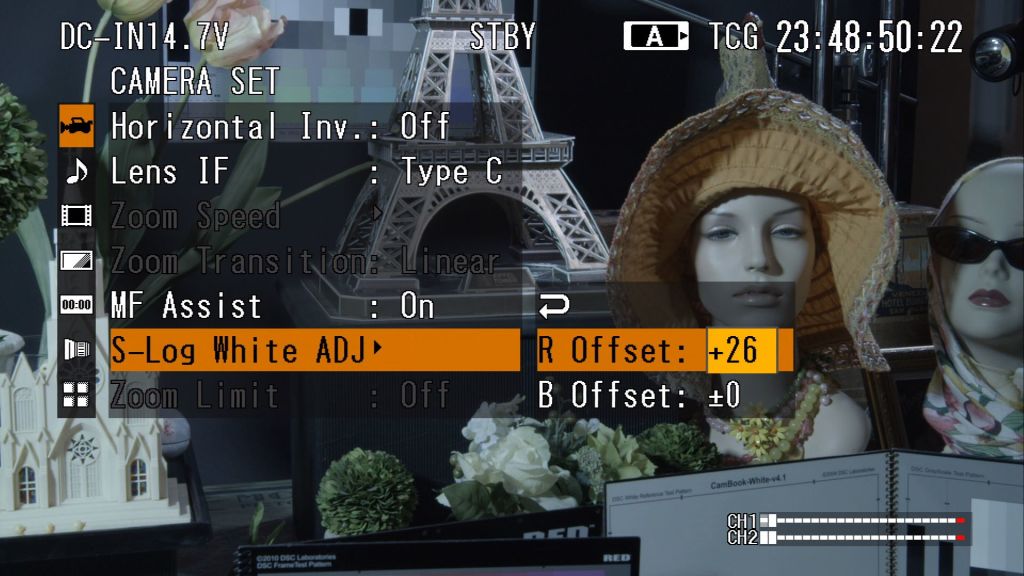
However, it is possible to offset the white balance using the "S-Log White ADJ" control located in the "Camera Set" menu. Here, the Red and Blue Channels can be manipulated to warm or cool the image. Keep in mind that this adjustment affects BOTH the S-Log output of the A terminal and the HD-SDI output. Therefore, these adjustments affect what is seen on the monitor AND what gets recorded. Adjustments for Red and Blue Channel are +/- 499.

New School

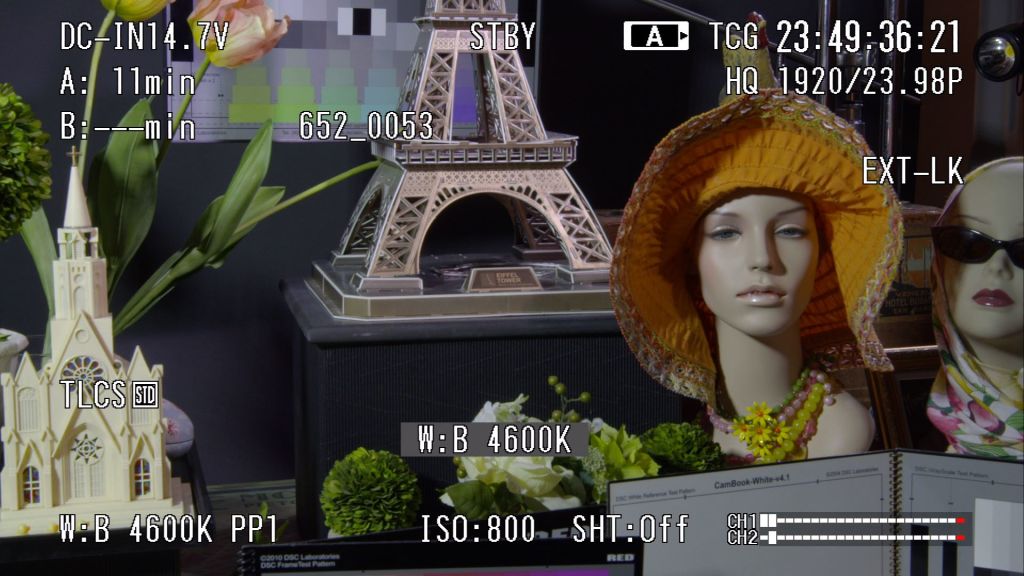
Firmware v1.4 introduced S-Log into Picture Profiles, and Andy recently posted two useful ones (S-Log and AB-Log). To choose the S-Log profile, go to the "Gamma" menu, and it will be located at the bottom of the option list. White balance can be offset using the "White" menu in Picture Profiles - this is the same as the method used to offset white balance in standard REC709 mode.??A & B, as well as ATW (Auto Tracing White), can be manipulated, along with the numerical preset for color temperature.

I hope you found this post helpful, and if there's anything else you'd like to see us cover - let us know in the comments!
Ian McCausland
Camera Technology Specialist, AbelCine LA

Related Trainings & Events

YOU MIGHT ALSO LIKE...

Intro image for article PMW-F3 Quick Tip: Loading Custom Picture Profiles
Tutorials & Guides
For years now, AbelCine has been supplying our customers with scene files for their cameras. The Sony PMW-F3 is no exception. Picture Profiles can create different looks in the camera; you can check out the ones we created for the F3 here. You may have wondered how to get these looks from your computer to the camera - fortunately, the process is fairly easy.
Intro image for article PMW-F3 Quick Tip: 5600K CC Button
Tutorials & Guides
You may have wondered what the 5600K CC button on the top left hand corner of the PMW-F3's LCD does. As its name implies, it allows you to quickly change the white balance from 3200K (tungsten) to 5600K (daylight). The important thing to remember is that the button only works this way when the camera is set to a color temperature of 3200K.
Intro image for article New F3 Firmware Adds S-Log to Every Camera
Tutorials & Guides
The latest firmware for the F3 was just released a few days ago, and it adds a great new option. Version 1.40, which can be download here, adds S-Log into the Picture Profile menu of the camera. This allows anyone to turn on S-Log without the RGB key, although you still need the key for 4:4:4 output.