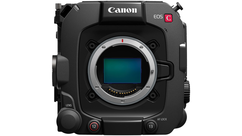
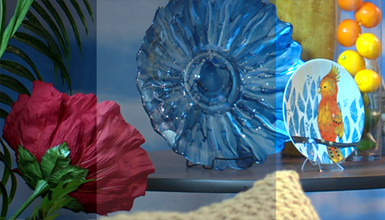
First, a couple of notes on the profiles. I found that the camera has a hard time with yellow colors, which tend to turn a bit green. This was hard to adjust with the matrix controls, so I added a color correction fix to each profile. Area A in the color corrector is set to fix this problem, but it can be disabled without having an effect on skin tones. Additionally I reduced the sharpness in each profile to remove any edge enhancement, feel free to increase it as desired.
UPDATE: After some good feedback, I've altered the files to remove some green.
You can download all the files here, or individually below. To load them all to the camera copy the private folder to an SD card, and then load that into the camera. You may want to write a generic profile from you camera to your SD card in order to get the folder structure correct. If you are pulling individual files, copy the .CPF files to the Private->C_PICT Folder, and then load into the camera.
AB_NORM
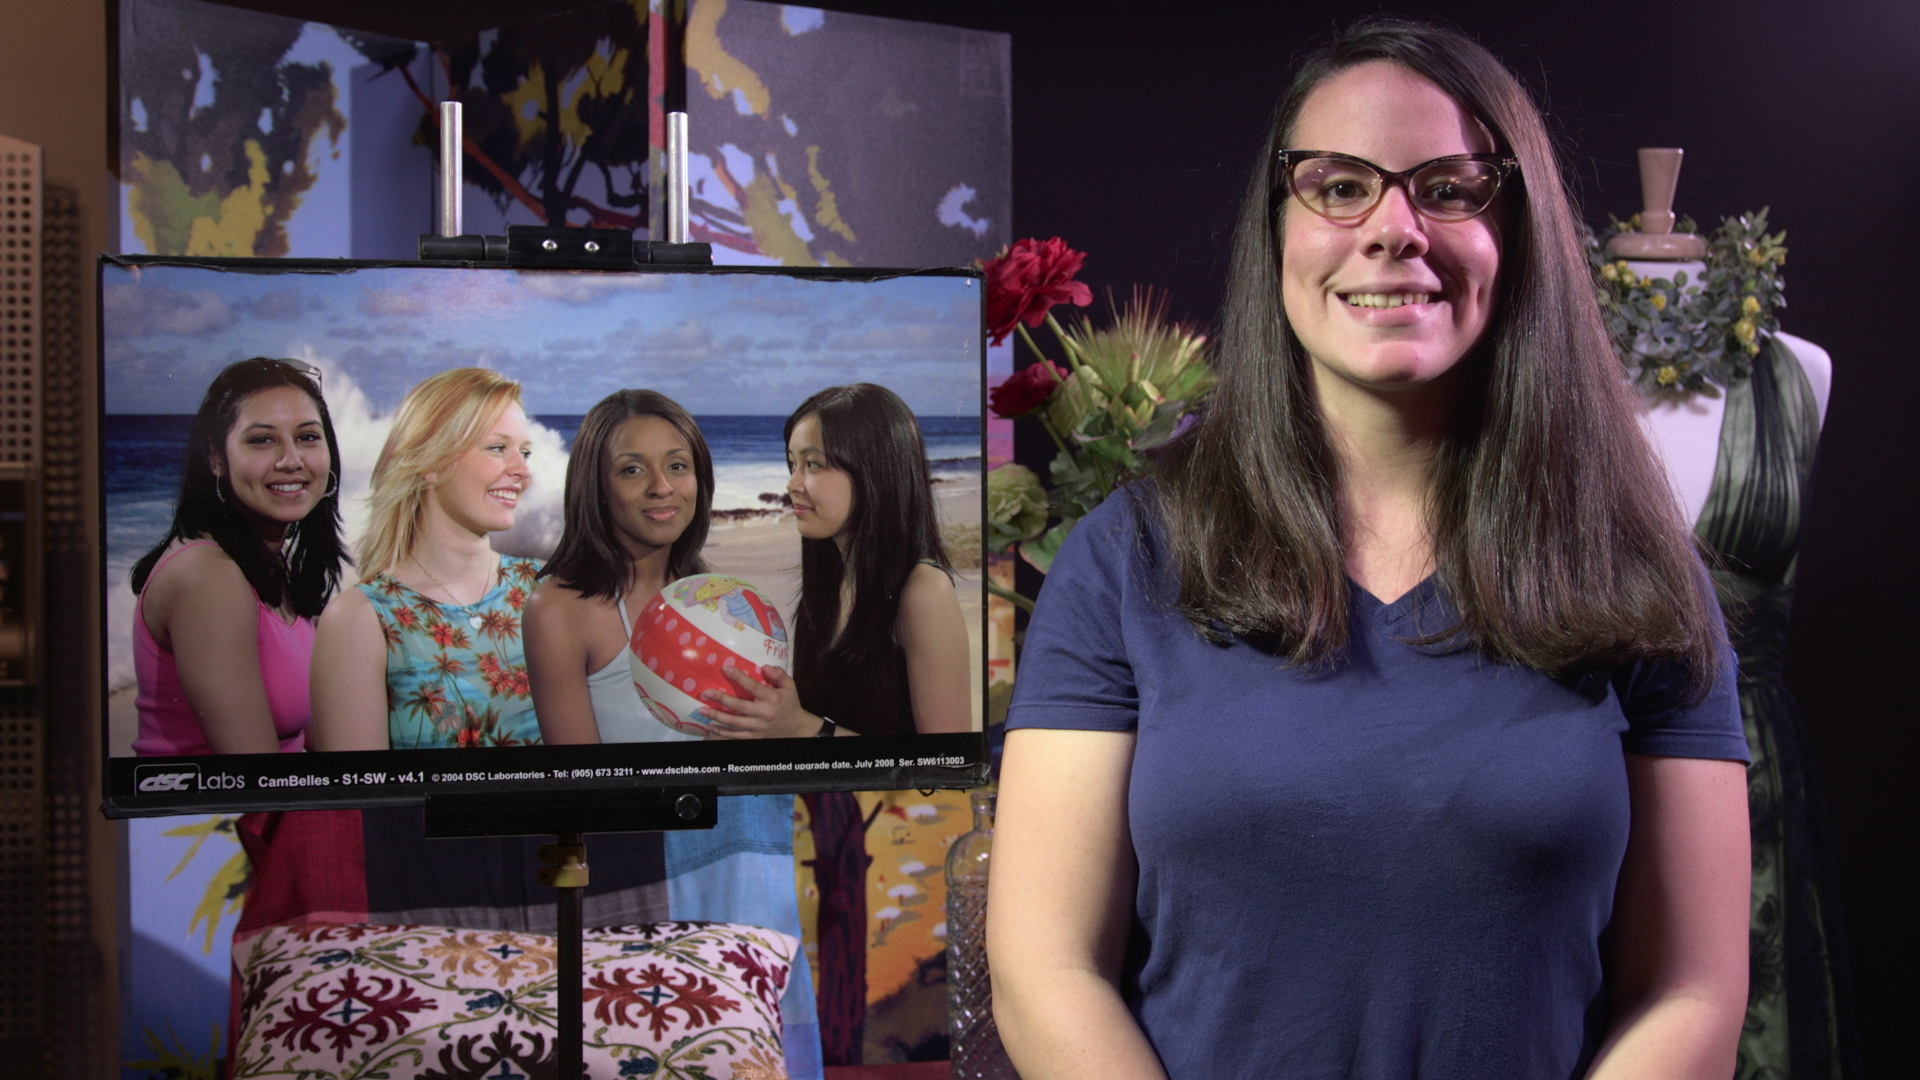 This is the Abel Normal look, which is a match to what we did on the Sony F3 file. It is intended for indoor/studio work, however I did use the Cine2 gamma curve, which is designed to hold highlight values (you can change it to Cine1 for higher middle tone values). I reduced the black level and black gamma a bit for cleaner blacks as well. Most of the work is in the matrix, which is aimed to warm up skin tones and remove some of the green found in the image. I removed sharpness (-8) which is just a personal preference. Download AB_NORM here.
AB_HILIT
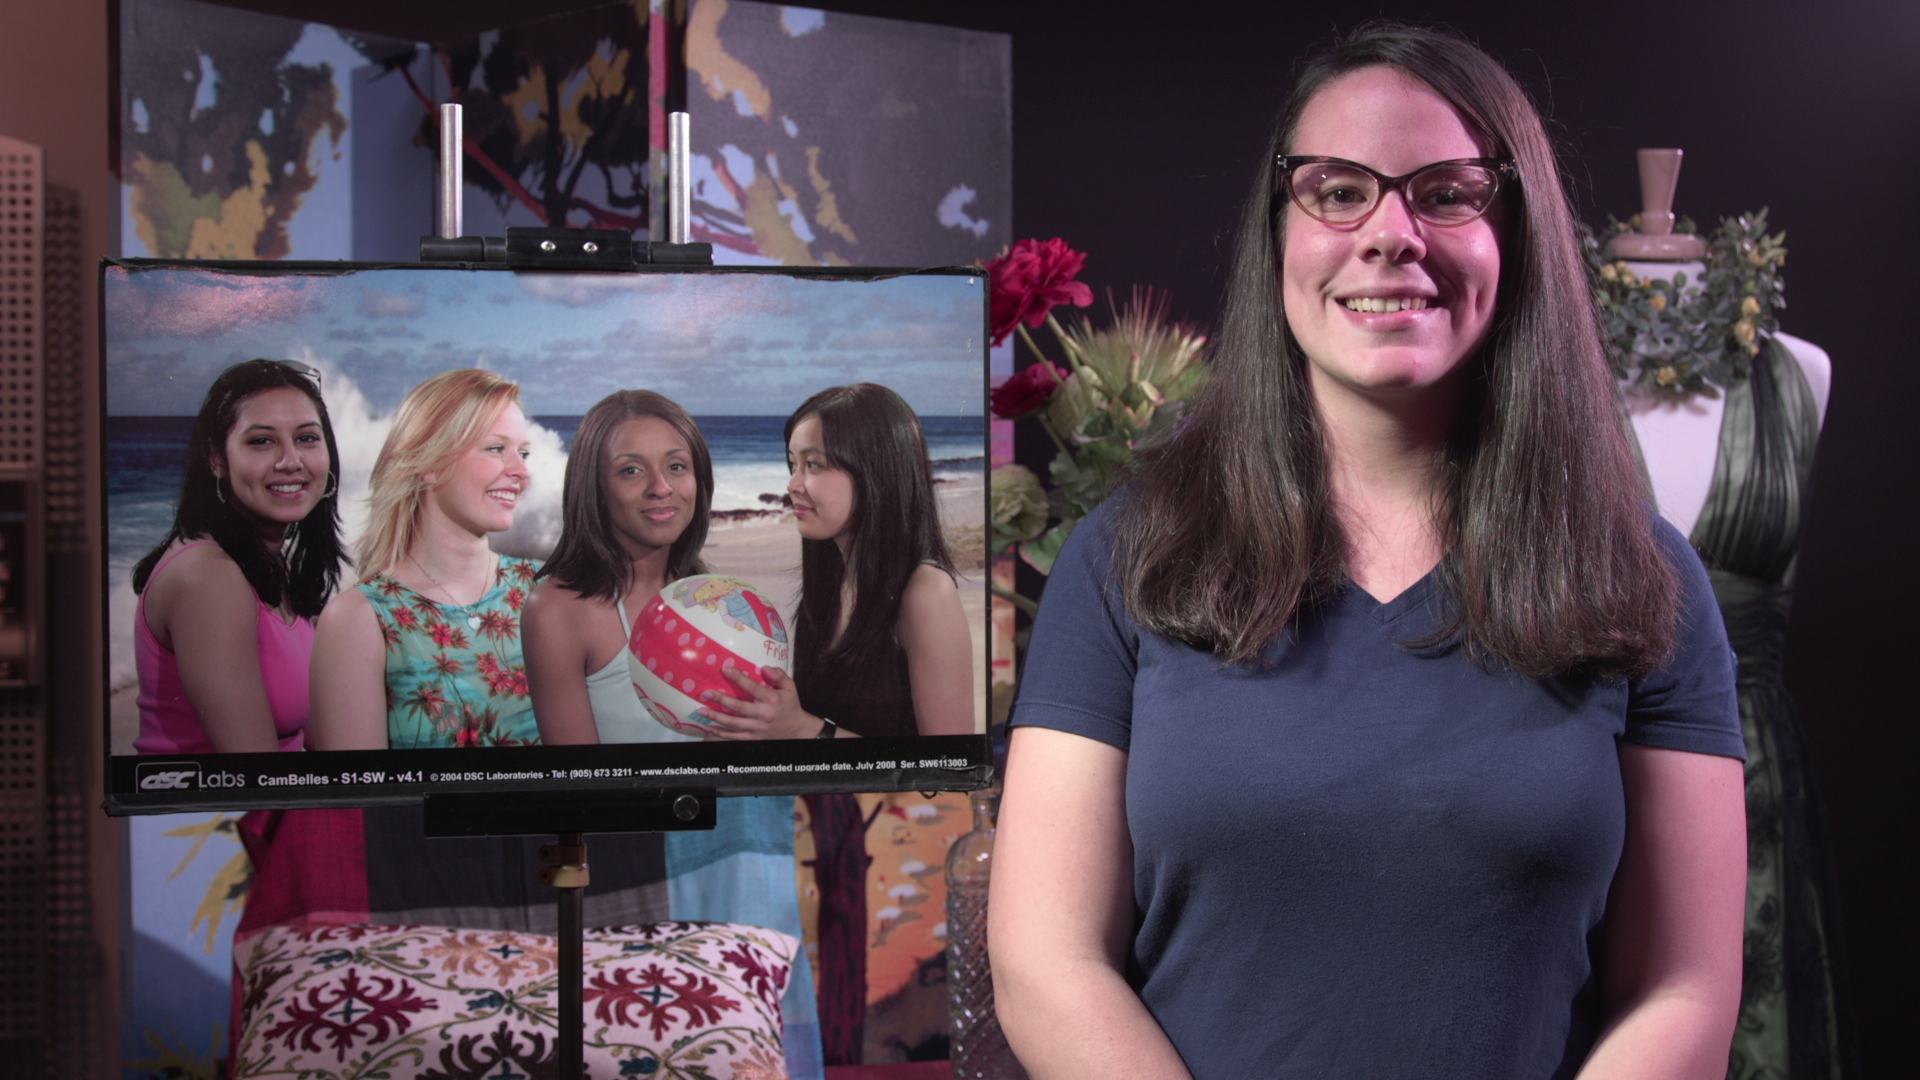 This is the Abel Highlight look and is matched again to the F3. It has the same color adjustment found in AB_Norm but with increased black levels. It is intended for use in scenes with high contrast ranges, such as a bright day. Cine2 helps preserve the highlight information better than any other gamma curve in the camera. You can download AB_HILIT here.
AB_HISAT
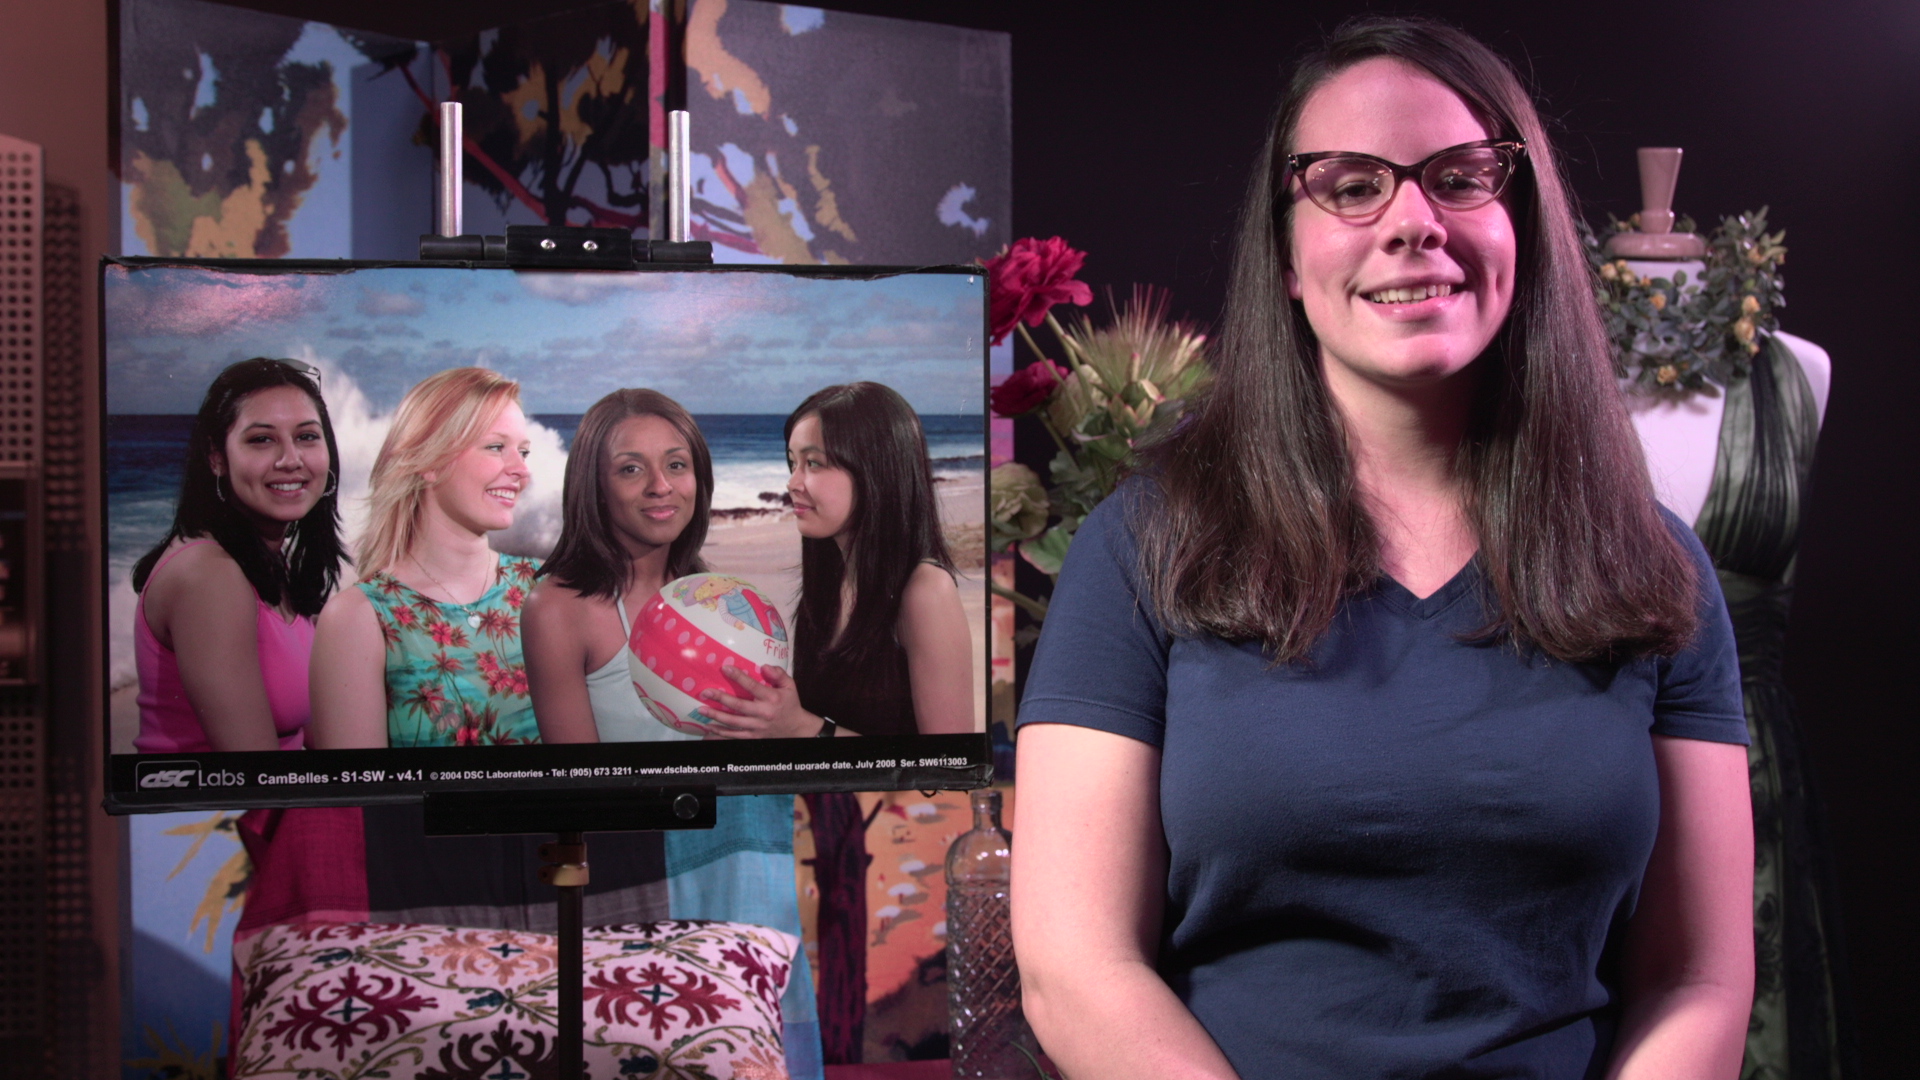 This file is called the Abel High Saturation look for obvious reasons. I've taken the same matrix in the other files and pushed it up. I use the Normal 3 (Rec709) gamma mode with a defined knee point and slope, and combined that with a black level adjustment to get a contrasty image. This is a fun file to experiment with, but I don't suggest using it for any project going through a post color correction. You can download AB_HISAT here.
AB_LOLIT
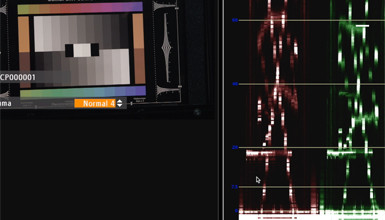
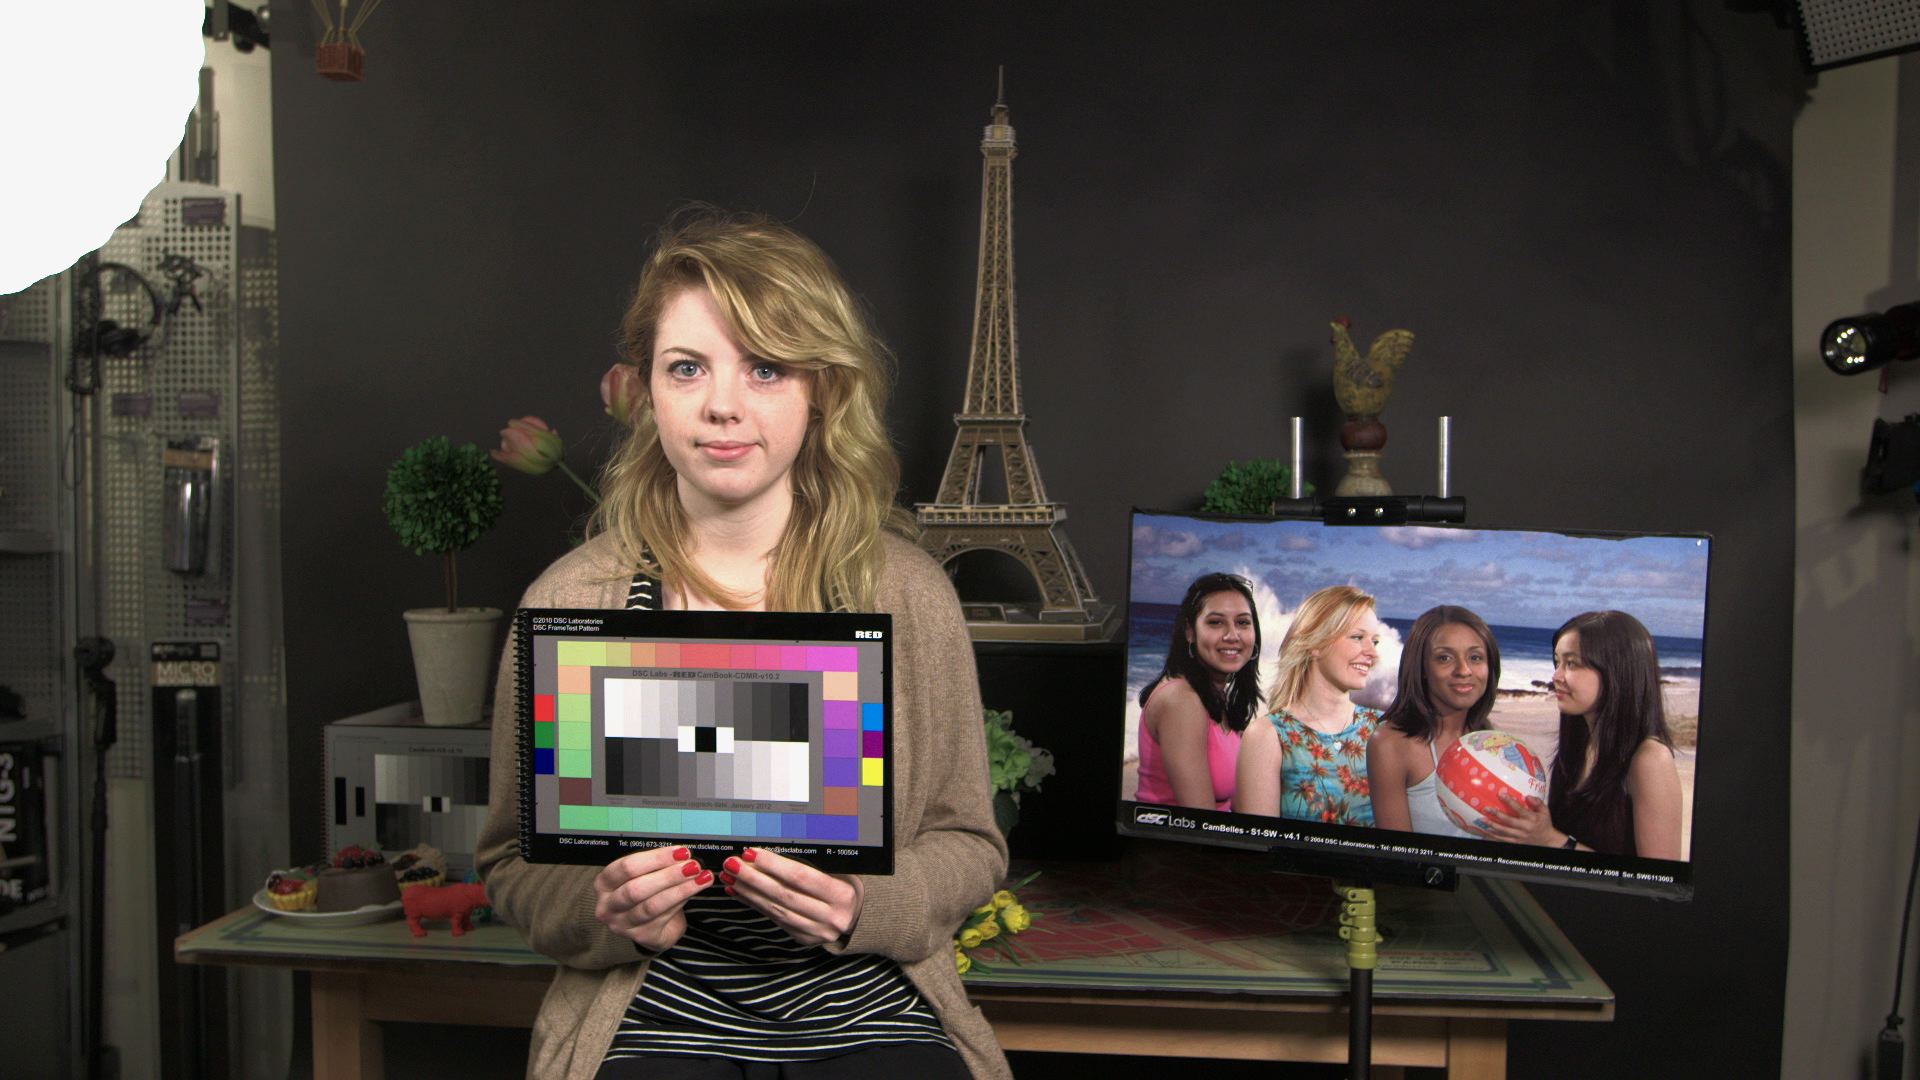 This is a new file called Abel Low Light, and, as the name suggests, it is intended for shooting in low light. It has the same color adjustments as the Normal look, but with some gamma adjustments for low light performance. I used the Normal 4 gamma, which pushes up the midtones, and then increased the black gamma to get more out of the dark areas in the image. Finally, I added Noise Reduction, which is great for use in high ISO modes. I suggest turning off Noise Reduction if using this setting at normal ISOs. You can download AB_LOLIT here.
JR45VIDE
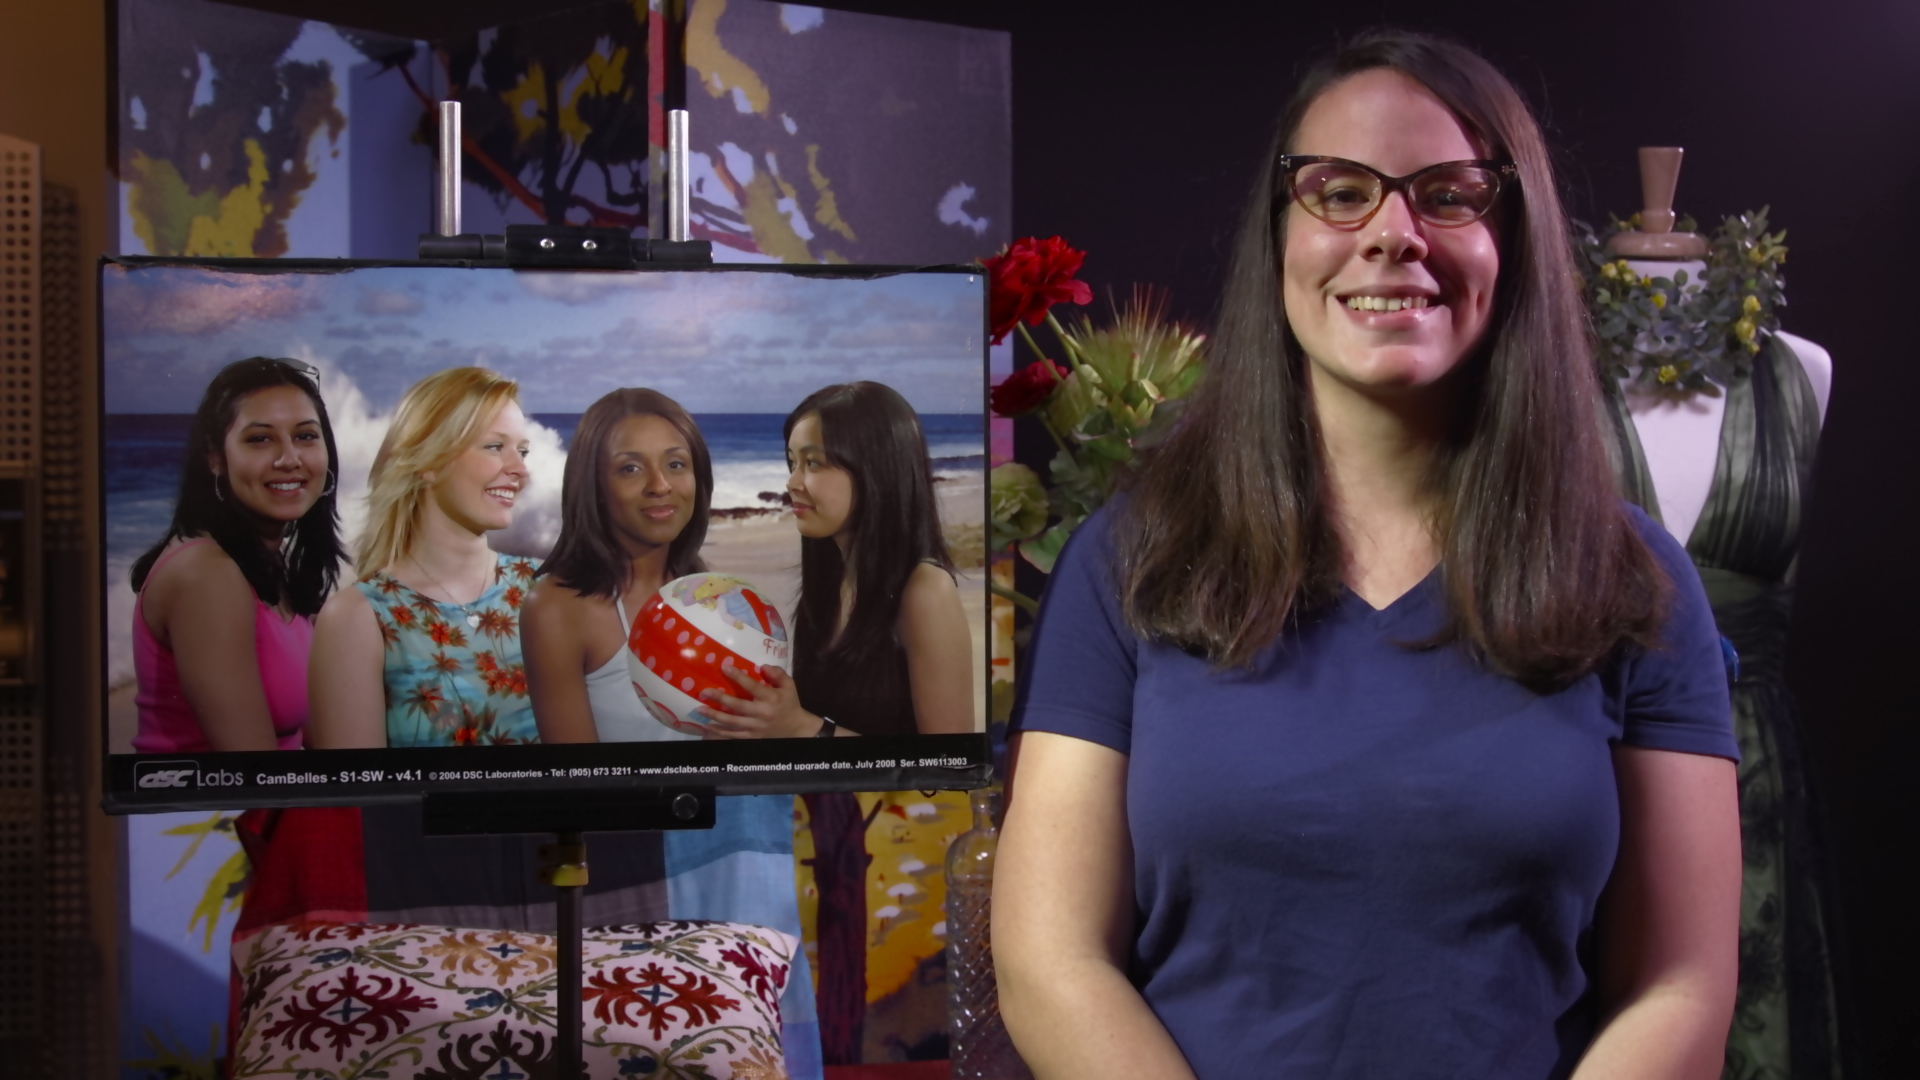 We've been creating scene files for the Panasonic VariCam for years with the same name. First created by our lead tech, Jesse Rosen, the JR45VIDE file is still very popular in VariCams all over the world. This file is designed to match that look as closely as possible. I've combined a custom matrix adjustment with a gamma change (Cine1) to get close to the VariCam in Video Rec mode. It has fairly saturated color values, which you can reduce as desired under the Matrix->Gain menu. Download JR45VIDE here.
JR45CINE
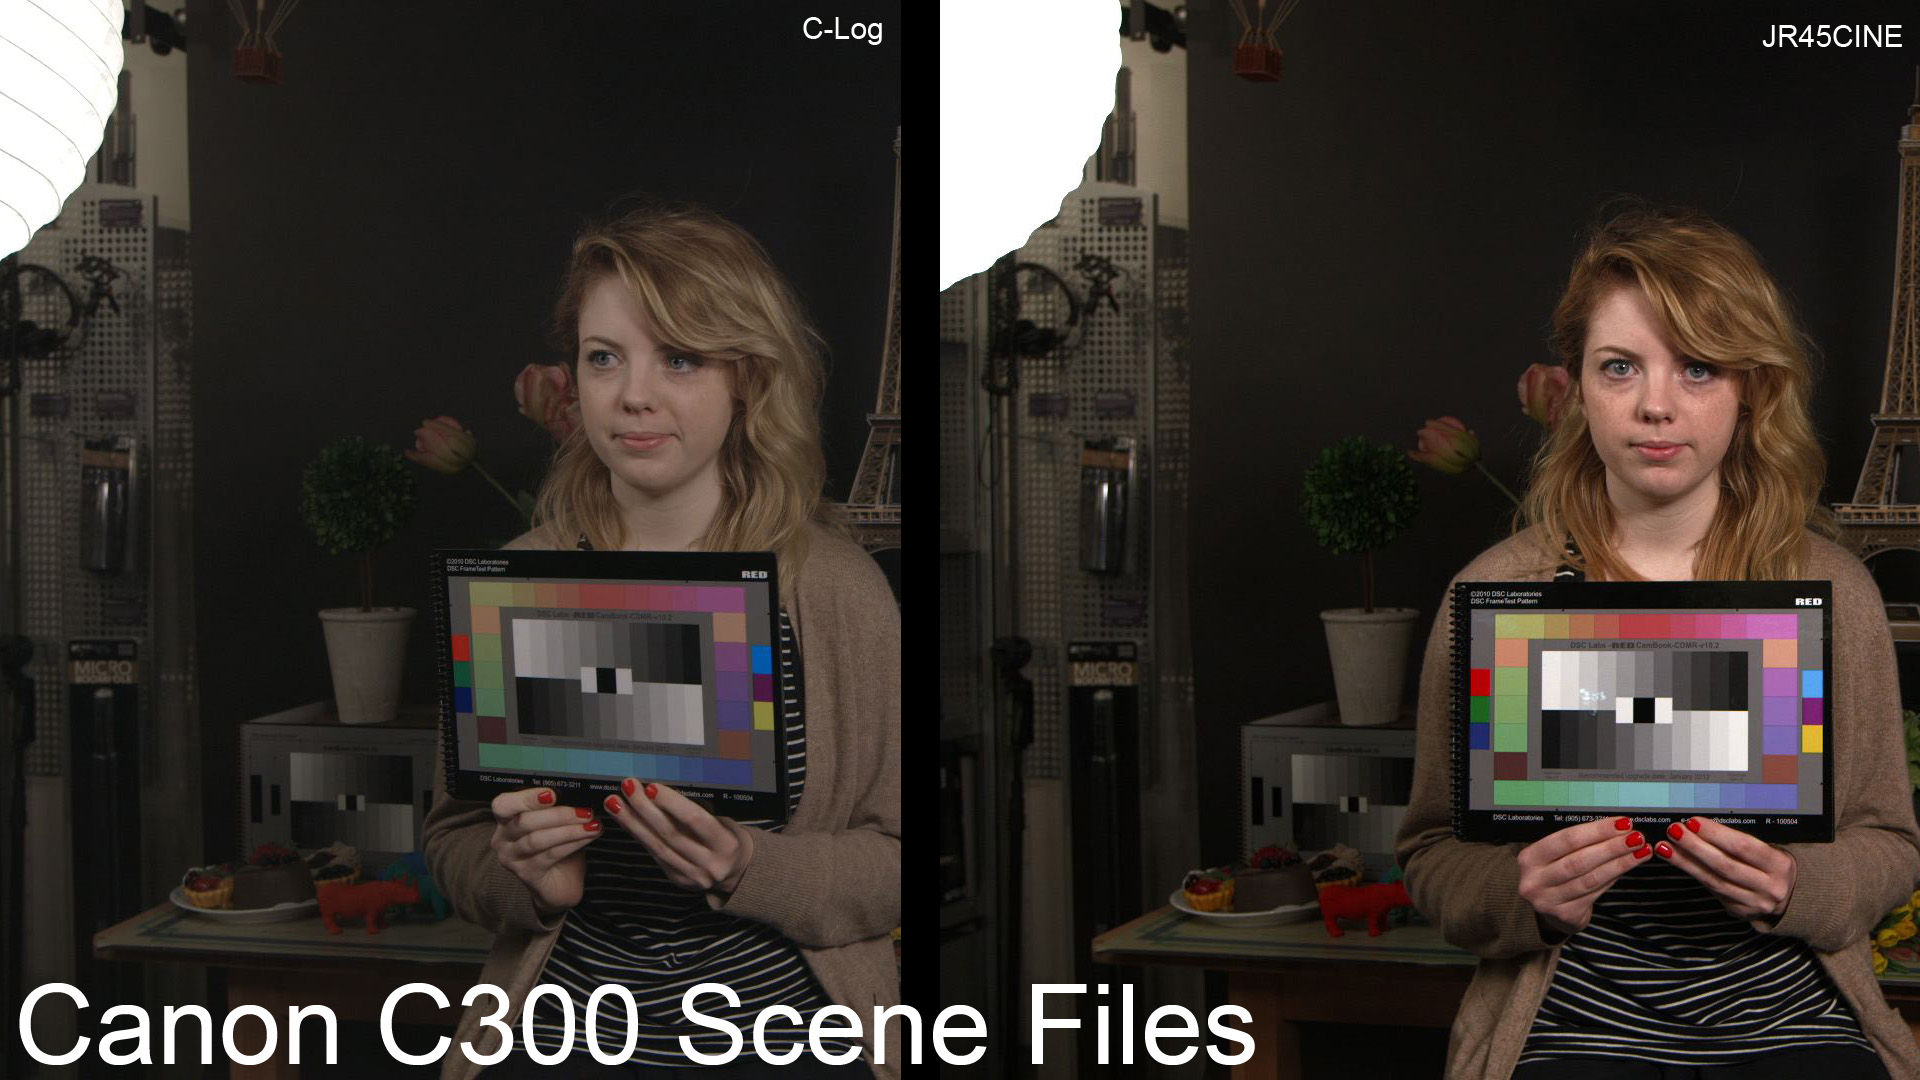
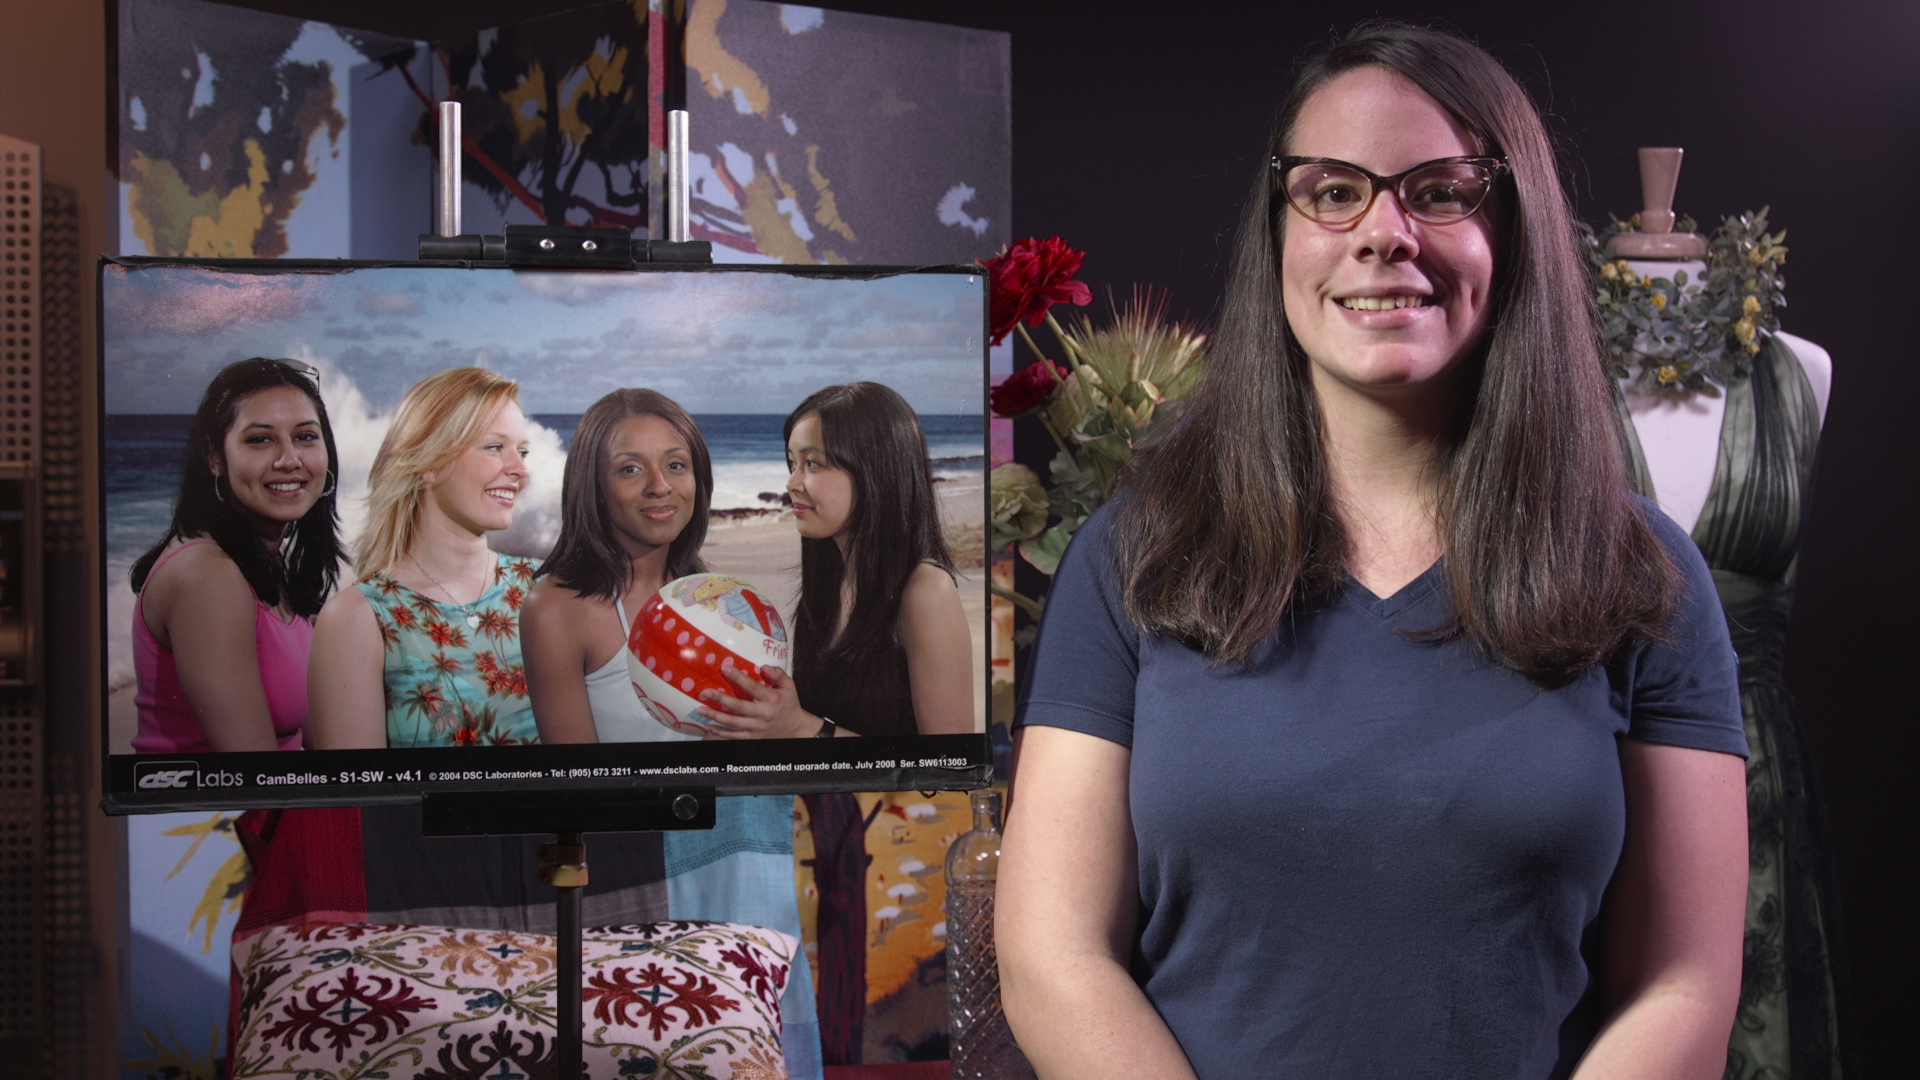 This is another file that was designed to match our popular VariCam looks. The JR45CINE file tries to match the FilmRec mode of the VariCam, and does come pretty close. This is a flat look, using Cine1 gamma with color adjustment, designed to give the camera a lot of range and a natural look. You can download JR45CINE here.
EOSMATCH
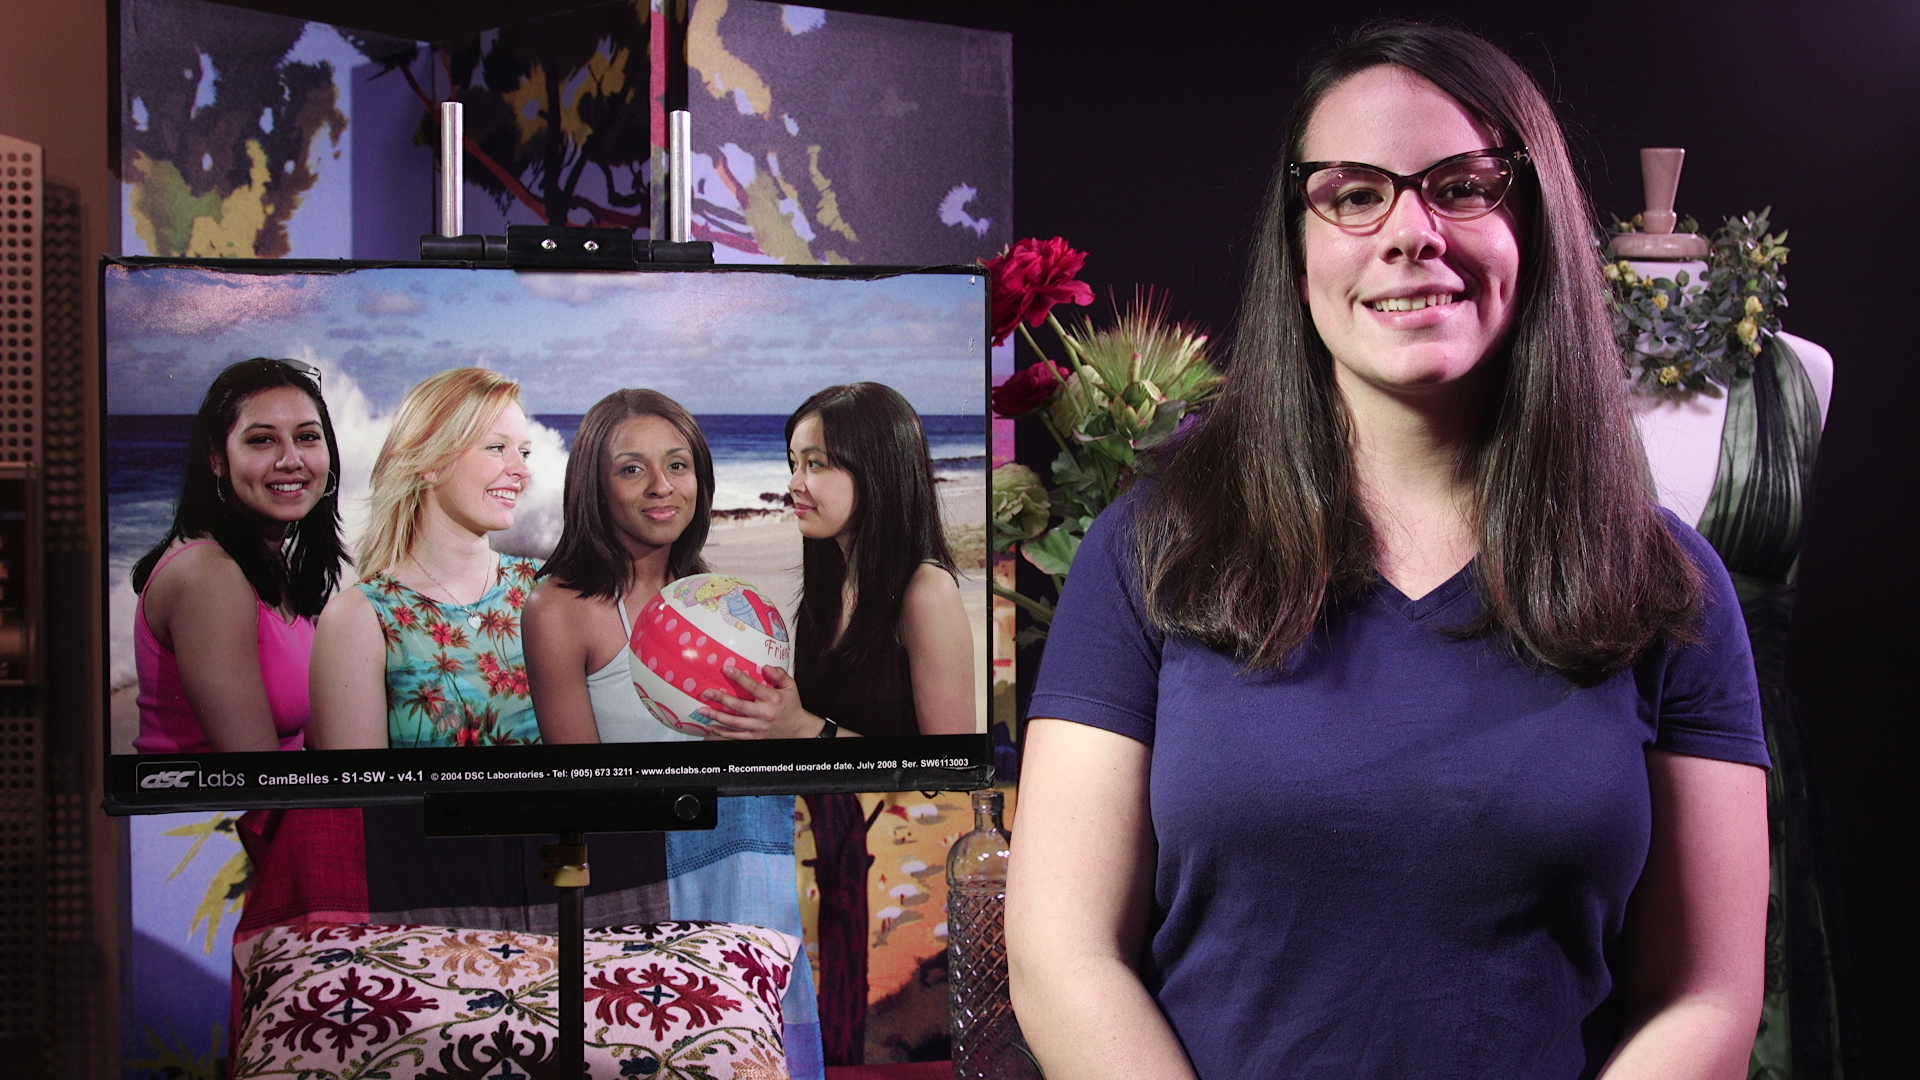 This file is designed to match the 5D Mark II in standard mode, and with the help of the EOS Standard settings I was able to get very close to the look. I adjusted the matrix a good bit to get a similar color response, but otherwise the file is the same as the camera's built in "EOS Standard" mode. If you like the colors, feel free to change the gamma mode into Cine1 or 2 for more dynamic range. I left the sharpness on this one at 0, which I felt was a good match but don't personally like. Download EOSMATCH here.
CINEMA
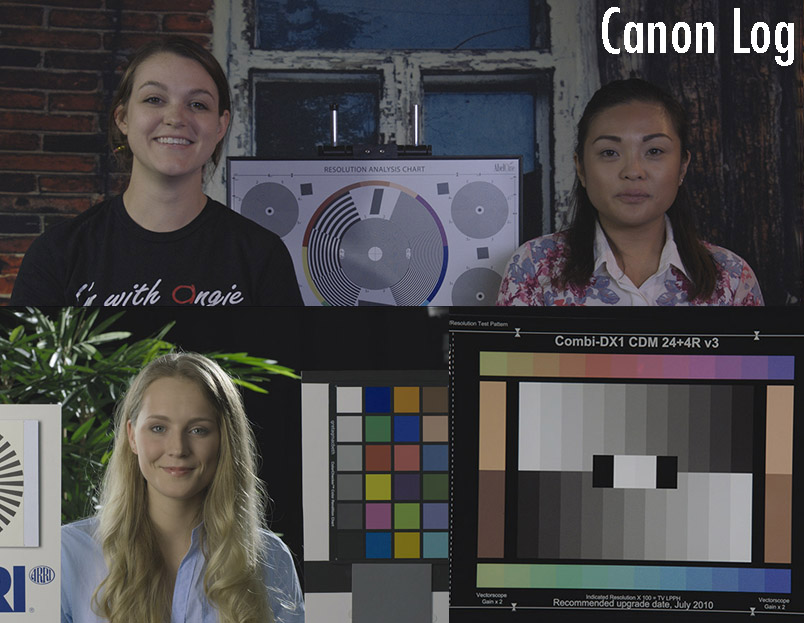 This last image just shows the default Cinema mode in the camera. There is no doubt that it holds the highlight information better than any other setting in the camera. It should already be defaulted to one of your profiles, or you can 'RESET' and profile into it. It uses the Canon Log gamma and matrix settings that you get in Cinema Lock mode, but with no sharpness added. Make sure to use this instead of Cinema Lock mode, because that does add some very limited sharpness (detail) to the image. That's it for now - make sure to try out the different files and try combining different elements together. I personally like the color mapping in JR45CINE, but the Cine2 gamma might not be right for every situation, so mix and match to find the right setting for you. Unfortunately, there is no perfect setting for every situation, but hopefully these will help you get started. Check out our Canon C300 class to learn more about making profiles for this camera.
