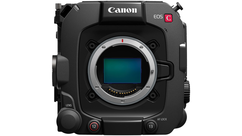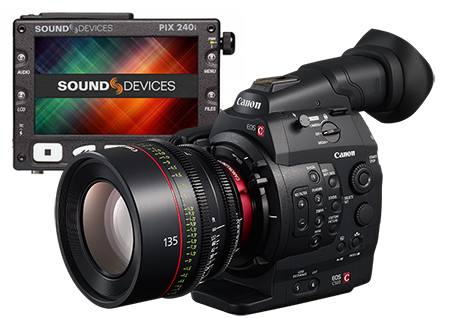
We've previously mentioned that the 4K raw capabilities of the Canon EOS C500 aren't the only differences over the C300. While the C500 can record broadcast friendly 8-bit 4:2:2 internally to the CF cards, the additional output options make the C500 extremely robust for many applications. For example, did you know that the C500 can output 12-bit 4:4:4 HD video? You might ask yourself what the big deal between 8-bit, 10-bit, or 12-bit would be, or why one would want 4:4:4 RGB, but the differences can be substantial, especially for VFX work.
In his HD formats series, Andy writes about bit depth and 8-bit versus 10-bit, but let's go over the difference between 10-bit and 12-bit. With 10-bit color you're capturing 1,024 (210) shades of color per channel. That's 1,024 shades of red, 1,024 shades of green, and 1,024 shades of blue. When you combine all the shades and their various three-color combinations together, you get a total of 1,073,741,824 possible colors (10243). When capturing 12-bit (212) you get 4,096 shades per channel for a total of 68,719,476,736 colors. So the difference between 10-bit and 12-bit? About 67 billion colors. For VFX or chroma key work, having this additional color information can be crucial.
As Andy explains in the third part of the series, chroma subsampling is a method utilized to reduce color resolution without reducing overall resolution. While this is necessary for space saving and transmission reasons, when in a VFX environment, you want the most information possible from your camera. Since the C500 can output a 4:4:4 signal, this creates smoother sampling and fewer artifacts. Think of it as if you were measuring the slope of a hill, with height measurements taken once every foot vs. once every 2 feet. The diagram of the hill drawn with 1' increments would looks smoother and with less jagged edges than the one drawn with measurements taken every 2'.
Now that we've covered the "why", let's move on to the "how". Below are the steps to set up the PIX240 with a C500 to capture 12-bit 444:
To start, connect a cable from either of the C500's 3G-SDI outputs to the 3G-SDI input on the PIX.
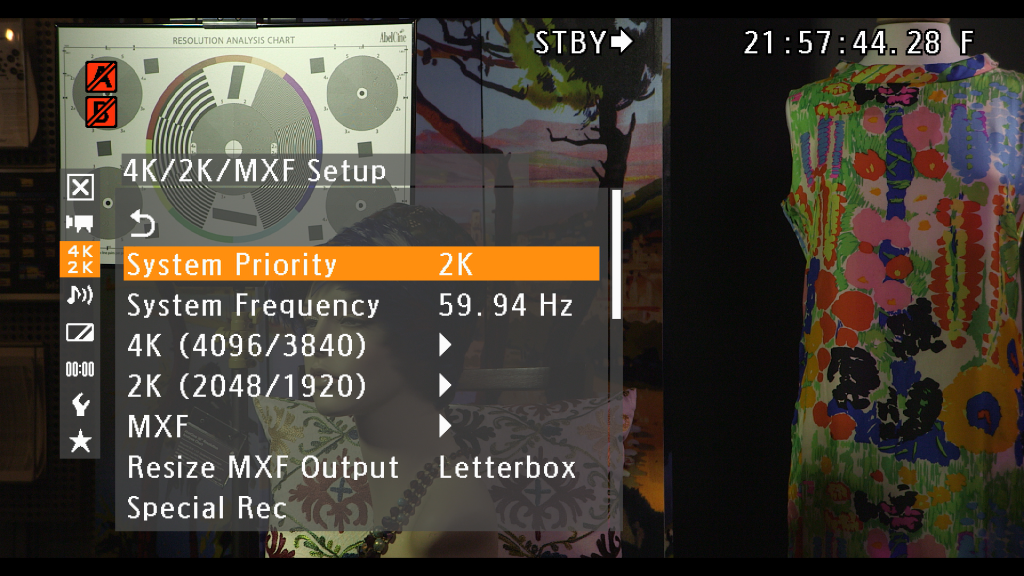
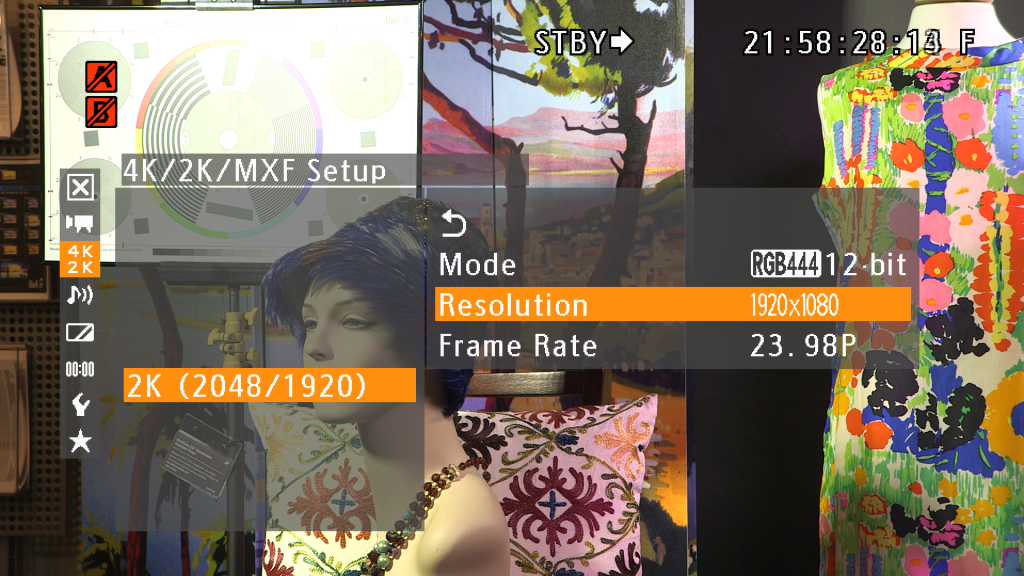
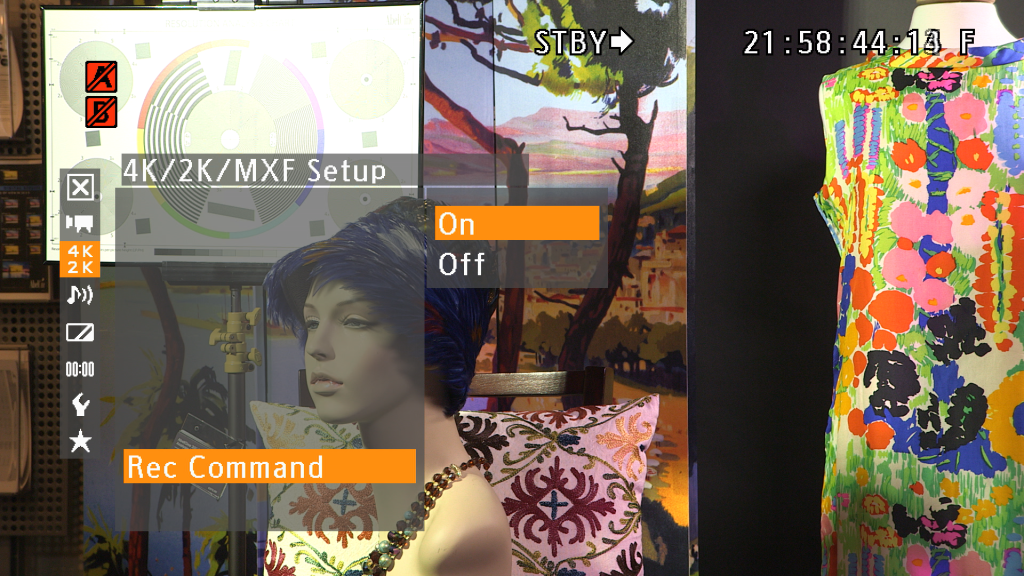
Next you'll want to go to the 4K/2K/MXF setup menu on the C500 and set your system priority to 2K. In your 2K output settings, choose 12-bit RGB444 as your mode and 1920 x 1080 as your resolution.
Make sure your 3G-SDI output is on and the Rec command is on, in order to send the record flag to the PIX.
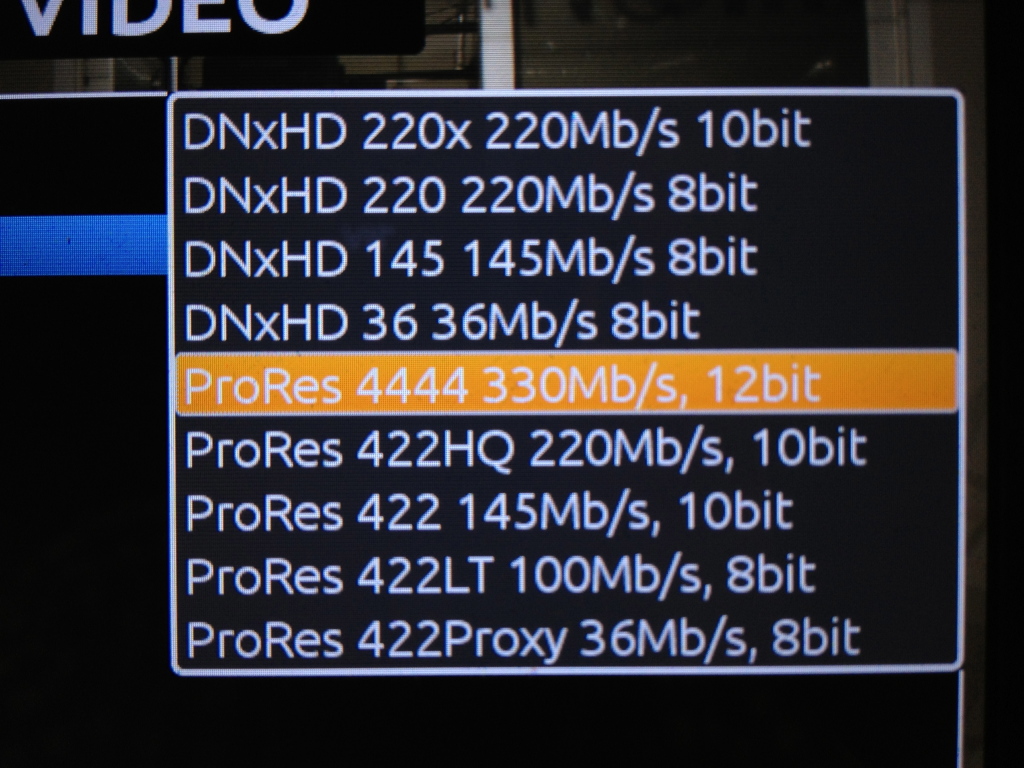
On the PIX, go to the system menu and set the Rec Start/Stop to SDI Flag - Canon. Now your PIX will start and stop recording along with the C500. You'll also want to make sure the PIX is set to record ProRes 4444. Now you can record an hour and 58 minutes of 12-bit ProRes 4444 to a 256GB SSD.
