You can visit AJA's site to download CamXchange software for free.
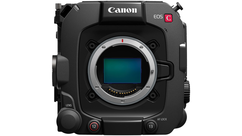
To set up the Canon C500 and the Ki Pro Quad, simply follow the same method we used for 4K ProRes:
c500
- In the 4K/2K/MXF Setup menu, select 4K as the System Priority.
- Select your System Frequency.
- In the 4K menu, select RAW as your Mode, 4096 x 2160 (for 4K) or 3840 x 2160 (for QuadHD) in the Resolution option, and your Frame Rate.
- Make sure 3G-SDI Output is On.
- Make sure Rec Command is On.
Ki Pro Quad
- Press the Config button to access the menu.
- Set your Record Type to Normal.
- Set In Convert to None.
- Set the Video Input to SDI 1 RAW
- Set the TC In to SDI RP 188
- Set the Camera Data to Canon C500
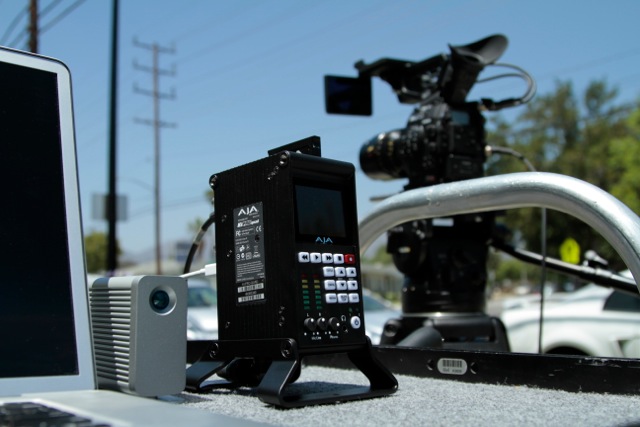
Turn off the Ki Pro Quad before plugging it into your computer. Using a Thunderbolt cable, connect the Ki Pro Quad to your laptop, and make sure you have a Thunderbolt external hard drive - which must be able to write at least 400MBps - plugged in as well. If your laptop only has one Thunderbolt connector, you can plug the Ki Pro Quad into your hard drive, then the hard drive into the laptop. After everything is plugged in, turn on the power for the hard drive and Ki Pro Quad and open up the CamXchange software.
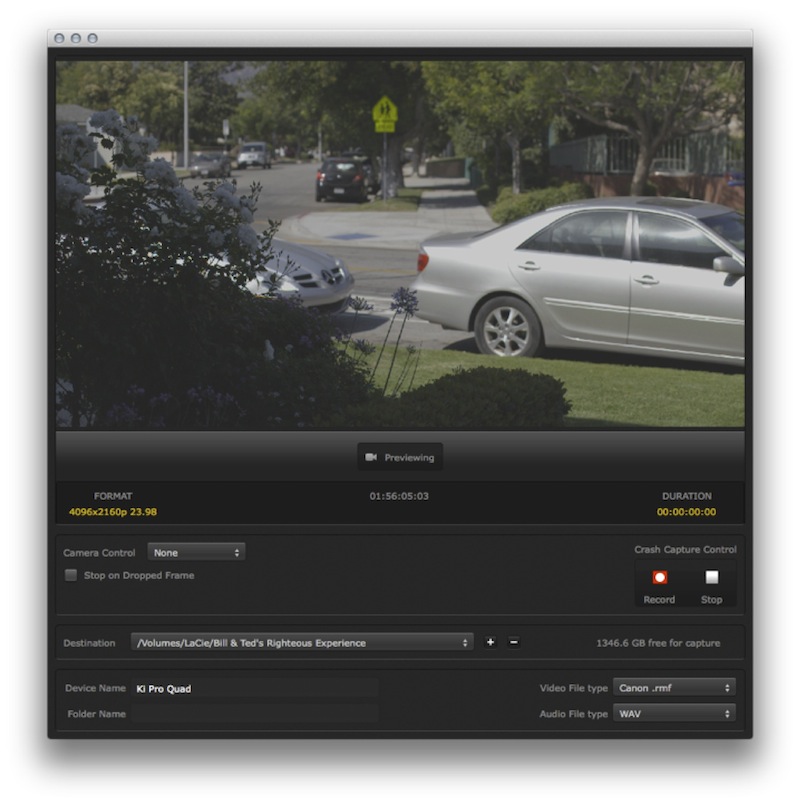 You should immediately see the live feed from your camera along with the resolution, frame rate, and timecode. In the Destination drop down menu, select a path to the external hard drive.
In the Camera Control section, you can choose whether recording is triggered via the camera or the laptop. For camera control, set it to Canon C500; for computer control, set it to None. You can start recording by clicking the Record button in the Crash Capture Control section. While recording, the duration count will increase to show how long you've been recording and a folder name will be created for your footage.
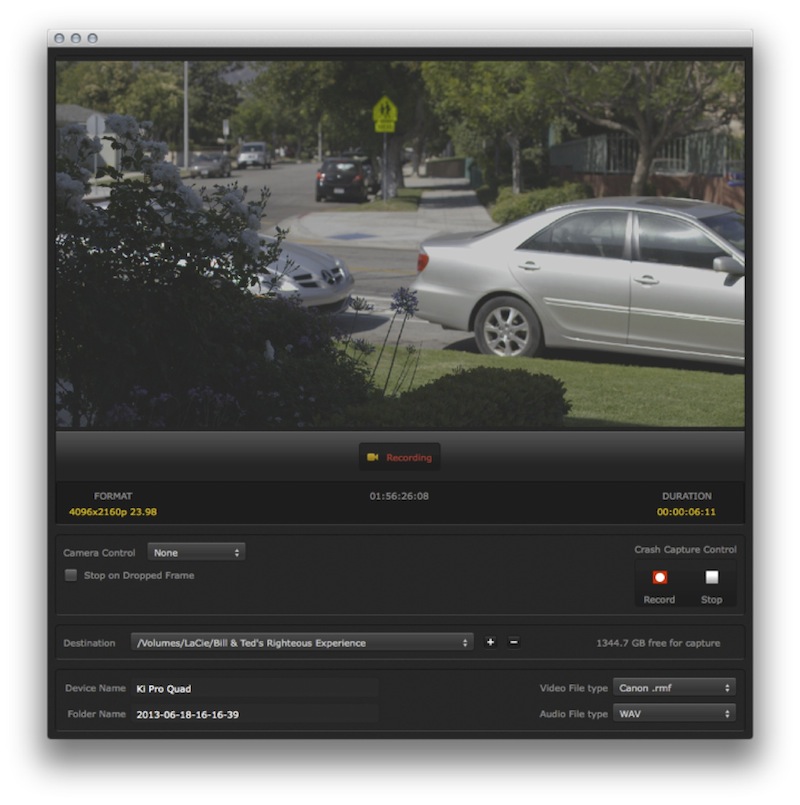 The folders will always be named using this naming convention: year-month-day-hour-minute-second, starting with the moment the record button is pressed if your camera control is set to None. When set to Canon C500, the folders will have the same name as the file being recorded by the Ki Pro Quad. Each folder will contain a .wav audio file and each frame will be recorded as its own .rmf file, just like a DPX stack.
That's all there is to it!
