I made six new files, which can be downloaded here in a zip file. Below is a description of the new files and what I thought they could be used for.
FS100 Standard (OFF)
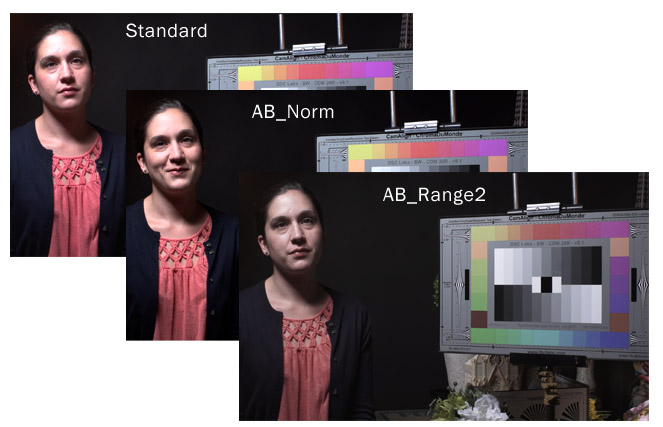
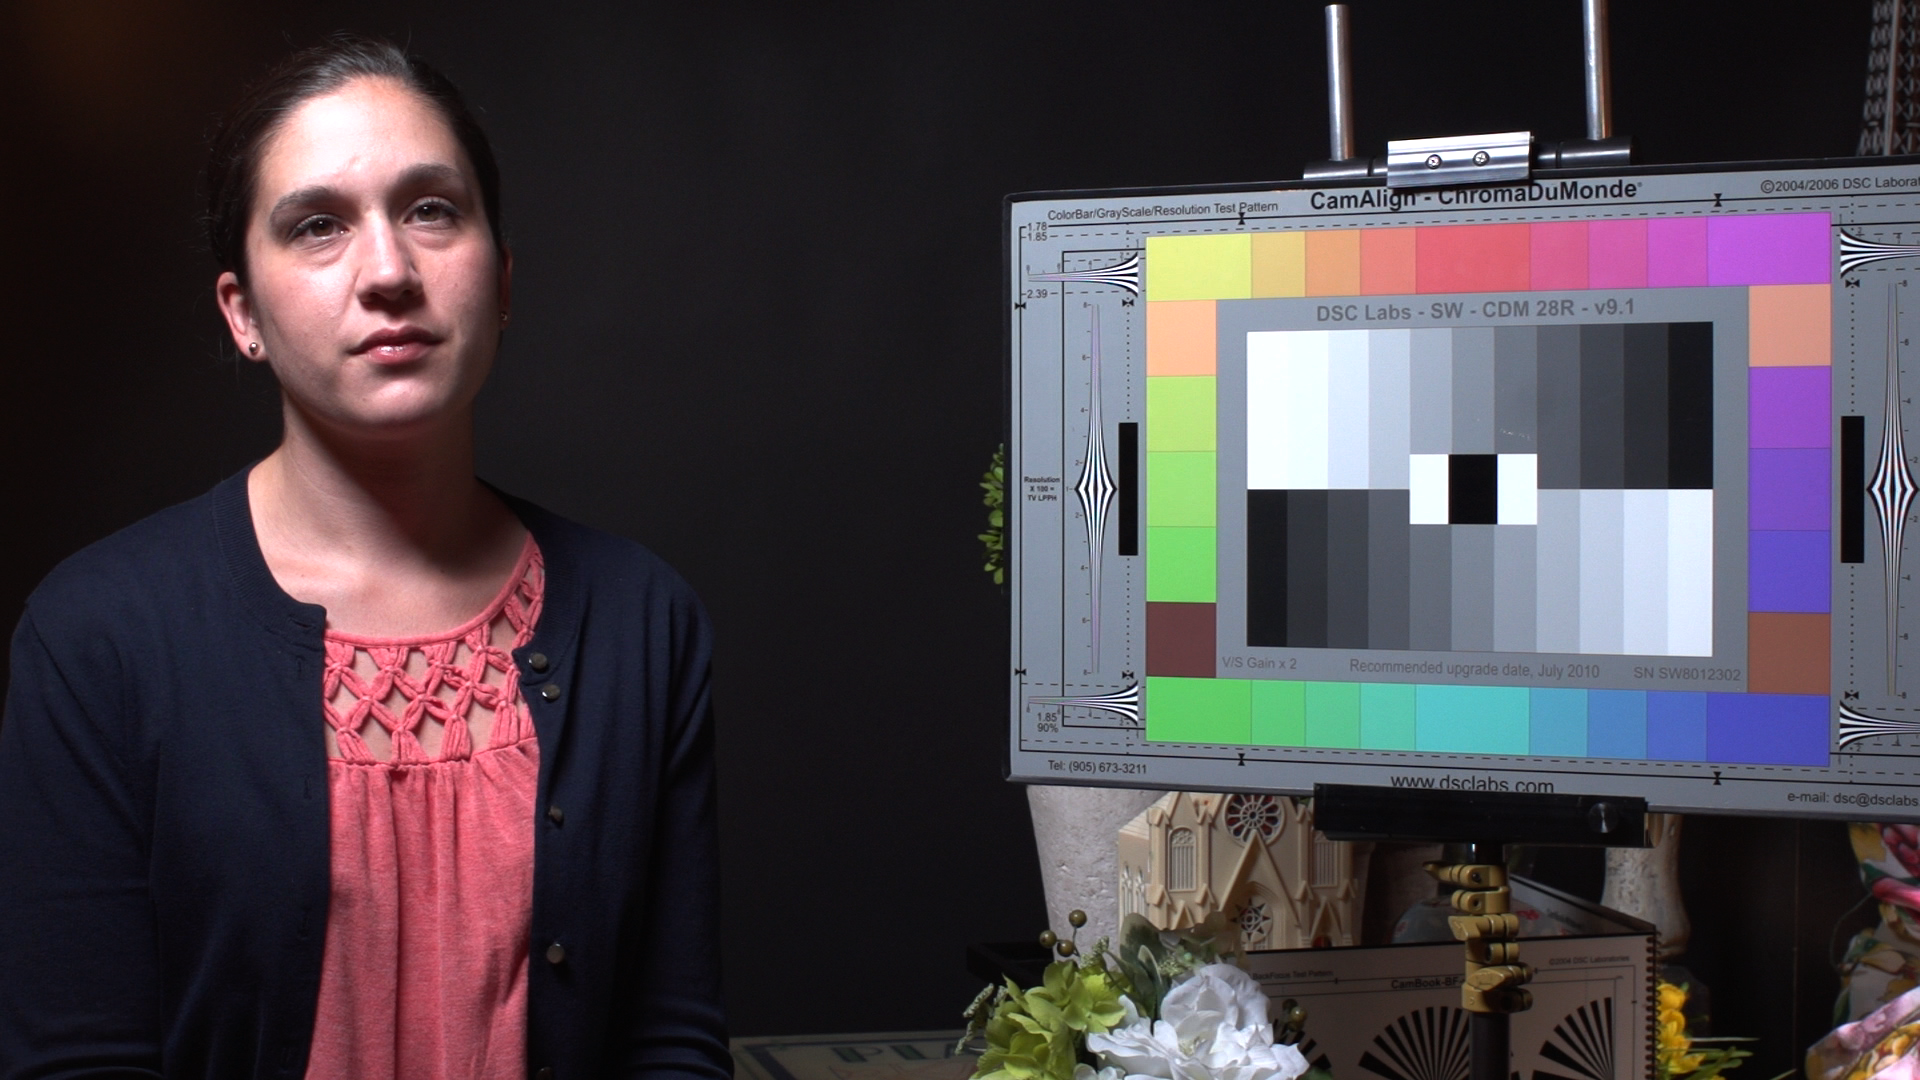 Here is what the camera looks like with no Picture Profiles turned on. I let our model's forehead blow out a little to show the difference between the different looks.
1 - AB_RANGE2
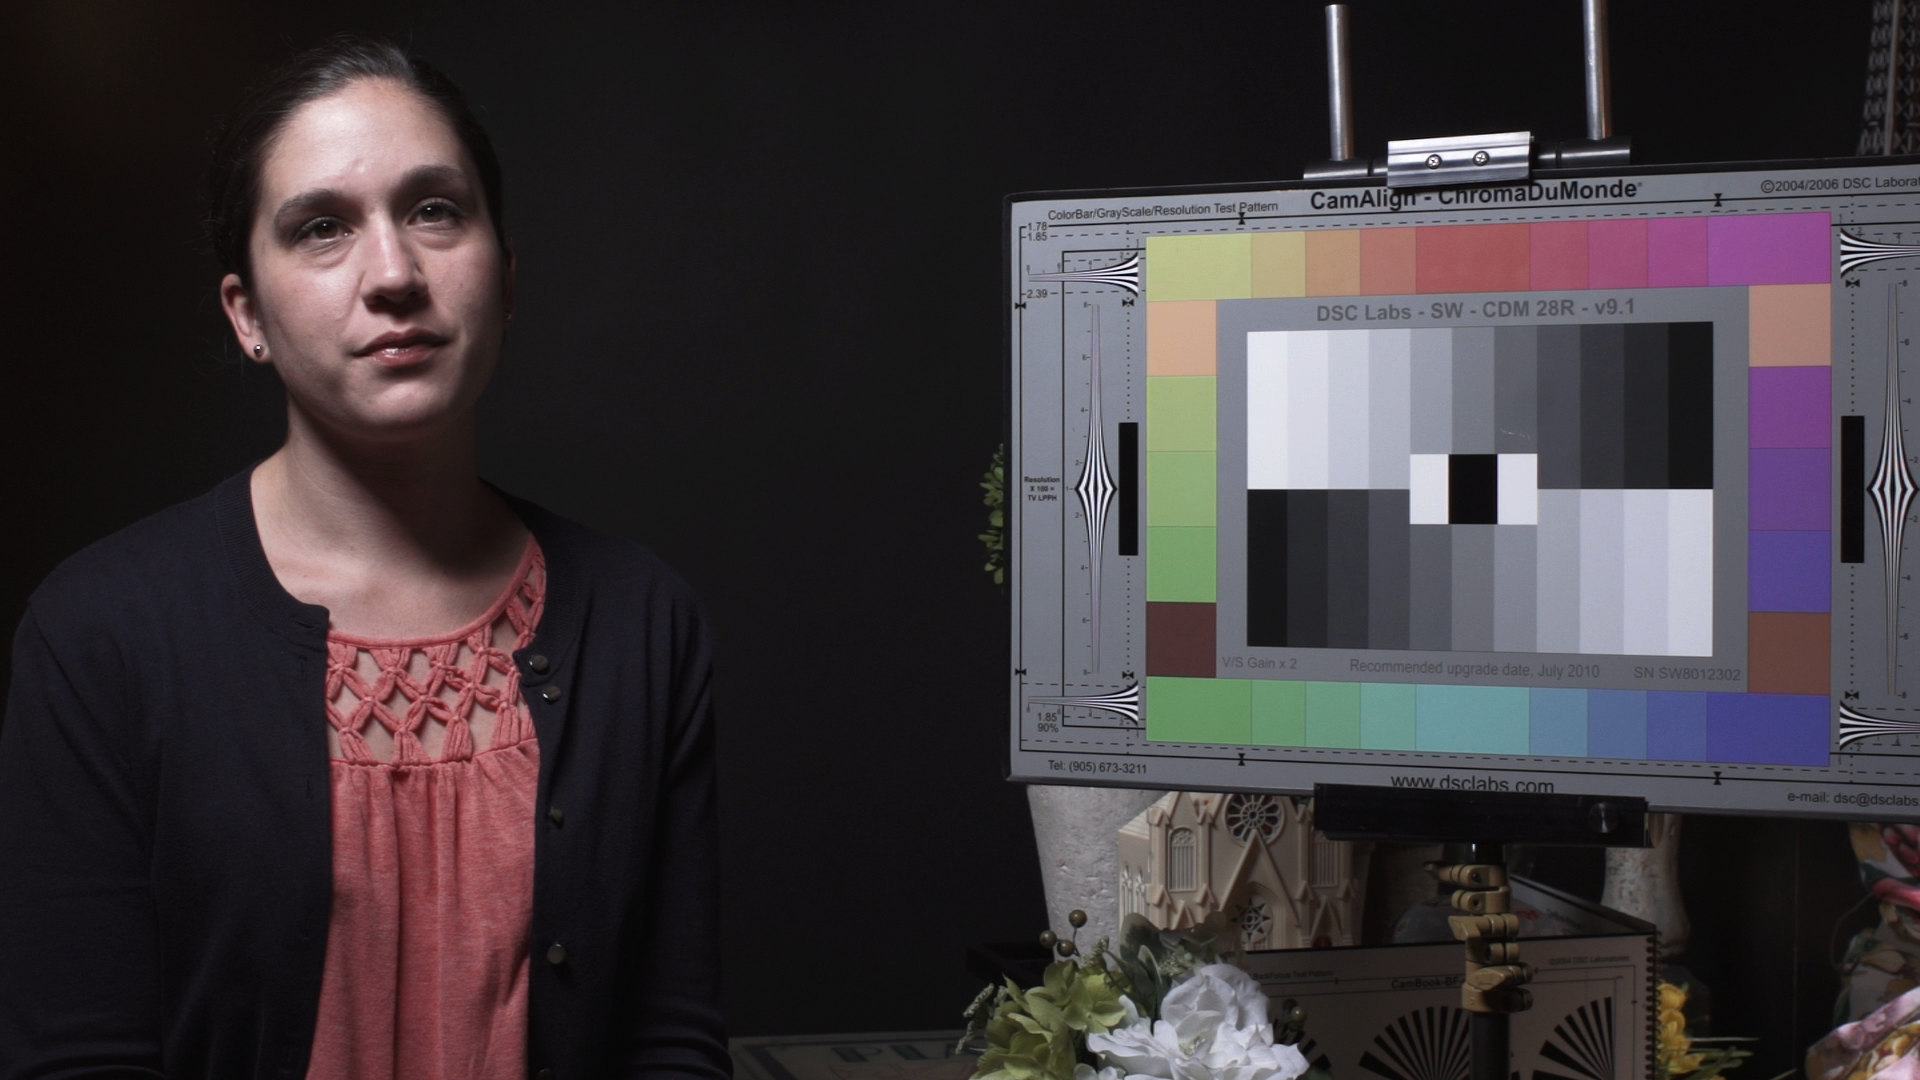 This is an updated version of my AB_RANGE profile that I made before. It is designed to get the most dynamic range out of the sensor, and you can see the difference in our model's forehead when compared to the standard look. I used the CineTone1 gamma mode with a low reduced knee point, and I adjusted the slope though to keep the white point from clipping to early. The black gamma and black level have also been pushed up to get the most out of the low light areas of the frame as well. Finally, I reduced the overall saturation to avoid any color clipping in the highlights and give more adjustment options in post. Use the range profile when you are in a tough high contrast situation, but be aware that you will need to do some grading in post.
Black Level: +7
Gamma: Cinematone1
Black Gamma: High, +7
Knee: Manual, Point= 75% / Slope= +3
Color Mode: Cinematone1, Level 8
Color Level: -7
Color Phase: 0
Color Depth: R= +1, G= +5, B= -3, C= 0, M= +1, Y= +6
Detail: -7 / Manual Set= Off
2 - Pastels
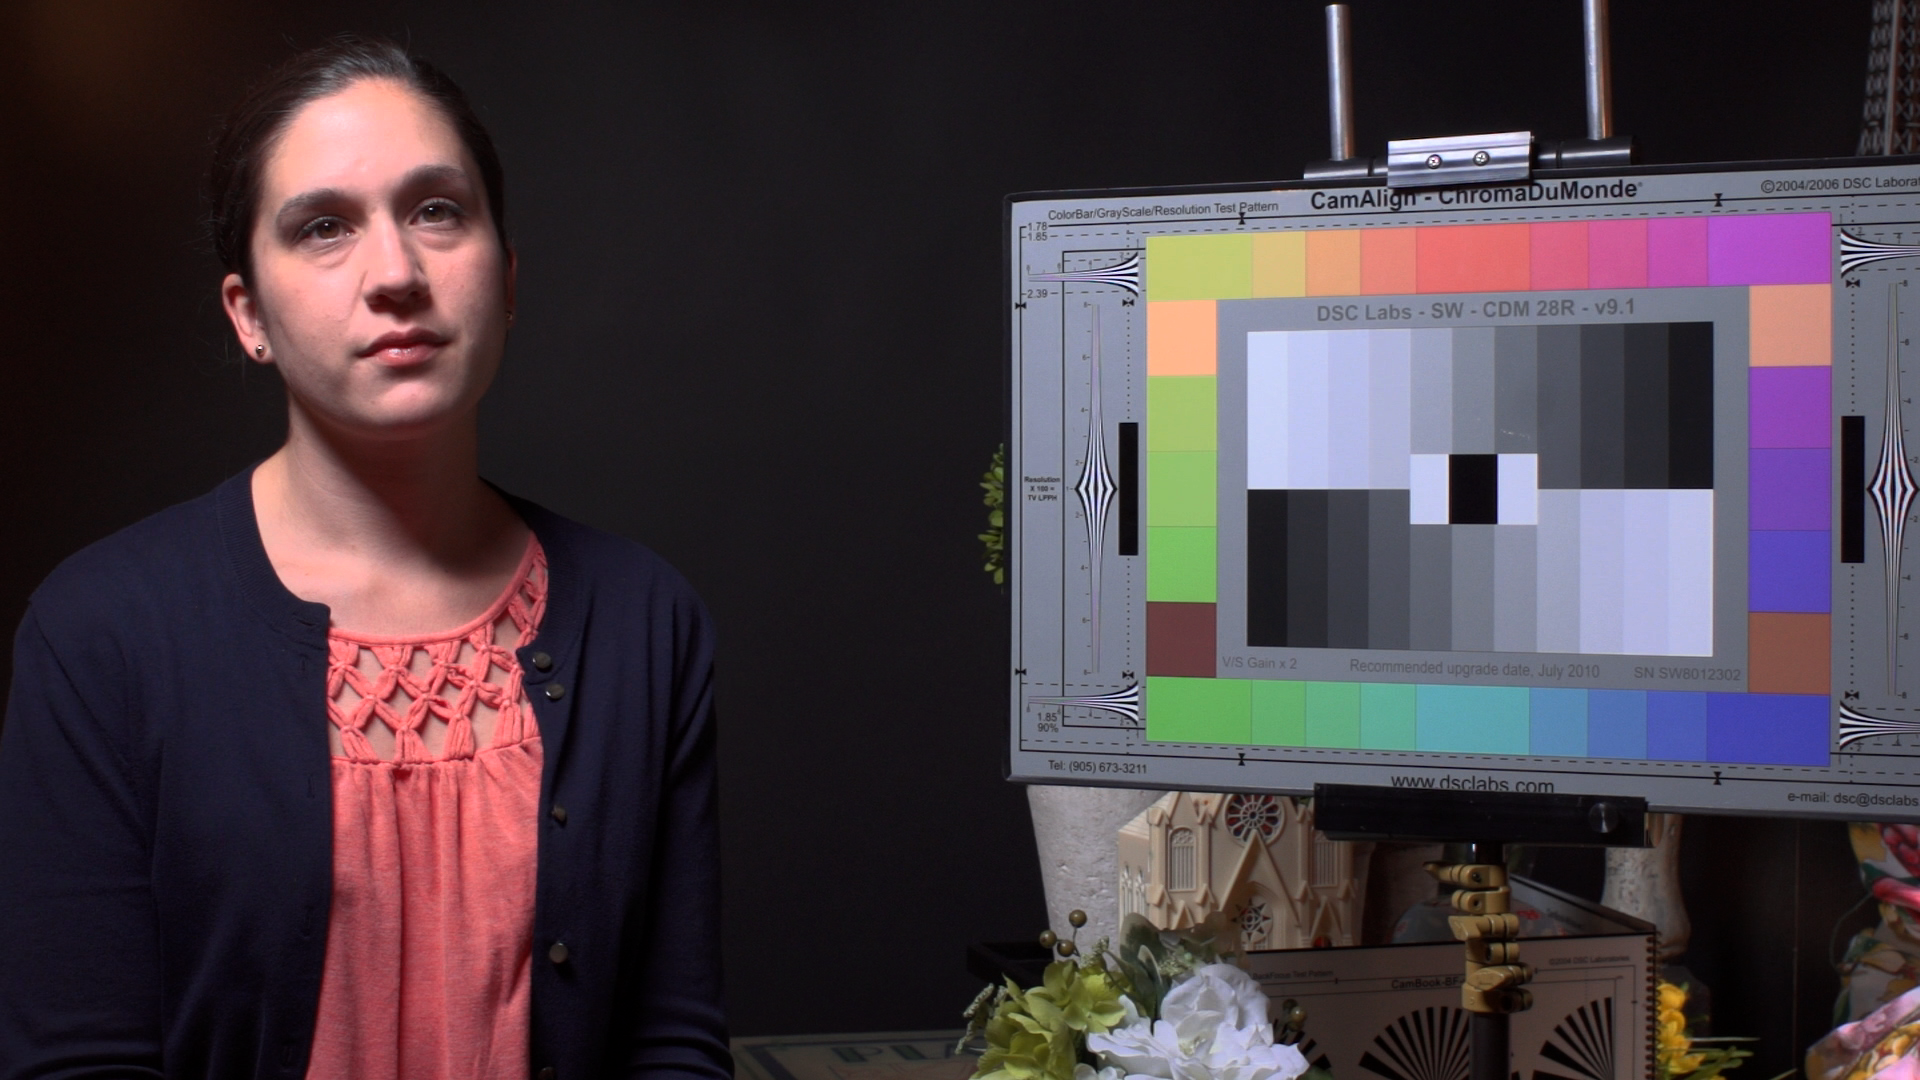 I wanted to create a look that produced that pastel-like style, which I've seen in other cameras. I used the 709 gamma mode with a modified knee point, and then really cranked up the saturation and color depth settings to get something soft and colorful. This is not a setting I would use often, but it might be fun to try out on the right shoot.
Black Level: -7
Gamma: ITU709
Black Gamma: Middle, +6
Knee: Manual, Point= 80% / Slope= -2
Color Mode: Cinematone1, Level 8
Color Level: 0
Color Phase: +1
Color Depth: R= -1, G= +2, B= 0, C= +1, M= +2, Y= +1
Detail: -7 / Manual Set= Off
3 - JR45Cine2
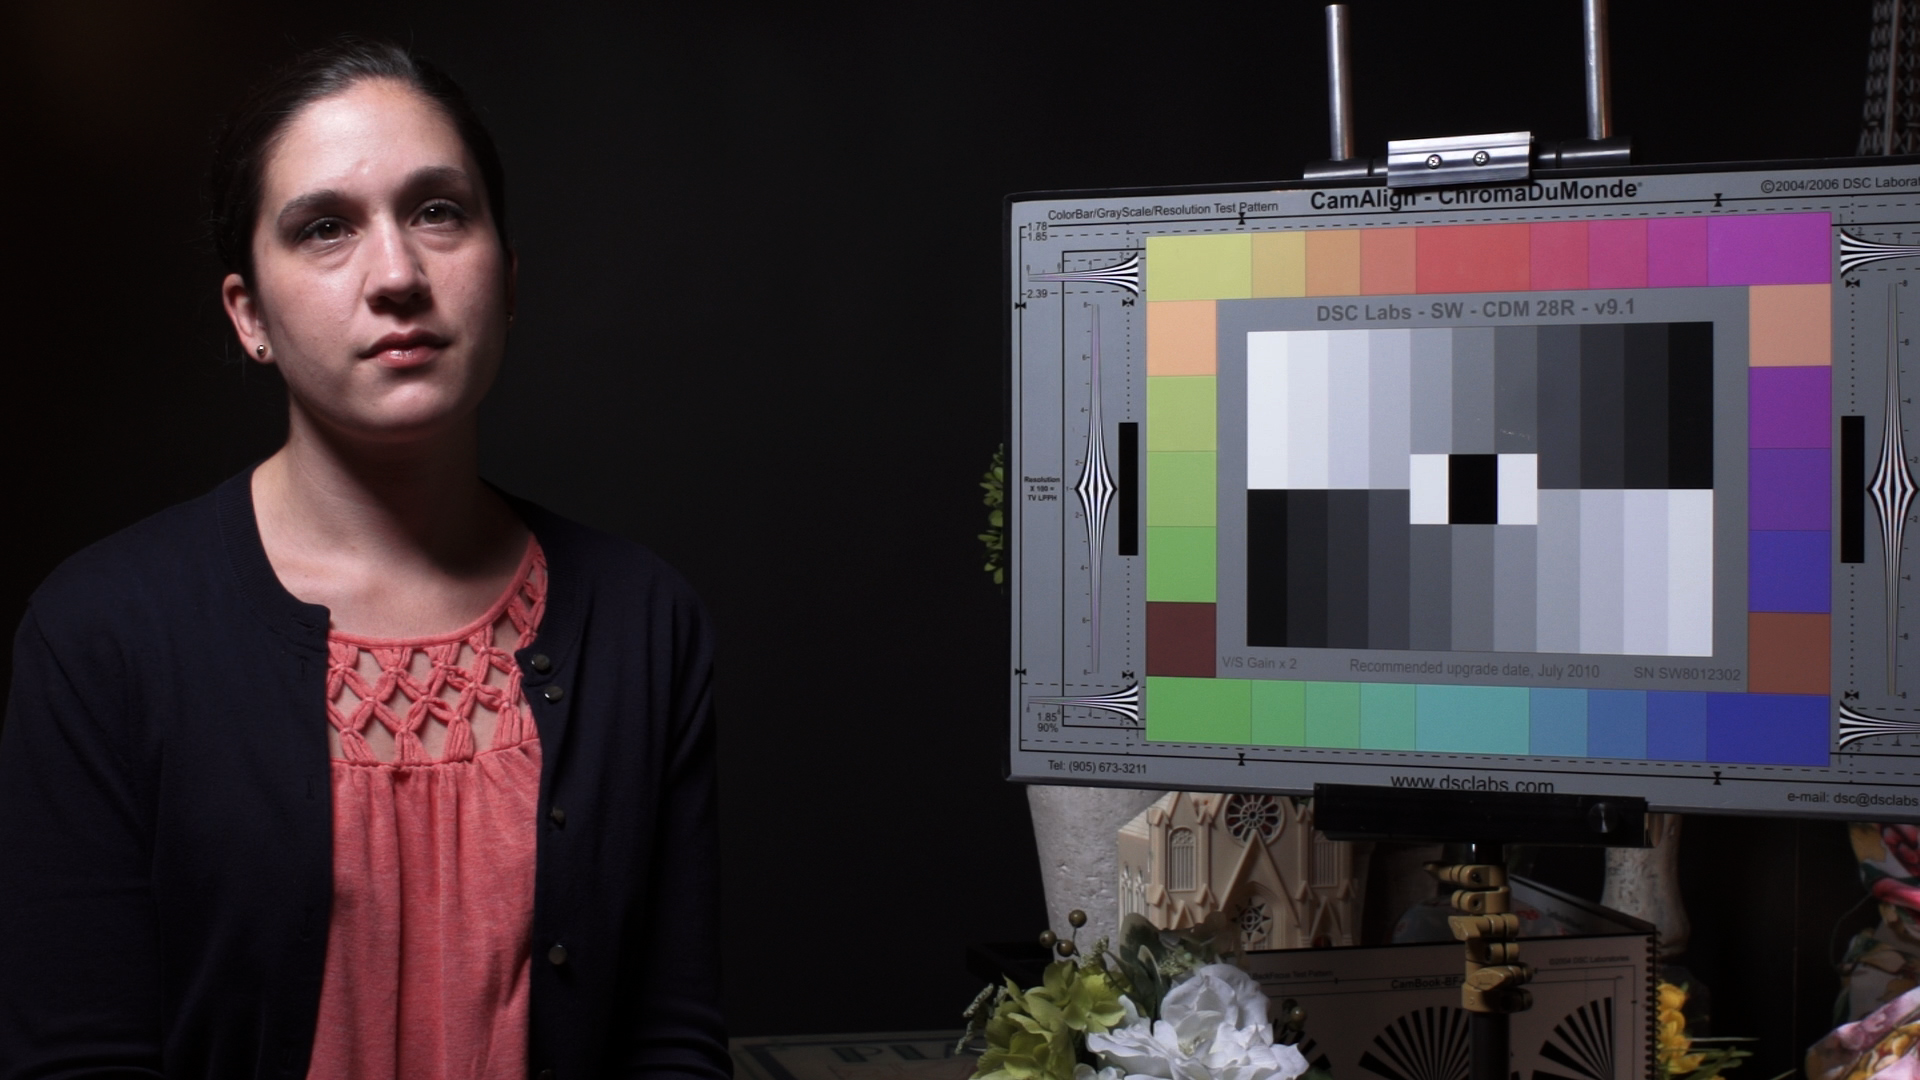 This is an updated version of my JR45Cine profile with some slight modifications. I used CineTone1 gamma again, with a lower knee point and adjusted slope level. This gives the profile similar highlight range to that found in the Range settings, but I kept the black levels lower, so it has less range overall. This is a good general-use setting, and something that could be used in many scenarios.
Black Level: -3
Gamma: Cinematone1
Black Gamma: High, +7
Knee: Manual, Point= 80% / Slope= +3
Color Mode: Cinematone1, Level 8
Color Level: -4
Color Phase: +1
Color Depth: R= -2, G= +2, B= 0, C= +1, M= +2, Y= +2
Detail: -7 / Manual Set= Off
4 - High Contrast
![]() This setting is similar to the one I made before to match the 5D Mark II. It has both high contrast and high saturation levels, and aims to give a look that really "pops" off the screen. Be careful using this setting, because there won't be much, if any, adjustment that can be done in post.
This setting is similar to the one I made before to match the 5D Mark II. It has both high contrast and high saturation levels, and aims to give a look that really "pops" off the screen. Be careful using this setting, because there won't be much, if any, adjustment that can be done in post.
Black Level: -6
Gamma: ITU709
Black Gamma: High, -1
Knee: Manual, Point= 85% / Slope= 0
Color Mode: Cinematone2, Level 8
Color Level: +4
Color Phase: 0
Color Depth: R= 0, G= +3, B= -1, C= +1, M= +3, Y= +2
Detail: +1 / Manual Set= Off
5 - Stark
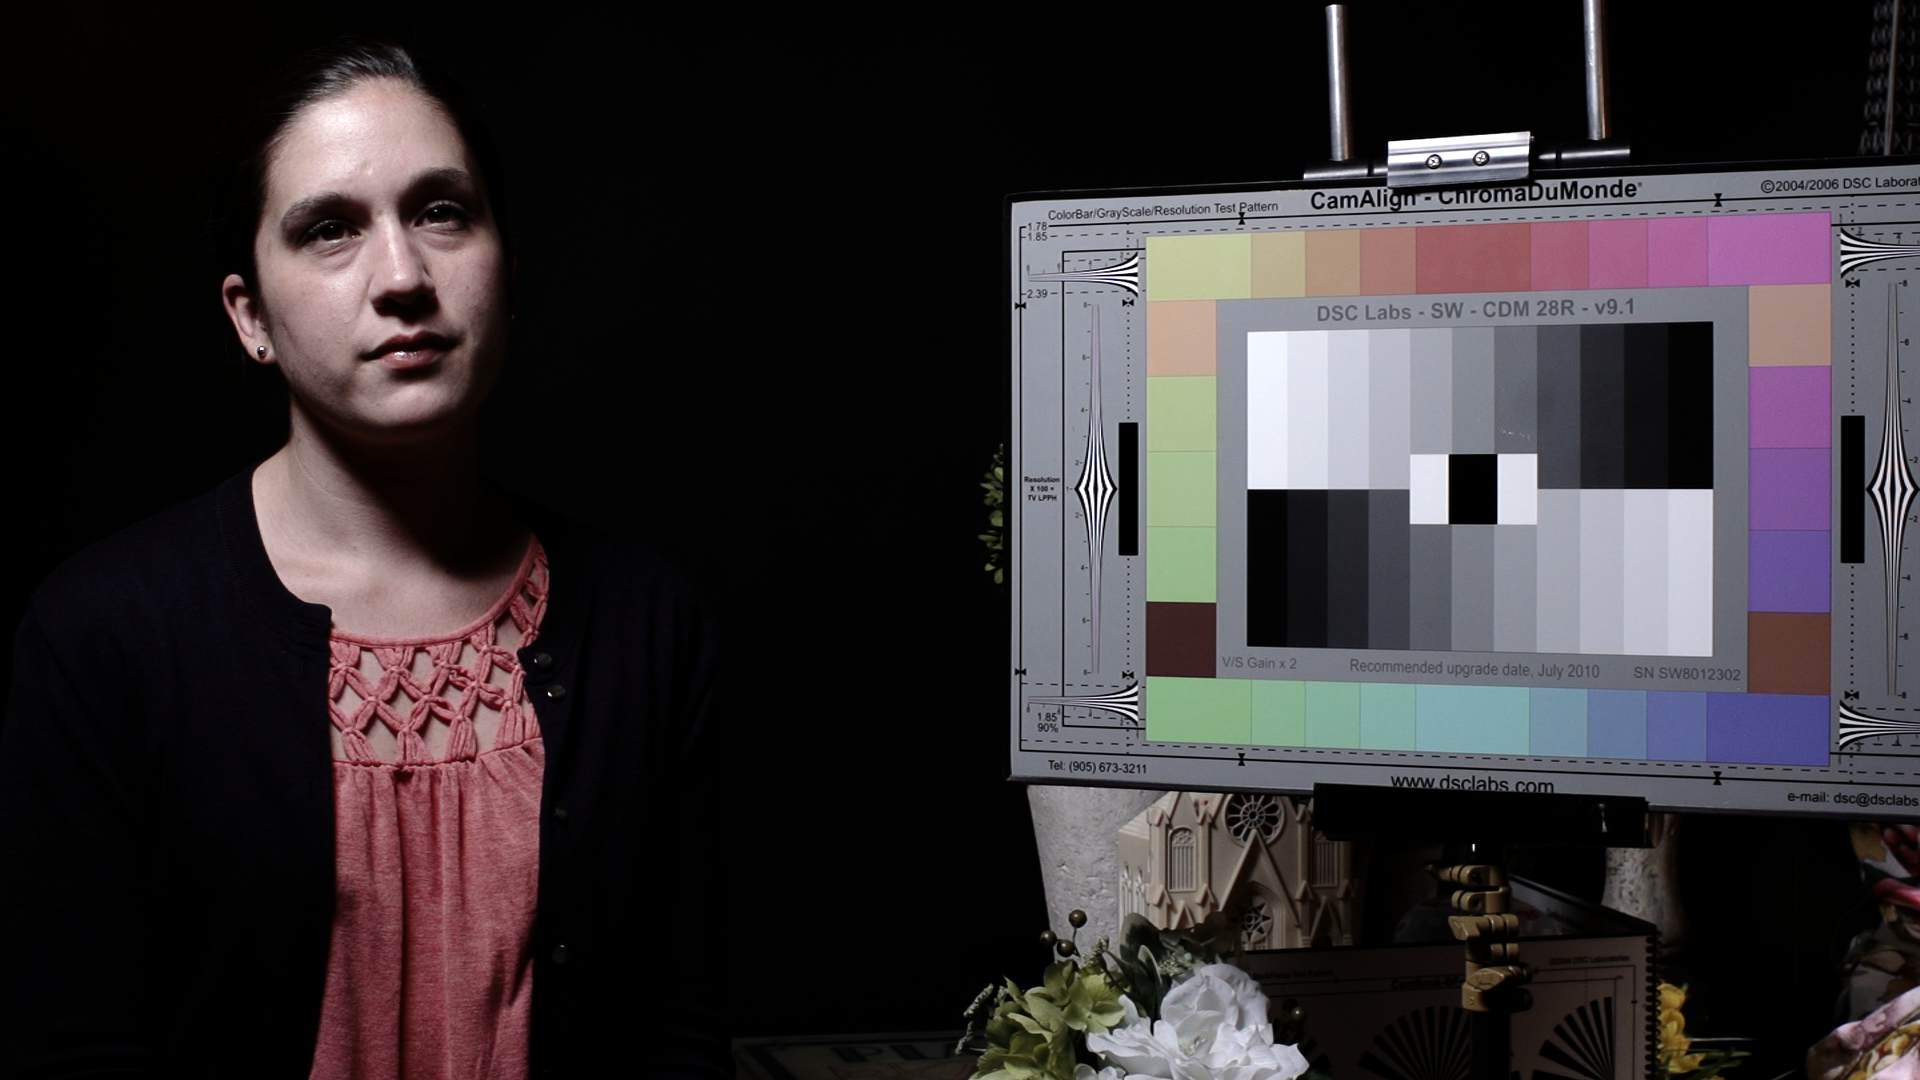 This is a fun setting that produces a really crushed and sharp look. I crushed the black and black gamma levels down, removed color saturation, and increased details. This is certainly a look you can achieve in post, but could be put to good use in some situations.
Black Level: -8
Gamma: Cinematone2
Black Gamma: High, -7
Knee: Manual, Point= 100% / Slope= 0
Color Mode: Cinematone1, Level 8
Color Level: -7
Color Phase: 0
Color Depth: R= +5, G= -7, B= -7, C= -7, M= -7, Y= +5
Detail: +4 / Manual Set= Off
6 - AB_NORM2
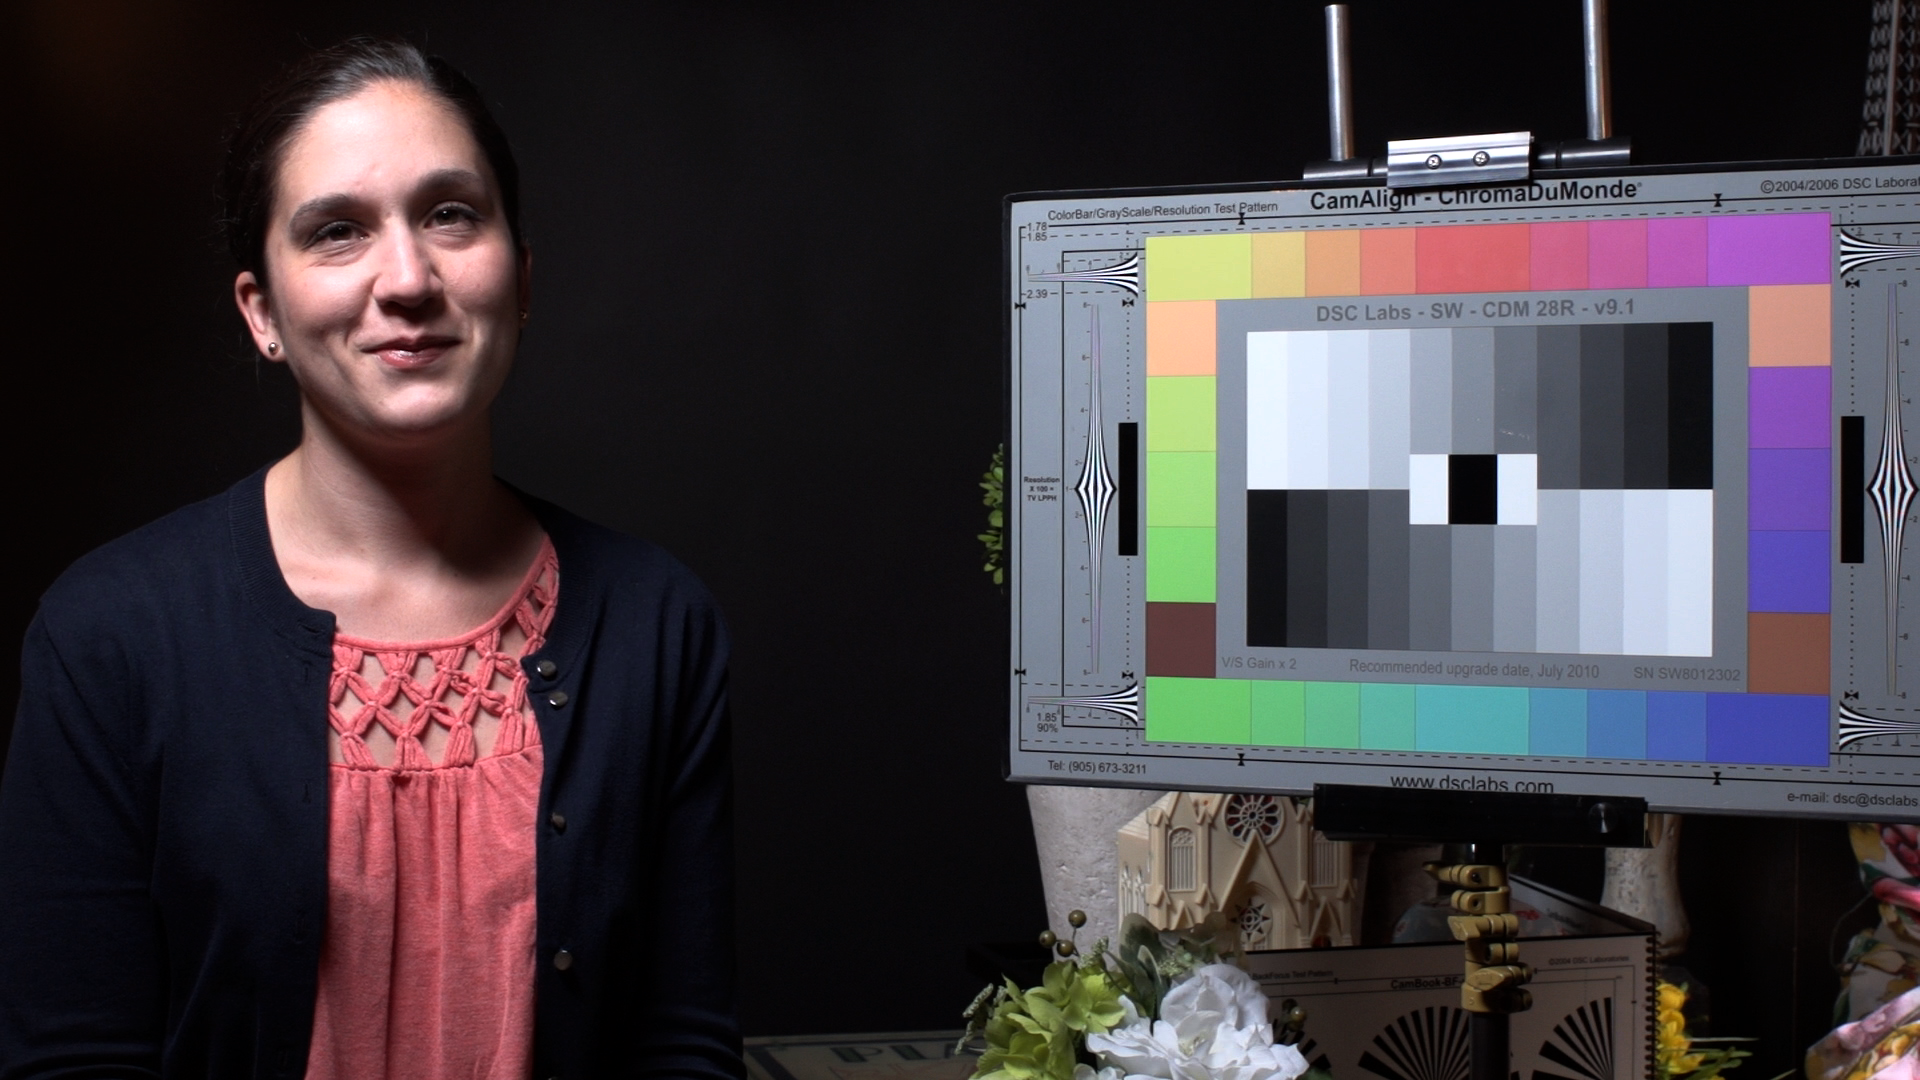 This is a modified version of my Abel Normal look, I'm using the Standard gamma this time with a 85% knee point. The gamma is very similar to that of JR45Cine2, but the profile has different color saturation and depth adjustments. I was going for pleasing skin tones and a good overall feel.
Black Level: -7
Gamma: Standard
Black Gamma: Middle,-4
Knee: Manual, Point= 85% / Slope= 0
Color Mode: Pro, Level 8
Color Level: 0
Color Phase: 0
Color Depth: R= -1, G= -1, B= 0, C= +4, M= 0, Y= 0
Detail: -4 / Manual Set= Off
AB_Norm and JR45Cine2 are my favorites overall, giving you nice highlight roll off and good overall color. AB_Range is a good option as well if you have a post color grade planned. I didn't add any 5D looks, because I wasn't able to get close enough with certain colors, so try the HiContrast and Pastel looks if you want something a little more colorful and '5D like.'
You can download the files here, but to install them you must have firmware version 2.0 installed first. After you uncompress the file, drag the "Private" folder to the root directory of an SDHC card or Memory Stick. In the "Others" menu of the camera, you can load all of the Picture Profiles via the "Camera Profile" option. This will overwrite any menu and assignable button settings you have and load our files on top, so make sure to backup any settings you like before loading ours.
