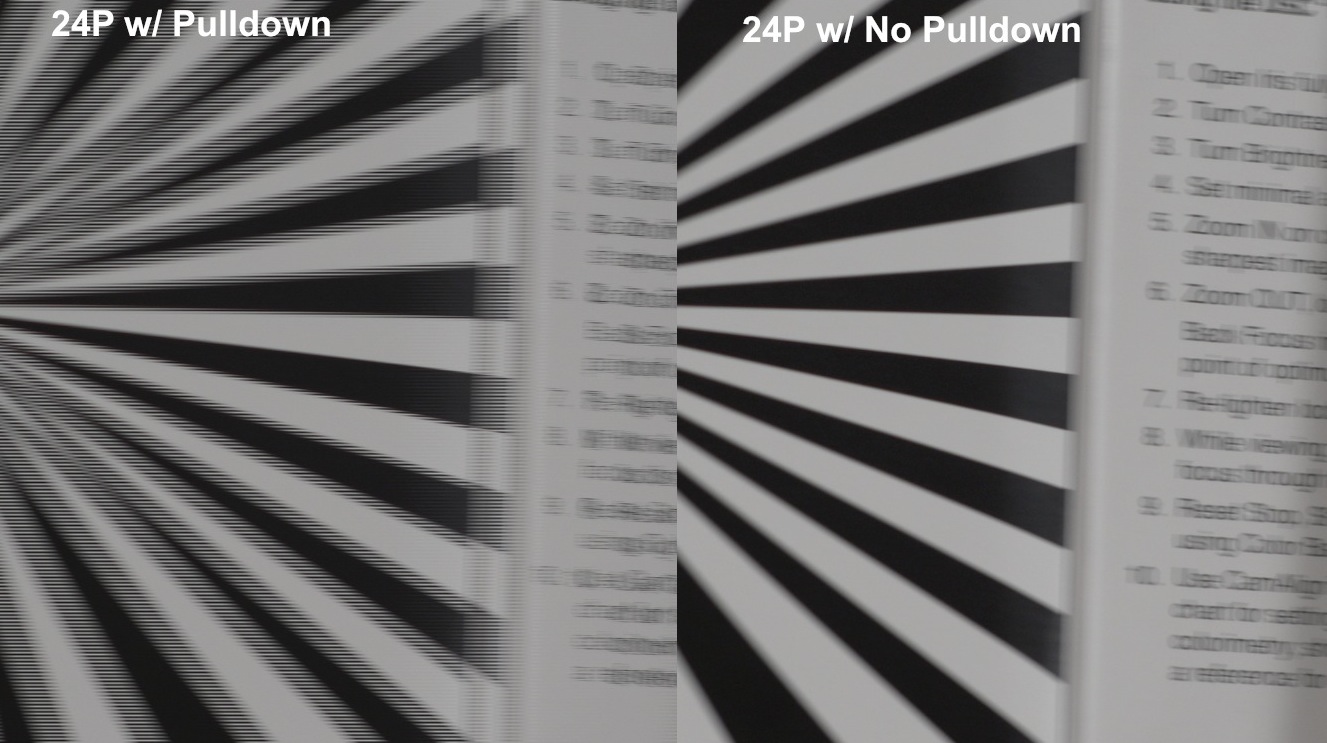
The internal video recording is true 24p, but the output has gone through a 2:3 pull down process, whereby the 24p is converted into 60i. Because 24 frames do not evenly split into 60 interlaced fields, this process stretches 24p into 60i which does result in some obvious interlacing artifacts. Here is a quick illustration showing how four frames (from 24p) split into interlaced fields.
For anyone wishing to record the HDMI signal coming out of the FS100, this can be a major headache. Recorders such as the Ki Pro Mini or the HyperDeck Shuttle can easily record the video coming out, but unfortunately they cannot remove the 2:3 pull down to convert the video back into 24p. Here are a couple quick examples of how to remove the pull down and get good results.
Removing 2:3 Pull Down with Apple Compressor
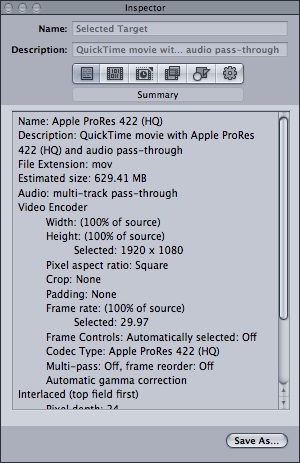
Compressor is available with Final Cut Pro Studio, and also available now from the App Store for only $50. With Compressor you can set up a quick setting that will remove pull down and output a video format that works best for you. In this case, I have chosen ProRes 422 (HQ) as my output format.
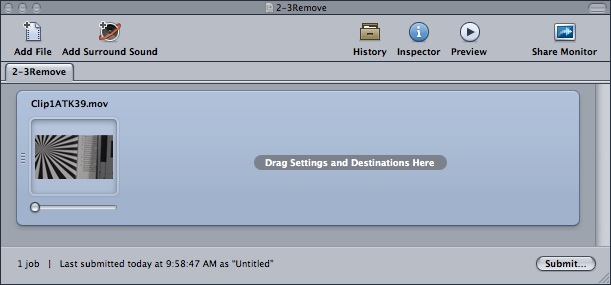
Step 1: Add a video clip into the main window of Compressor.
Step 2: Drag a default Compressor setting onto the video format. I started with ProRes 422 HQ. In the following steps, we will edit these settings. 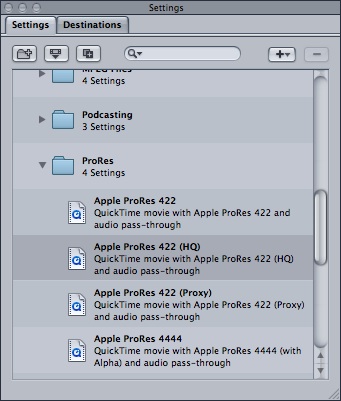
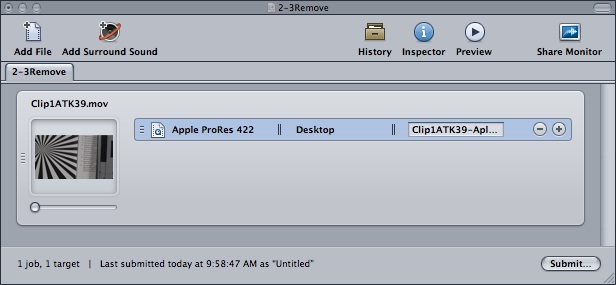
Step 3: Double-click on the setting that was just dragged in and it should appear in the Inspector window.
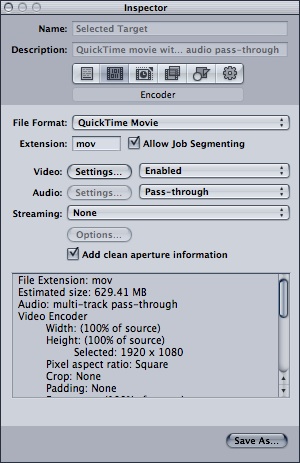
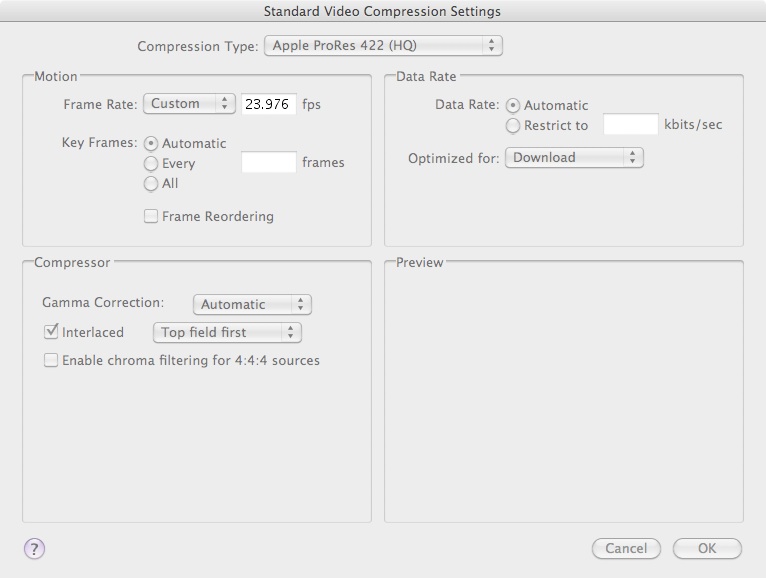
Step 4: In the Inspector window click on the Encoder settings, and then open the Video Settings window. In the Video Settings window change the frame rate to Custom and enter 23.976.
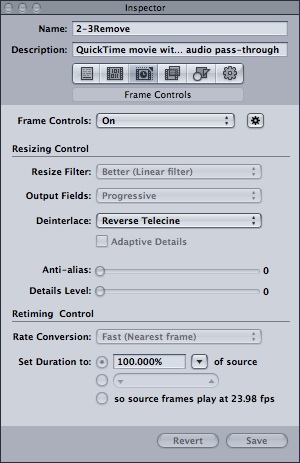
Step 5: In the Inspector window, click on the Frame Control setting and then enable frame control by clicking on the star symbol. Under the Deinterlace drop-down, select Reverse Telecine. This will auto-detect the cadence of the 2:3 pull down in the video and remove it.
Step 6: Save your settings. I called mine 2-3Remove. Now you can test the process on one clip by clicking submit. 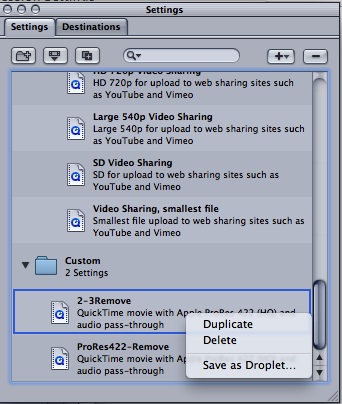

Step 7: Now in the settings window, choose to save the 2-3Remove setting as a Droplet. This will make a file on your desktop (or anywhere) that, when you drag video clips onto it, starts a batch conversion process. This way you can quickly apply this setting to a number of clips.
Step 8: Try out your droplet.
JES Deinterlacer
Another option that I like is a program called JES Deinterlacer, which is available as a free download. It is available for Mac and PC, and I find it to be a bit faster than Compressor.
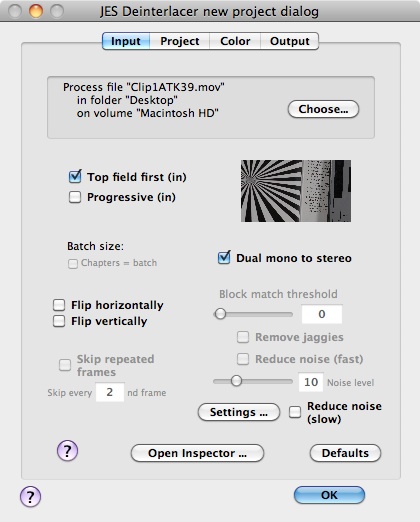
Step 1: Open JES Deinterlacer and on the Input tab select the file you would like to convert. On this same page, also make sure the Top Field First check-box is selected.
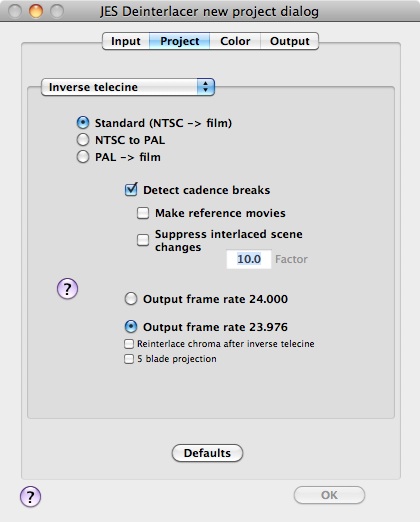
Step 2: Under the Project tab select Inverse Telecine from the top drop-down box. Then check the box for Detect cadence breaks and Output frame rate 23.976.
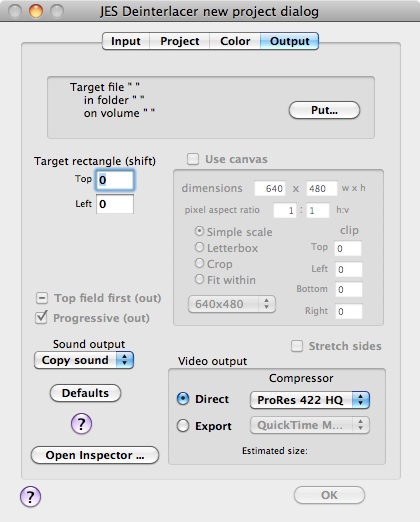
Step 3: Leaving Color alone, go to the Output tab and in the video output select Direct output and chose your compression option. I went with ProRes 422 HQ. You can also choose the Export option and specify a different format video to export. In the top box, select the destination where you want your files to go by clicking on Put.
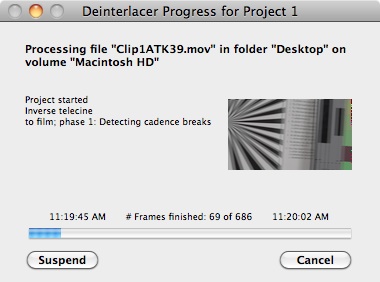
Step 4: Click OK and JES will start working.
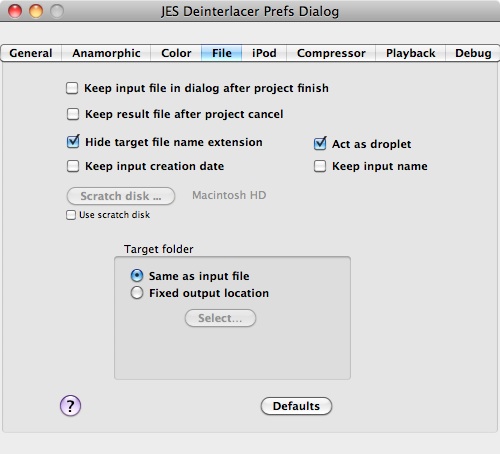
Step 5: Finally you can also turn JES Deinterlacer into a droplet for batch processing. Activate this in the Preferences dialog under File.
I did a couple of tests with footage from an FS100 with a Ki Pro Mini, which can be downloaded here - Original 60i & 24p convert. Happy deinterlacing!
