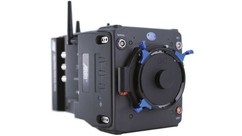
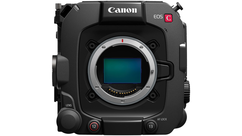
The AJA Ki Pro and Ki Pro Mini recorders both offer an ethernet user interface that can be displayed on a computer desktop.
The computer interface provides full unit control (including transport and playlist creation) and is also the method by which you apply firmware updates. I'm using my MacBook Pro for this demo, but you can use any computer with an ethernet port and web browser. Watch my video above for a step-by-step tutorial, or continue reading for a written guide.
- Connect your KiPro to your computer via an ethernet cord (RJ45, straight-through or cross-over are both supported).
- Press the Configure button on the Ki Pro, navigate to menu 50.1, and set the IP Config to Static Address. The Ki Pro has support for DHCP, but we're going to use a manual IP address since it simplifies the type of connection we're making.
- In menu 50.2, you'll see the IP address for the Ki Pro. You can change this if you wish, but remember the IP address.
- Toggle to Menu 50.3 and note the Subnet Mask.
- On your computer, navigate to your network settings (in System Preferences on your Mac, or Control Panel in Windows).
- Select the ethernet interface (IPv4).
- Make sure that your DHCP settings are set to manual IP address.
- Type in an IP address that is slightly different from the Ki Pro IP address. For example, the IP address of my Ki Pro was 192.168.0.2, so I set my computer to 192.168.0.1
- Type in the Subnet Mask that is in Menu 50.3 of the KiPro.
- To communicate with the Ki Pro, open a web browser of your choosing and type in the IP address of the Ki Pro. Hit return and the user interface for the Ki Pro is now on your desktop!
