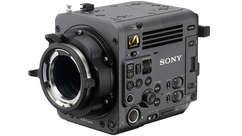
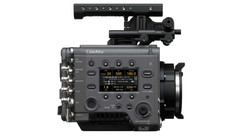
If you purchase these licenses in advance, you will receive an envelope containing the 12-digit alphanumeric Purchase Code, which in combination with your camera’s Unique Device ID, will allow you to activate these functions. This process is similar to the licensing procedure for other Sony cameras, like the F55 and FS5. Although the method has evolved overtime, it can still be easy to get lost. So, feel free to follow along as I install the Full Frame (CBKZ-3610F) License in our demo VENICE, which you can see in our showrooms.
OBTAINING THE LICENSE FILE
To begin, navigate to the Sony ULMS (Upgrade and License Management Suite) website.

Click “Purchase License” if you have not already purchased your licenses, or “Enter Purchase Code” if you have your code already. Also, sign up for a new account if you don't have one already.
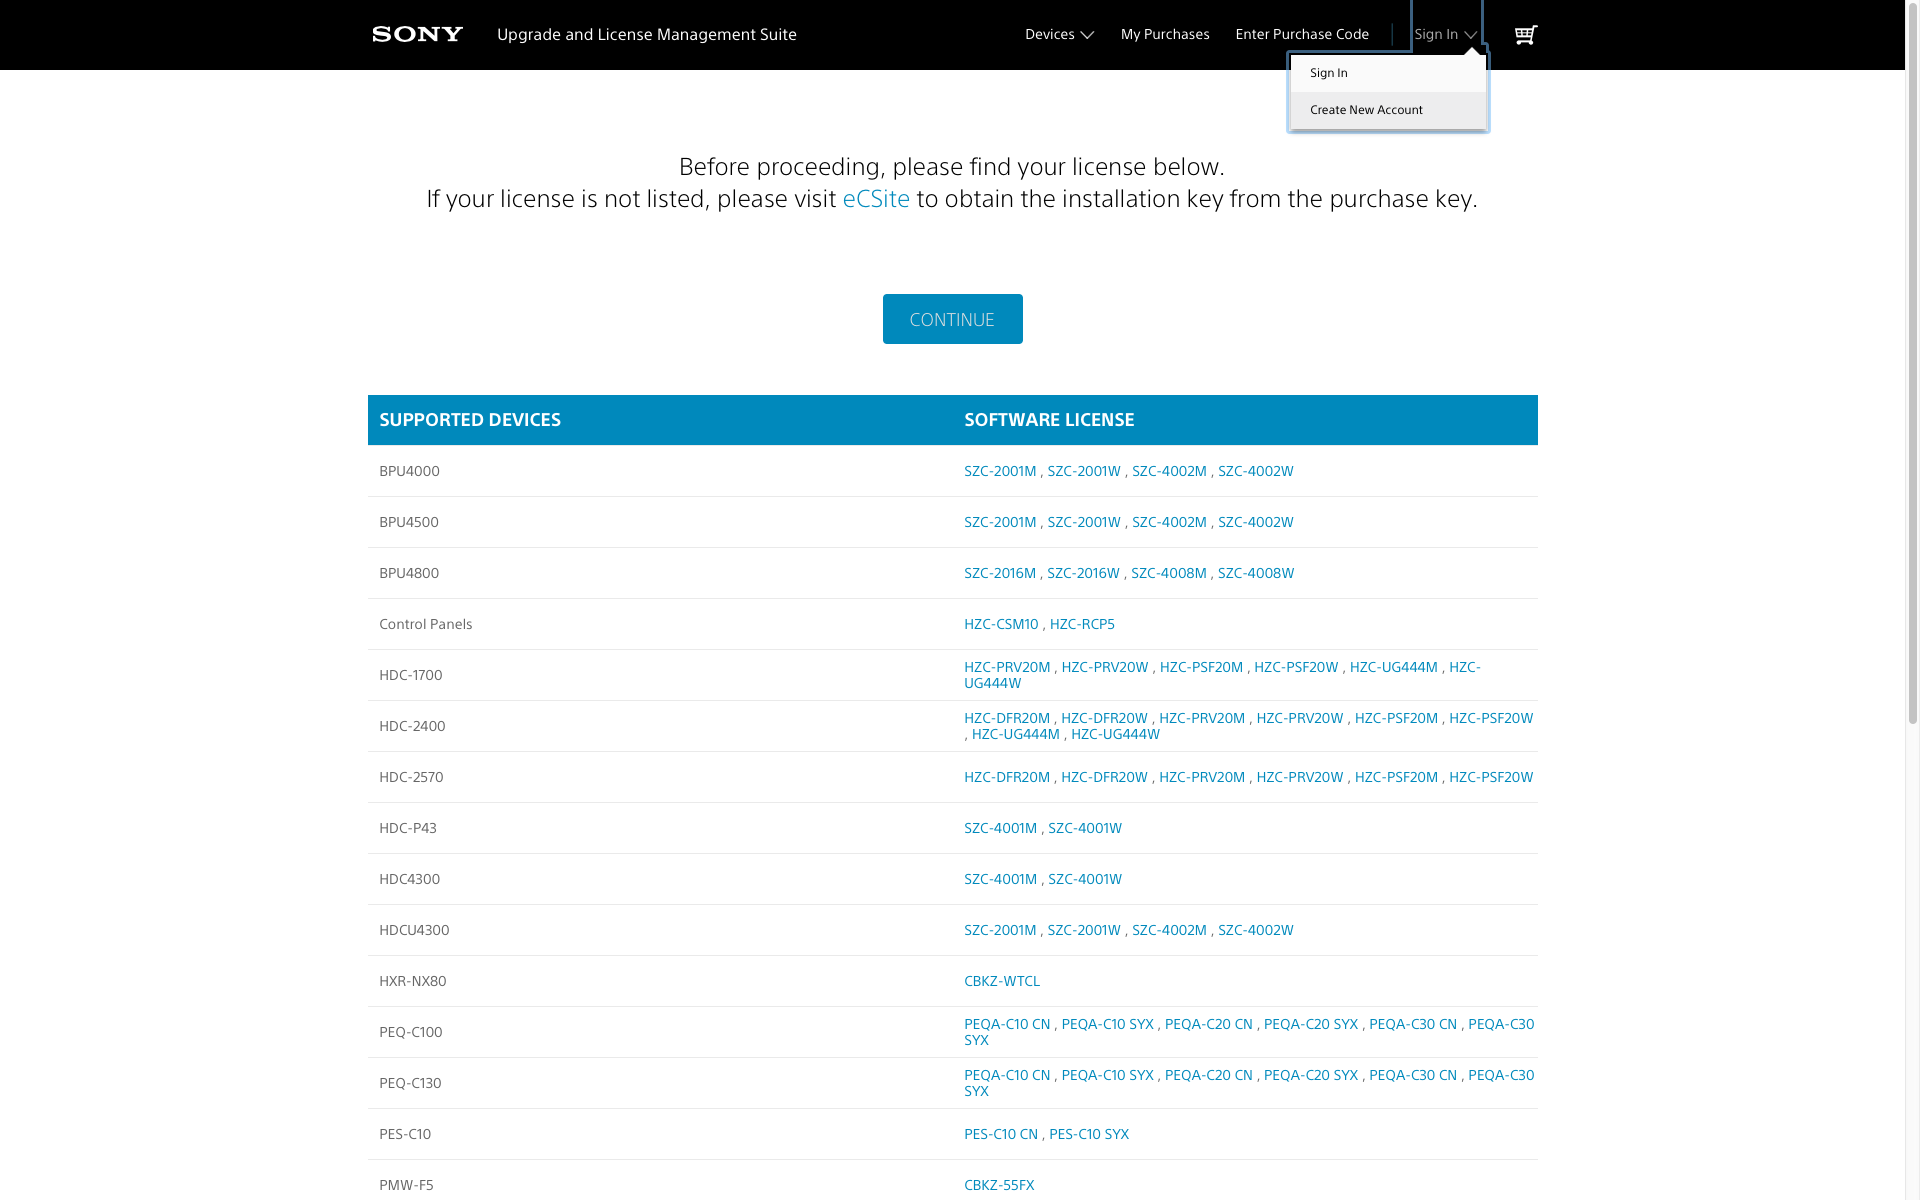
Once you are logged in, locate the licenses you have purchased in the provided list. For VENICE, scroll all the way to the bottom of the page. Select the license you would like to install. In our case, we’ll be using the Full Frame License Key for MPC-3610, CBKZ-3610F, the permanent Full Frame option.

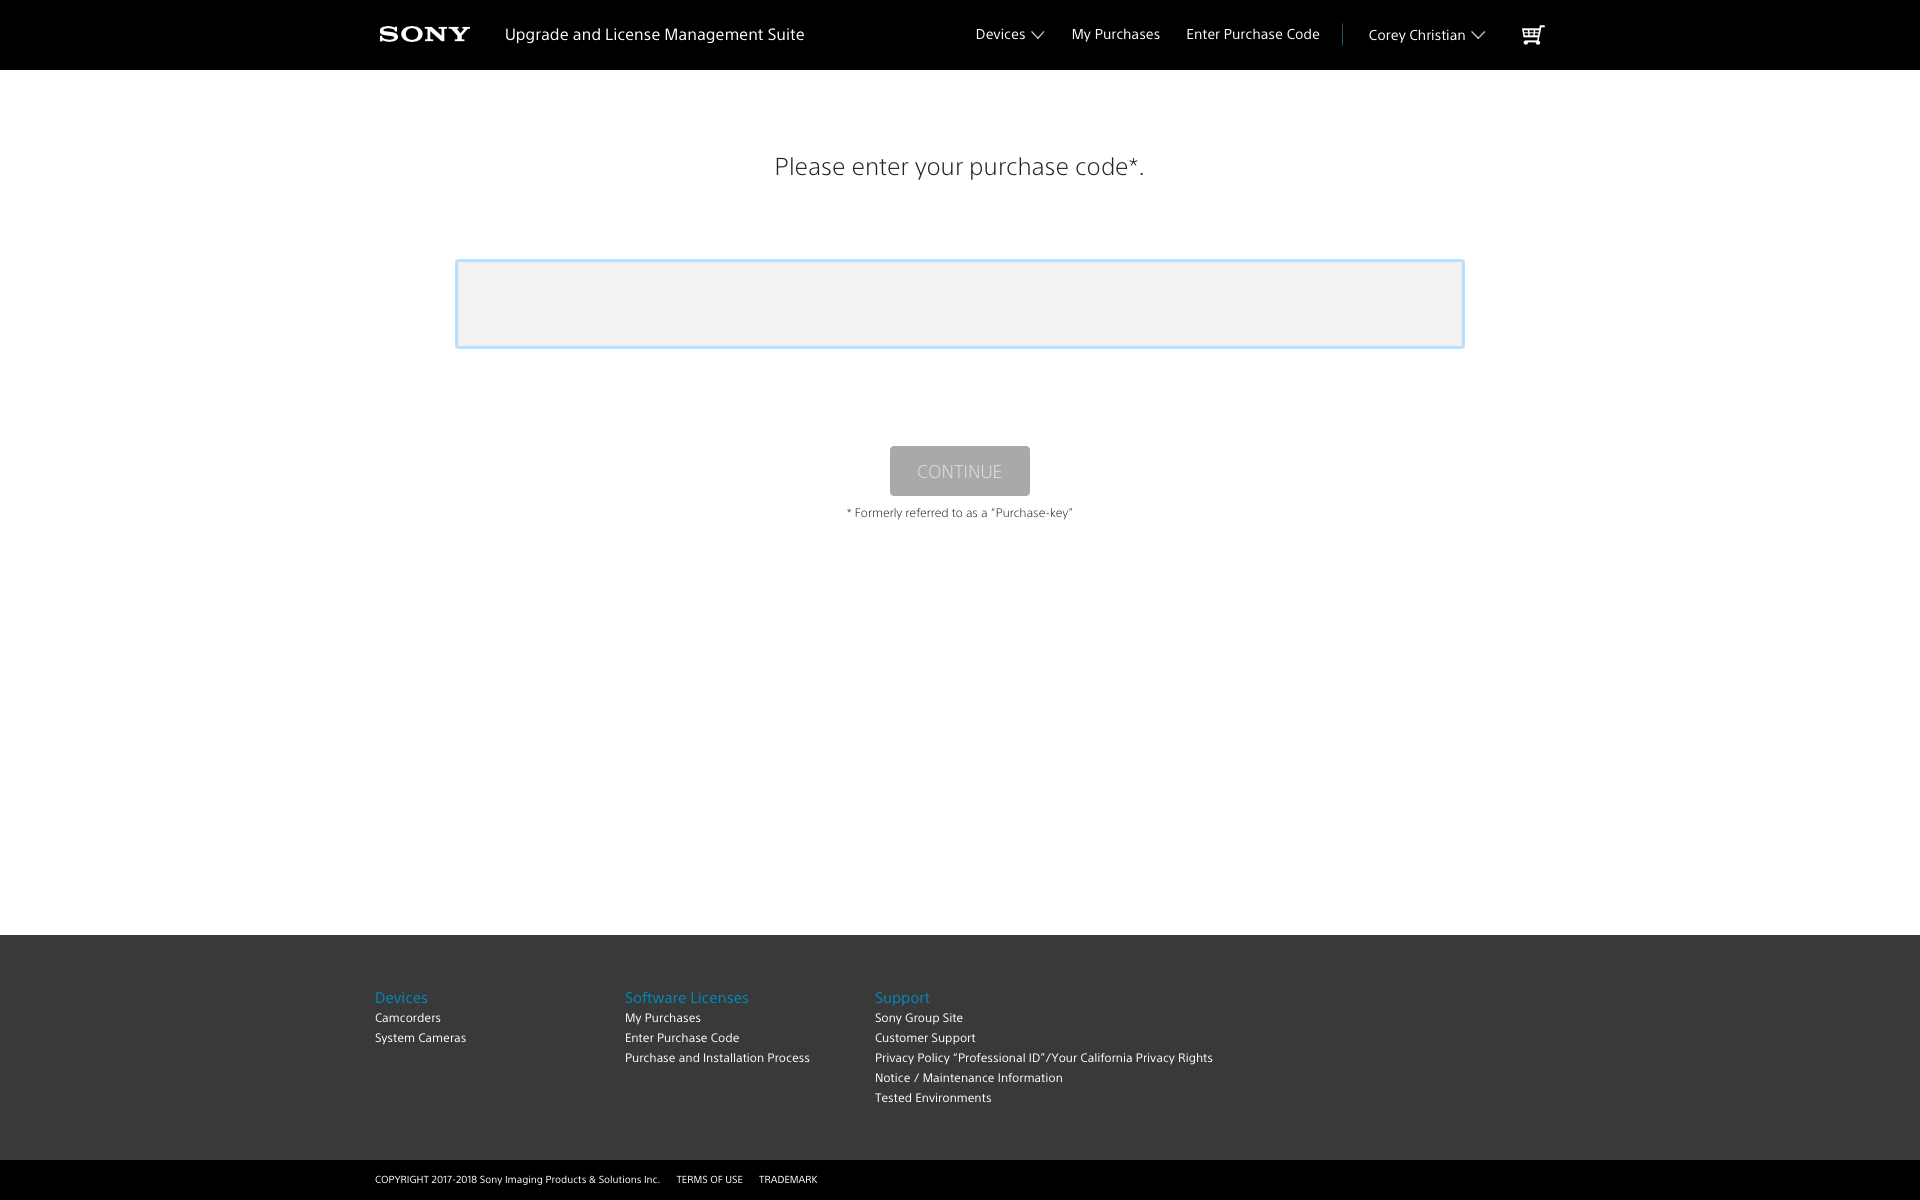
Once you have selected your license, you will be prompted to enter your Purchase Code, then press “continue.”
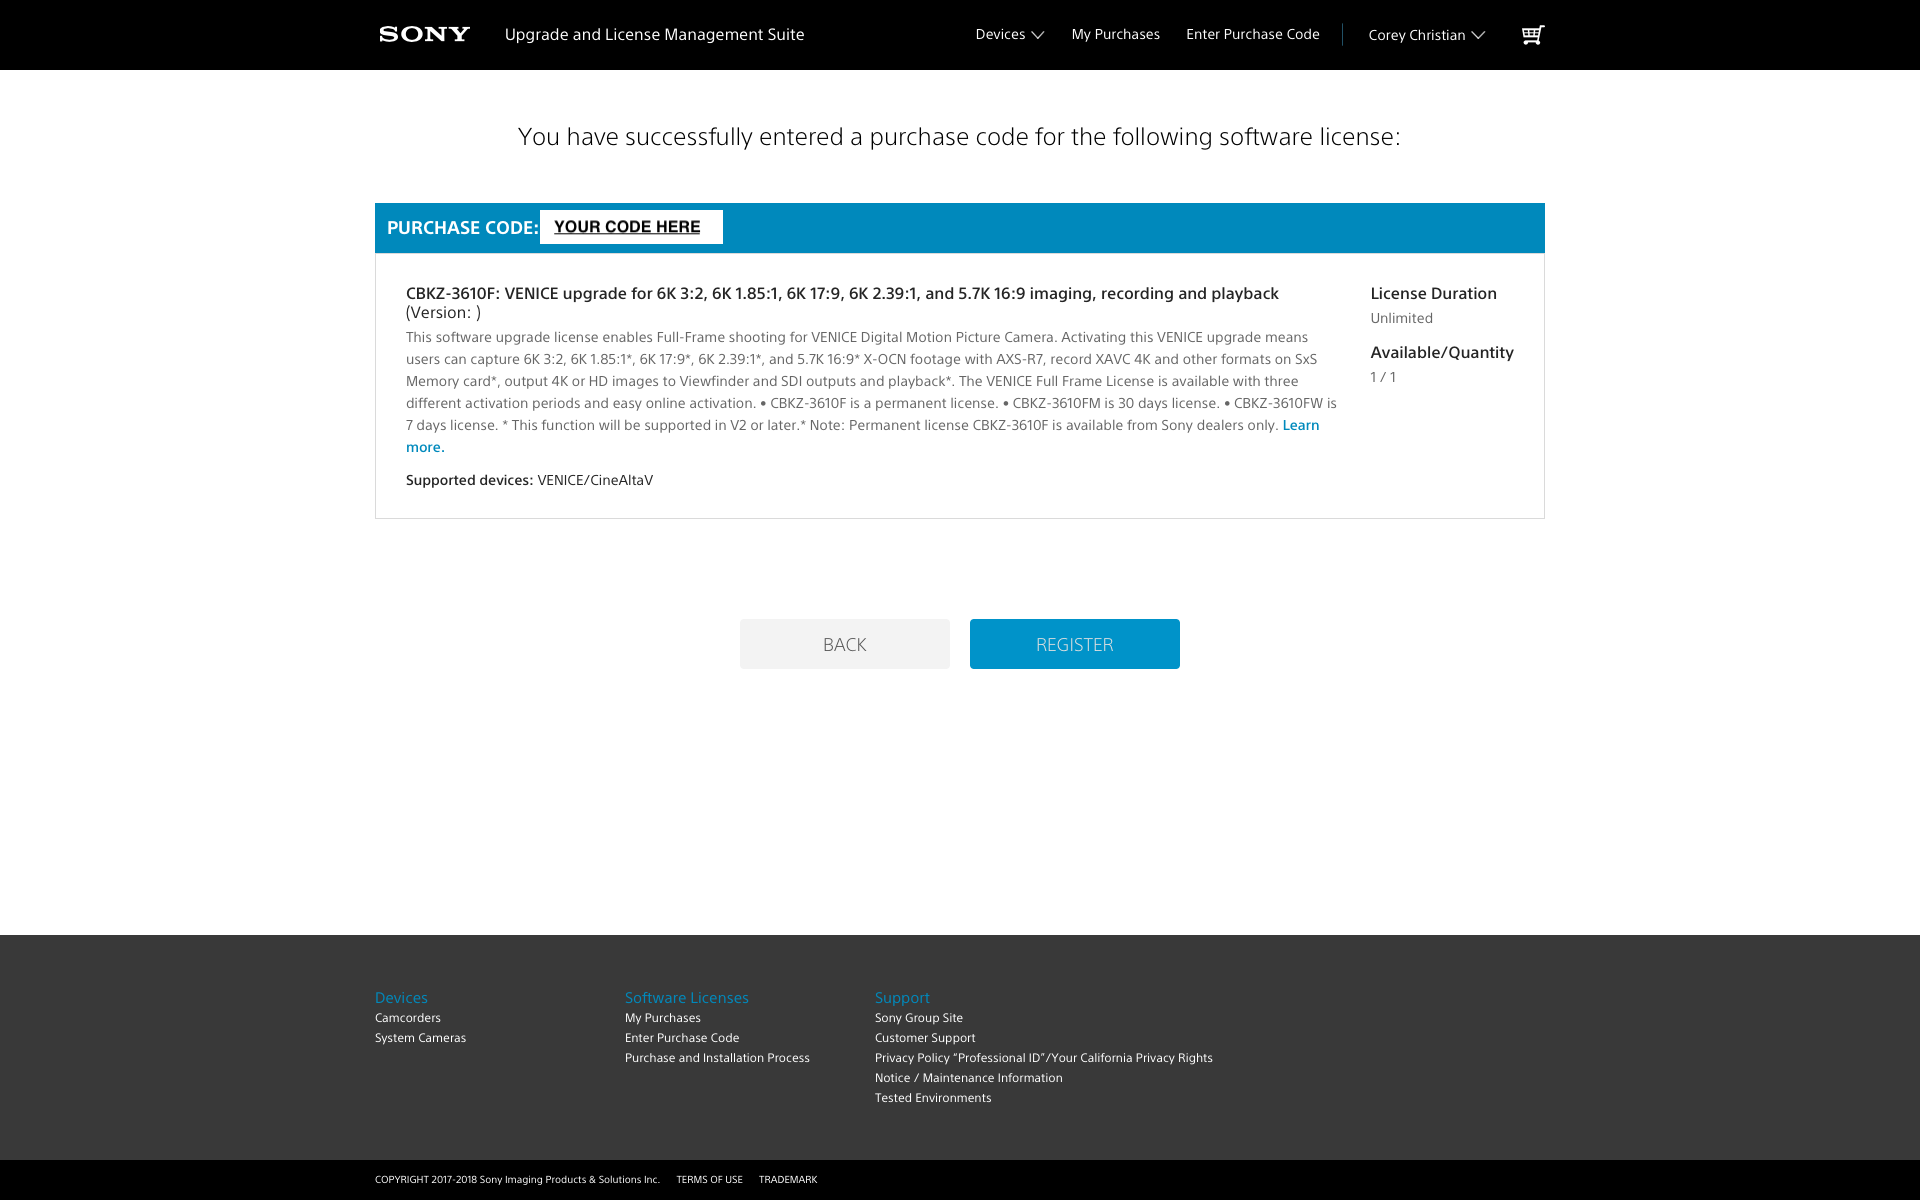
If you typed your Purchase Code correctly, you will arrive at this confirmation screen. Verify that it shows the license you purchased, and then click “register.”
On the next popup, you will input your Unique Device ID, be certain this number is correct as it cannot be changed once registered. To find your VENICE’s Unique Device ID, hold down the menu key on the side of the body until you enter the full camera menu. From this screen, navigate down to the “Maintenance” folder, and then select “License Options.” Your Device ID will be listed.
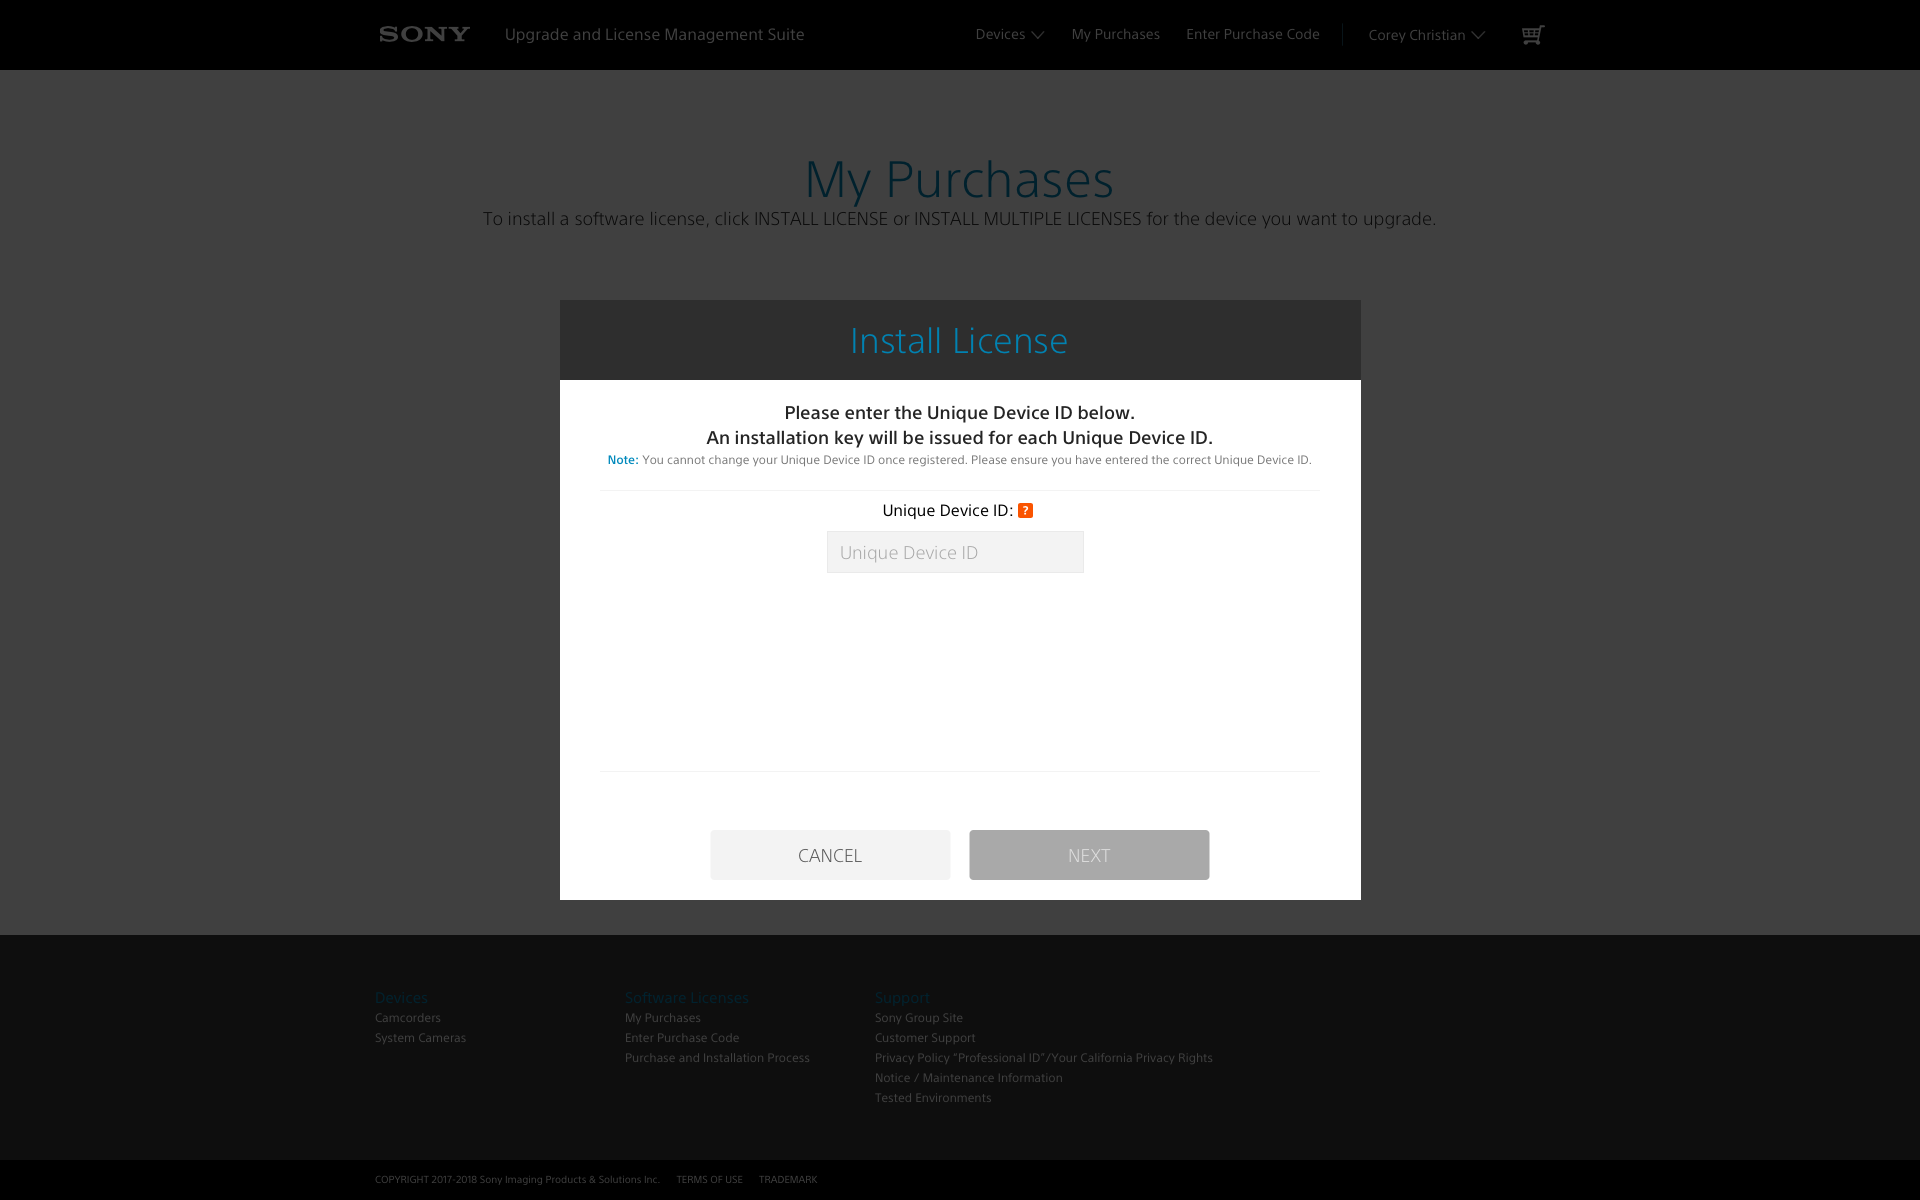
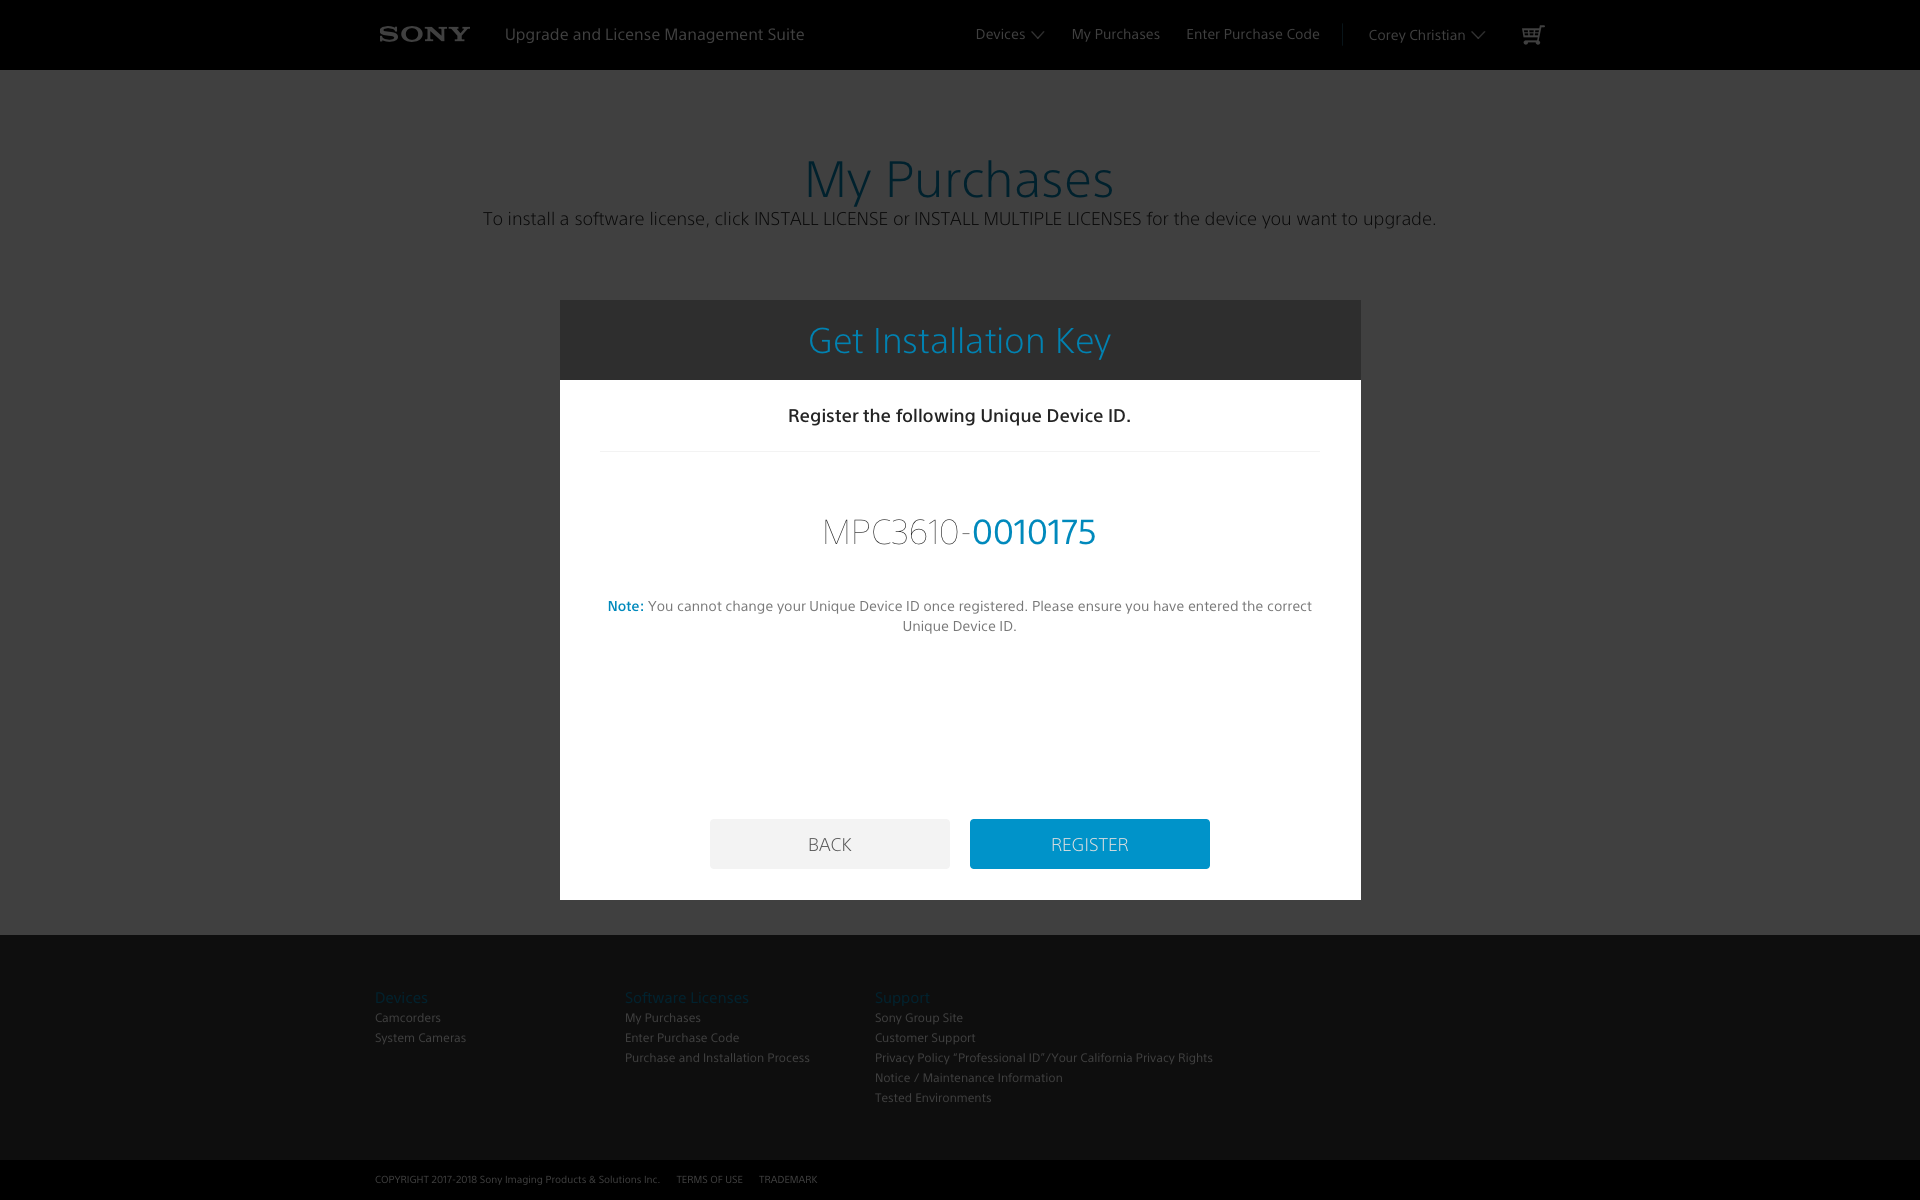
Once you have your Device ID in hand, double and triple check it before entering it into the box on the ULMS site and click “next.” You will then be given one last confirmation box to double check your Device ID, and if you’re sure the ID is correct, click “Register.”
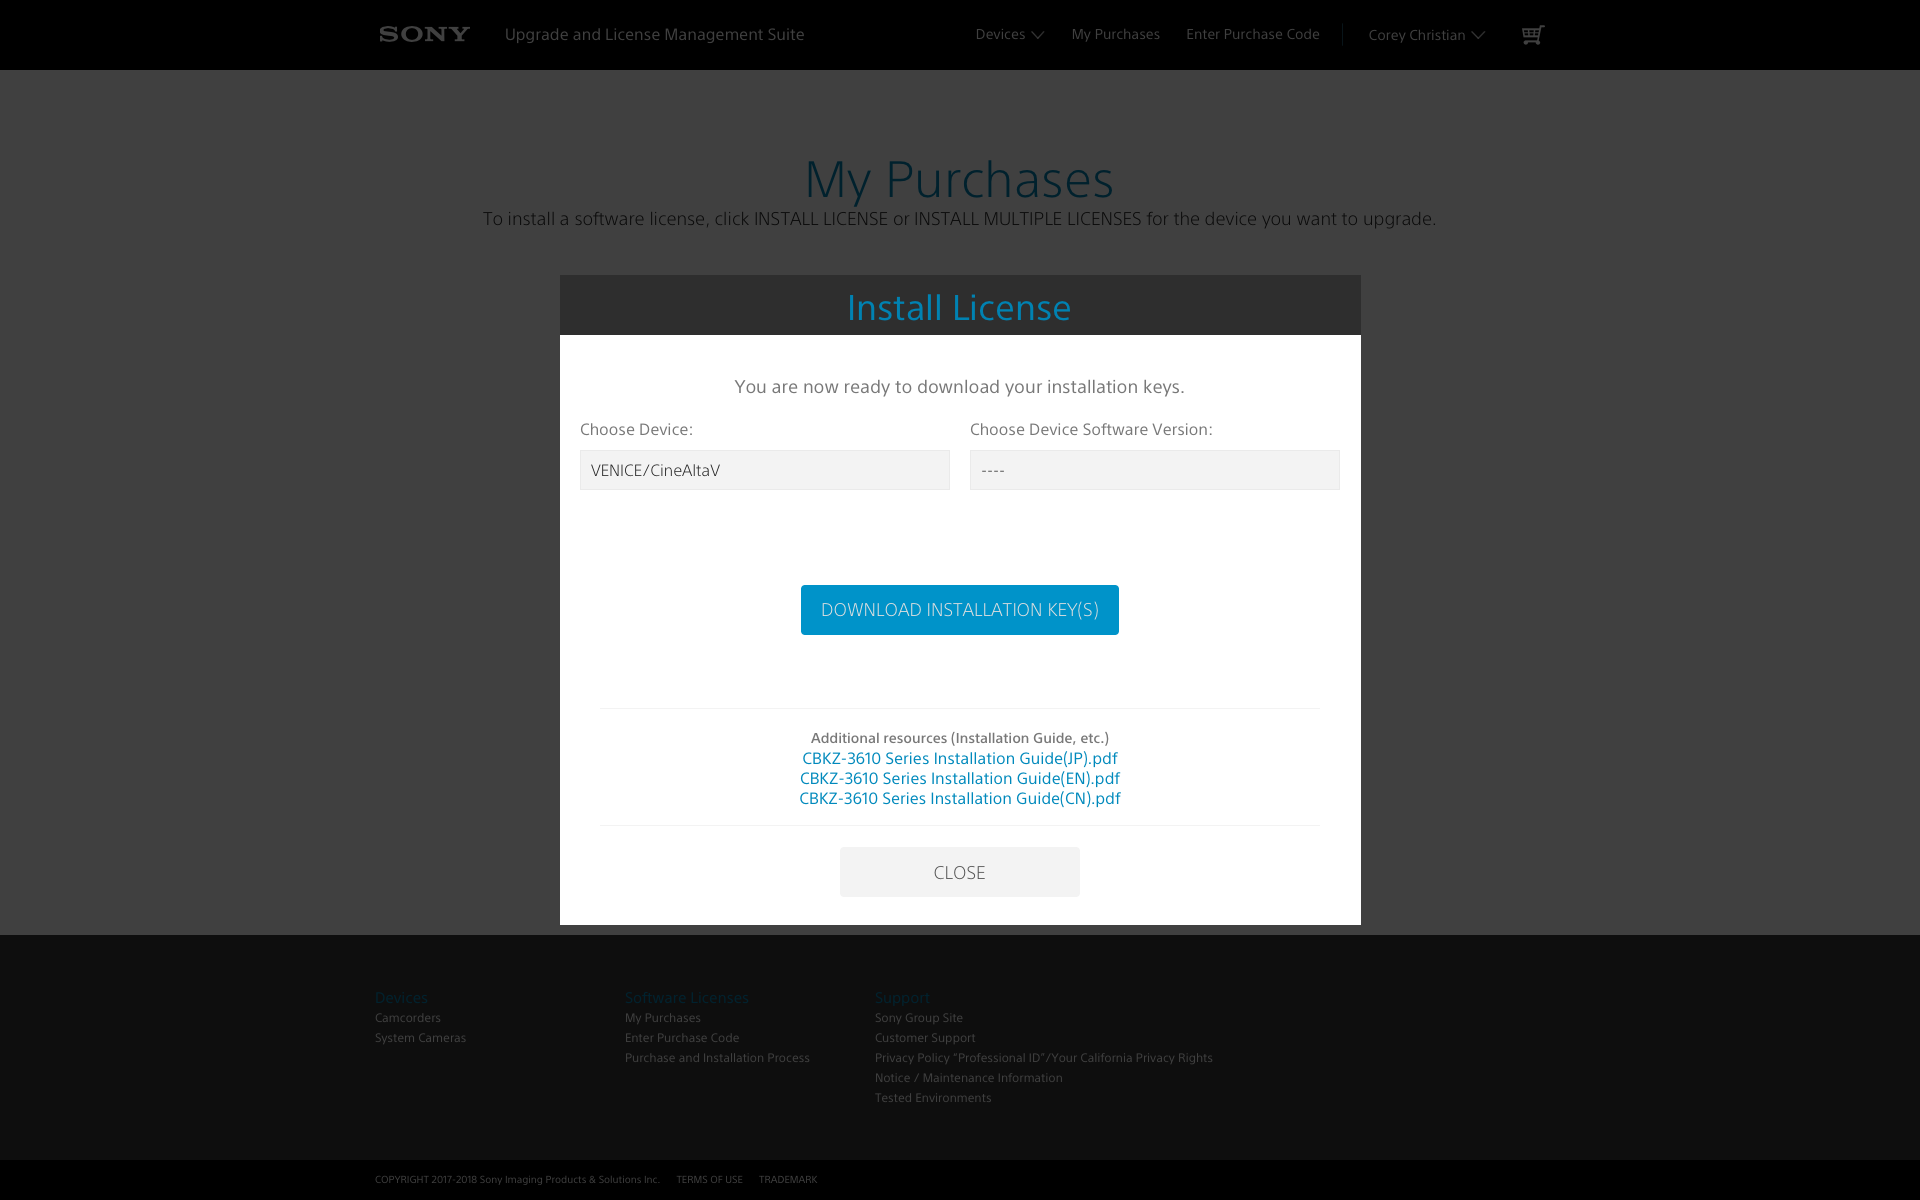
You have now successfully registered your license to your camera, congrats! The next step will be to click “Download Installation Key(s).” At the bottom of this window is an install guide to help step you through the process. For convenience sake, you can download the document here as well.
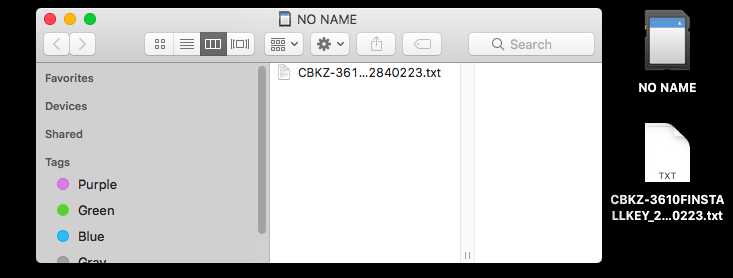
Once you have the .txt file containing your license, copy it to the root directory of an SDHC card that has been freshly formatted in the camera.
INSTALLING & ACTIVATING THE LICENSE KEY
Once you have inserted the SD card into your VENICE, navigate in the full menu (long press) down to the “Maintenance” folder, and then select “License Option.” As long as you have copied the license to the root of the SD card, your camera will automatically detect what licenses are available to install. Press the SEL/SET dial, and then select “Execute” to begin installation.
You will then be presented with a confirmation screen, using the SEL/SET dial, select “execute”. The install process will now begin. Once it has finished you will receive a popup stating that “Install License OK: Turn Power Off;” it should only take a matter of seconds.
You can now restart your camera, and to confirm everything has been installed correctly, double check that the “Maintenance > License Options” page reflects the appropriate activated features. If you also purchased the Anamorphic license, you can repeat this exact process again for that Purchase Code. Well, there you go – now get out there and start crafting some beautiful imagery!

