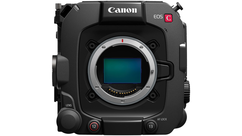
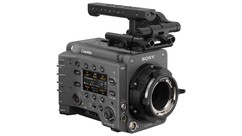
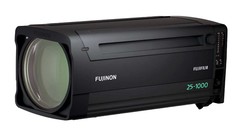
It is now common for digital cinema cameras to record a RAW file as well as a proxy. Proxy recordings can be loaded to a laptop and then into NLE programs, which is a quick and easy way for production to check on composition and performance. Additionally, proxies can be used to select takes and string out an edit. This streamlines the post process as only selected takes are color corrected.
In this blog, I demonstrate a post workflow using proxies. First, I shoot a sequence with a RED recording RED RAW files (R3D) in 4.5K. At the same time, I also record 2K ProRes files. Then I take the ProRes files and edit a sequence in Adobe Premiere, which I export to DaVinci Resolve using an EDL file. Next, I perform a 4.5K R3D color correct that is frame accurate to the edit in Premiere. Finally, I export UHD resolution color corrected ProRes files for re-linking in Premiere. Watch the video above to see how this "round trip" workflow can streamline your edit and cut down the amount of time spent color correcting.
