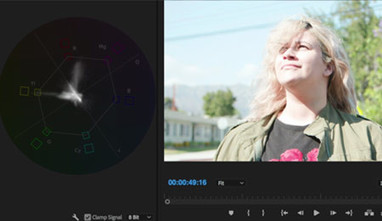
If you are new to RAW, it may be a little intimidating to figure out a workflow. In this blog, I look at two scenarios for post processing your image. First, I look at Canon’s Cinema RAW Development software (scroll to "Drivers & Downloads" for the latest version). This free software gives you the ability to treat RAW files in a traditional sense. White balance and gain can be adjusted, and there are multiple ways to output the files so you can move on to color correction.
The second method is importing the files directly to DaVinci Resolve. However, once the .CRM files are in Resolve, you no longer have the white balance or gain adjustment. With this workflow, your white balance and gain are “baked in.”
In my video, I look at both methods in detail. I show how they can complement each other or be used for an independent workflow, as well as other things to consider when using the C200.
Note: In April 2018, Adobe released Premiere Pro CC 2018 v12.1 with support for Canon Cinema RAW Light. Though we didn't have time to include it in this overview, keep an eye out for future blogs covering Premiere and other updated tools for working with RAW files from the C200.
Update: Learn about working with Canon's Cinema RAW Light in Premiere Pro and Final Cut Pro X in Part 2 of this blog by Jem Schofield.

